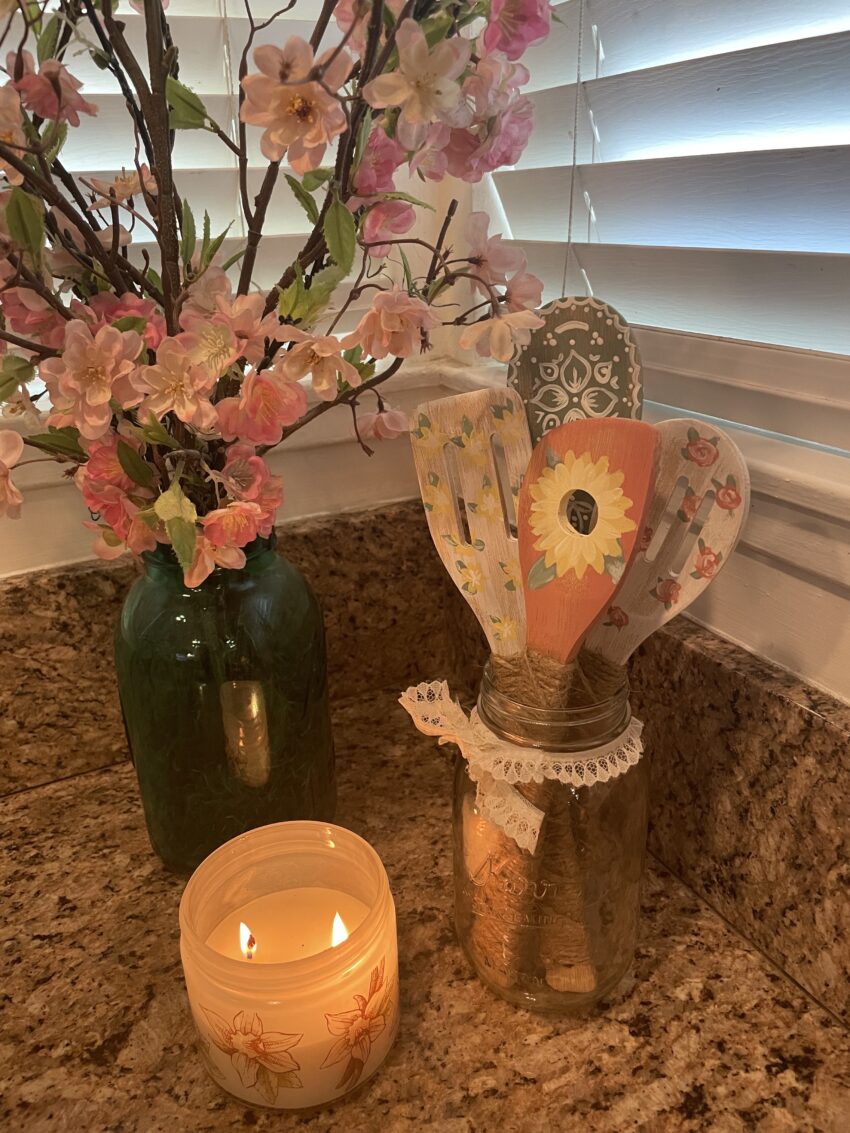
So, I was feeling a little artsy today when I found these wooden spoons in my craft bin. I bought them a while back, hoping to paint Halloween faces on them. But, since it’s still summer and a million degrees outside, I wasn’t feeling the fall vibe and decided to paint flowers instead. Boy, am I glad I did because these painted wooden spoons turned out great!
I would rate this project as beginner/intermediate, depending on how much detail you add to the flowers. I tried to keep them easy, adding to the shabby chic/farmhouse feel. Depending on your artistic level, the spoons can have as much or as little detail and still be a beautiful addition to your kitchen decor.
Below I will go step by step using acrylic paints and describe the method I used for painting the flowers in hopes of encouraging the novice painters out there to expand their creative horizons. For those who know what they are doing, go wild, and I hope this sparks new ideas.
Getting started
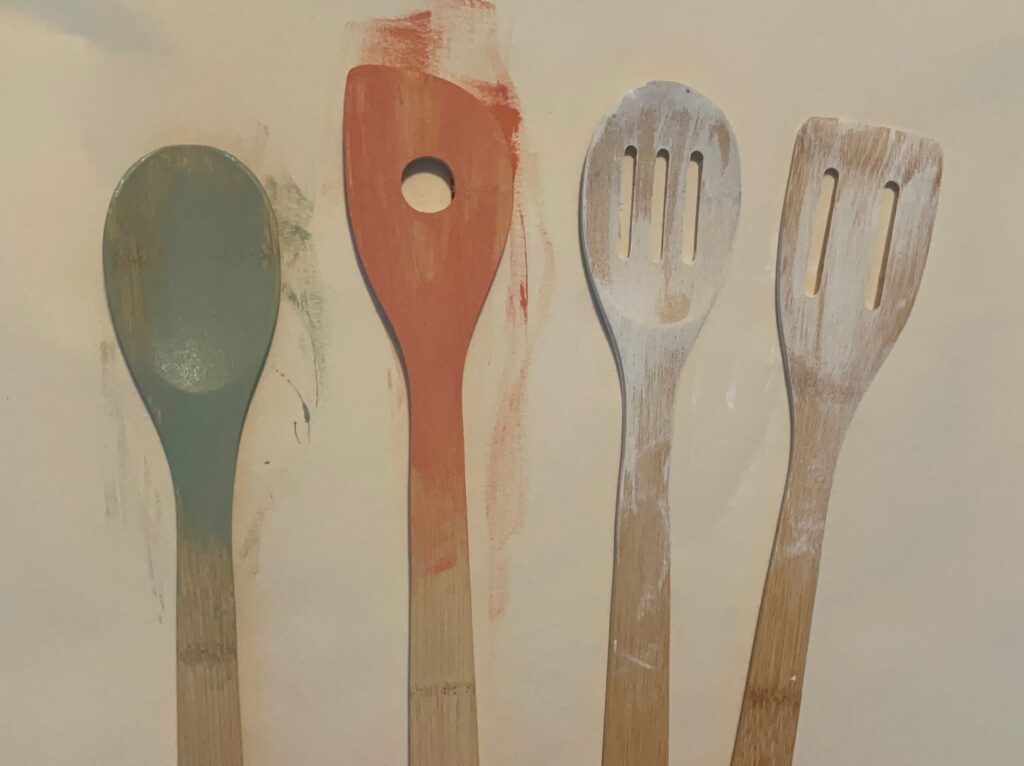
In this photo, I laid out a large piece of construction paper. I like doing it this way because I can practice my designs on paper before committing to them with paint. It worked great for the green spoon because I sketched out an idea and could paint right next to it, as you will see below. Next, I picked a color scheme and set up the paints, brushes, and water for cleaning between colors. Then, I laid down the first dusting of color. I wanted some of the wood to show through, so I put very little paint on the brush and gently brushed it onto the spoon.
Leafs
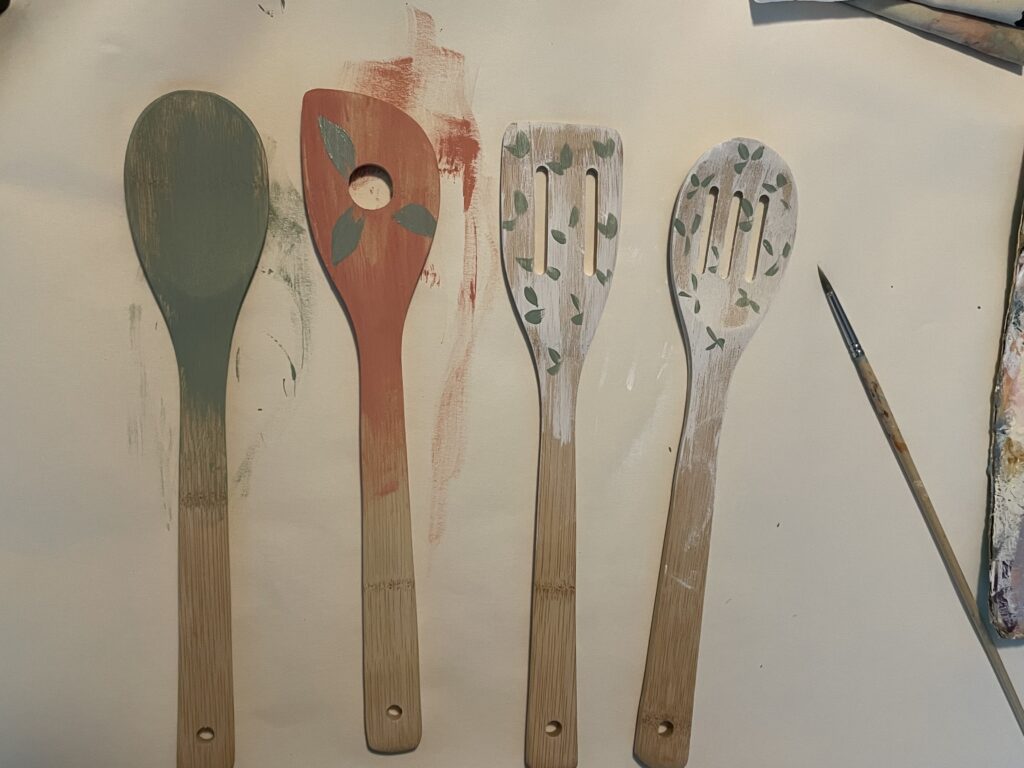
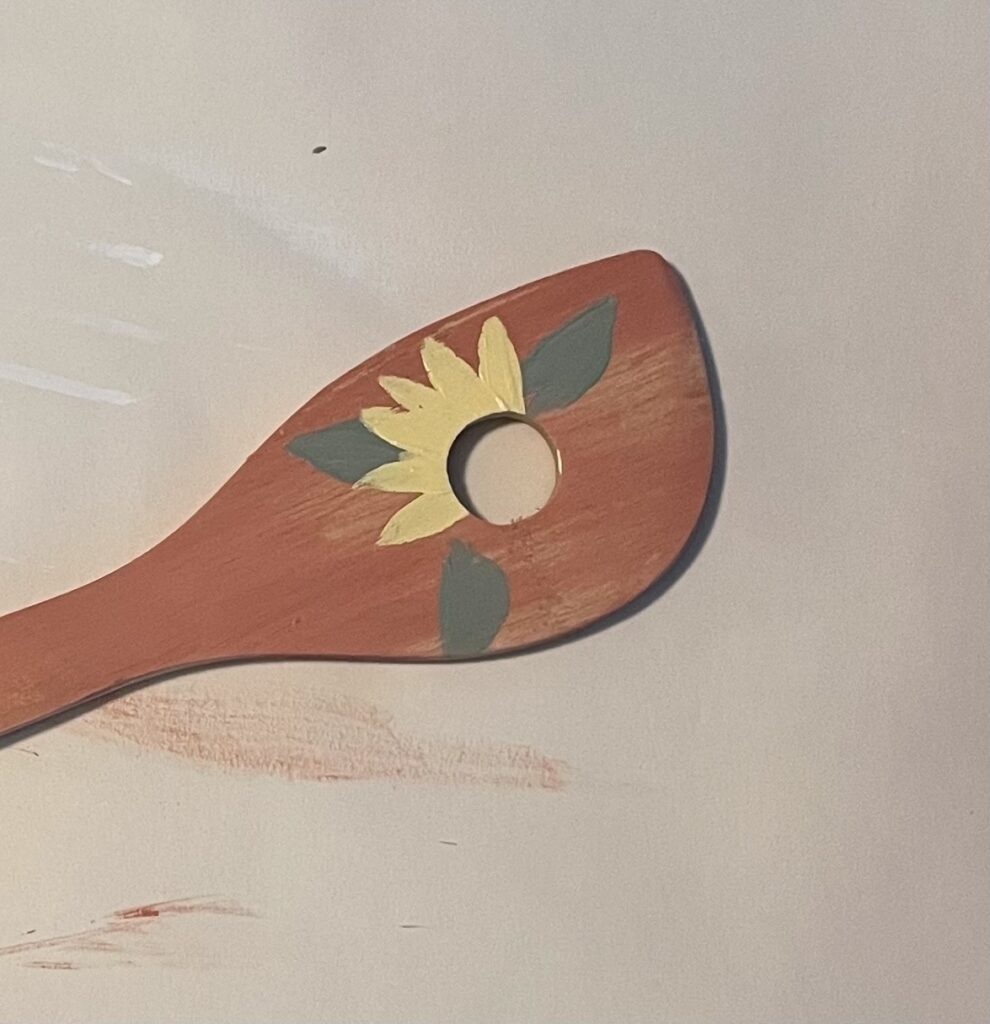
It didn’t take long for the paint to dry, so I started laying down some leaves. As you can see in the picture below, I used a small brush that comes to a point. It’s less work if your brush is already in the shape of the leaves you’re painting. However, I did make the leaves a little bigger on the pink spoon because I planned to paint a sunflower around the hole in the center.
Flowers
Using the same brush as I did for the leaves, I painted on the first layer of sunflower petals and some simple Daisy-like flowers nestled between the leaves.
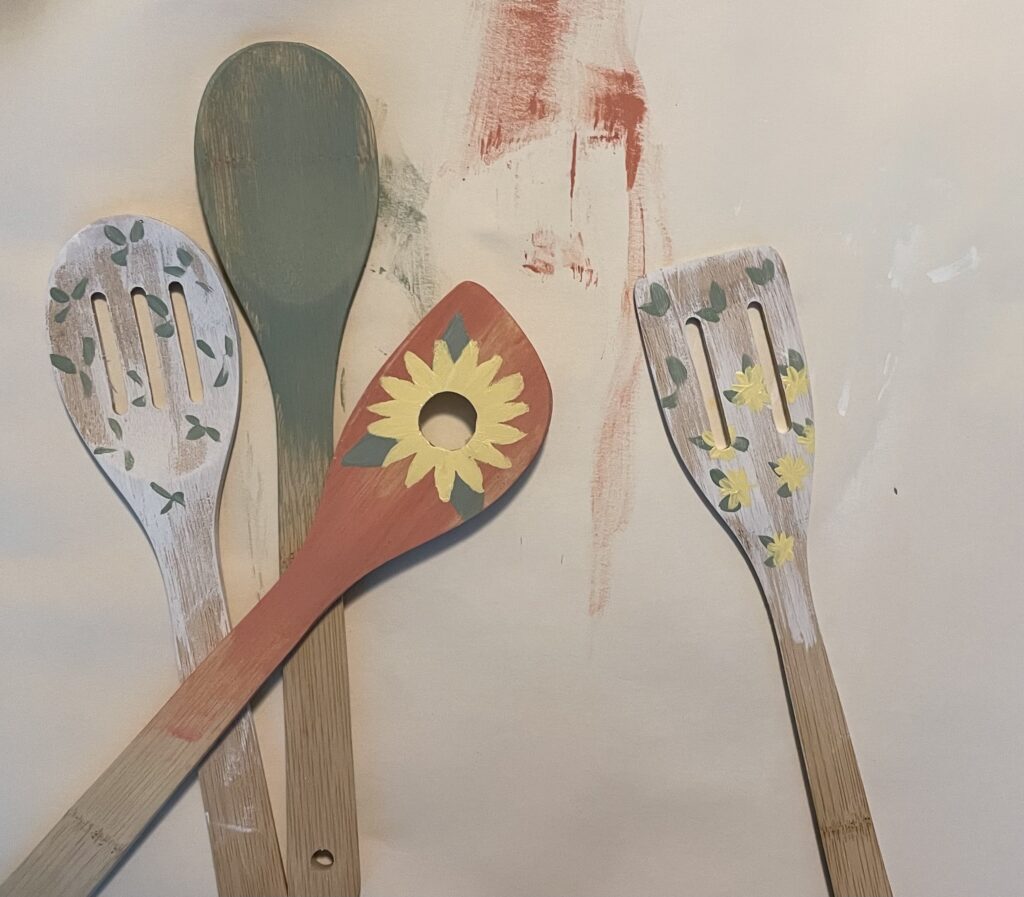
Next, I added some pink roses to the other white wooden spoon. Since I wanted to keep these painted wooden spoons easy and whimsical, I painted something that gives the hint of a rose. Roses are complicated flowers to paint and have turn out right, so I made up a simple version by painting small C-like shapes in a circle. I start with one color and add a lighter color over it to give it a little depth. This is something you can practice on the craft paper first.
Moving back to the pink spoon, I added another layer of petals in a slightly lighter shade. Take the original yellow you started with and mix it with some white. Or start with white and add a touch of yellow. The second layer of petals are shorter and staggered between the first layer.
Our final spoon is a little more intricate but as easy as a doodle. First, I traced the shape of the spoon on the paper and began drawing a simple pattern with dots and random petal shapes. There’s no right or wrong here; if all else fails, you can look up some ideas. Then, I found the smallest paintbrush I had and slowly copied the pattern onto the painted wooden spoon with a white front and back.
Wrapping the Handle
This step adds a fun touch to the overall look, and they are instantly farmhouse chic! I used a small roll of twine here, but you can use a larger one if you prefer. Start by tying a knot through the hole in the bottom of the wooden spoon, making sure to leave a little tail about two to three inches. Next, begin wrapping the twine around the handle, working your way toward the top. You want to make sure the extra bit of twine left from tying a knot is hanging down and out of the way. We will use that bit at the end to tie it off. If your wooden spoons don’t have a hole at the bottom, start by gluing the twine to the wood and twist from there.
Continue twisting the twine tightly up the handle until you reach the top just before the spoon part starts. I found it easier to rotate the spoon in my hand rather than wrapping the twine around and around. Once you’re at the top, wrap the twine back down the handle in a larger pattern and tie it off at the bottom using the tail we left in the beginning. Tie it a couple of times, making a nice tight knot. Then trim off the extra with scissors. You can add a dot of glue if you are worried about it coming undone.
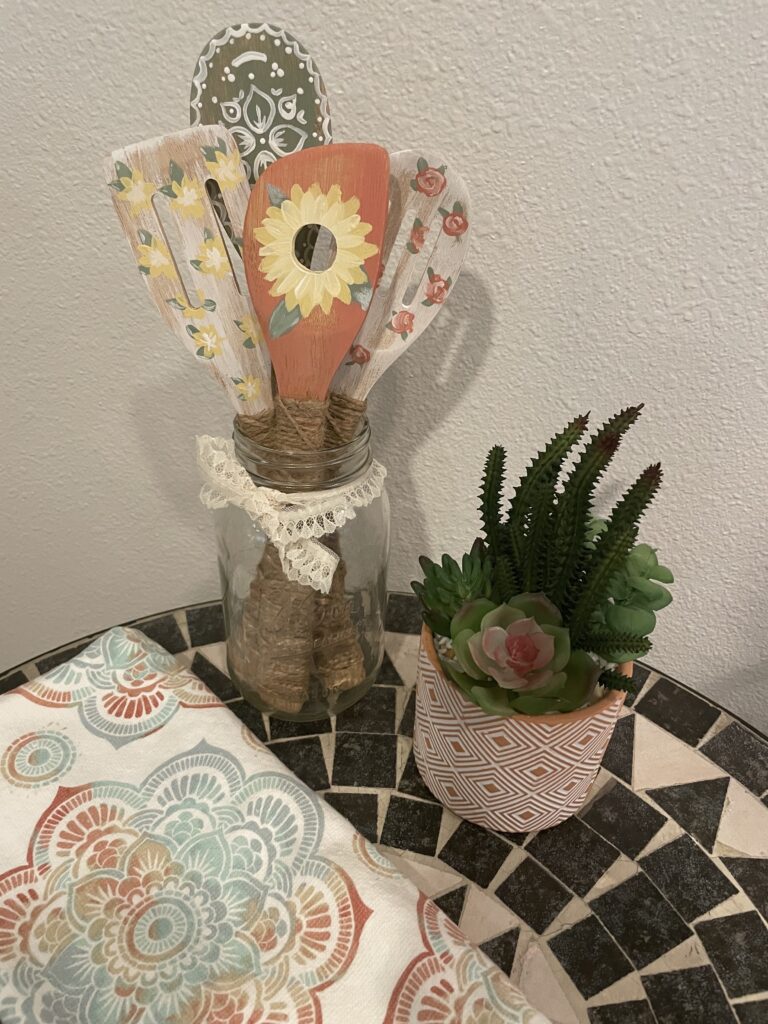
And…done! Now you have beautifully painted wooden spoons. You can tie them together with a bow and hang them or display them in a jar or decorative kitchen tray. They would make a nice addition to a bridal shower give or birthday gift. But, I do need to say, DO NOT COOK WITH THESE. They are decoration only. I hope you try this project and have fun doing it!
