
Fall will be arriving shortly, and I can’t think of anything more exciting! Except for these mini Fall houses I created today! The whole project cost about $10, and they look beautiful for something so easy and cheap. I learned a few things along the way and changed the plan halfway through the project. But, I figure that’s all part of crafting, so I would document it all as I go through the step-by-step process.
I found these mini wooden houses a while back at Target in those discount bins in the front of the store, and I recently came across them in my craft bin. I tend to accumulate more ideas than finished projects, but I felt inspired today and decided to roll with it.
The plan:
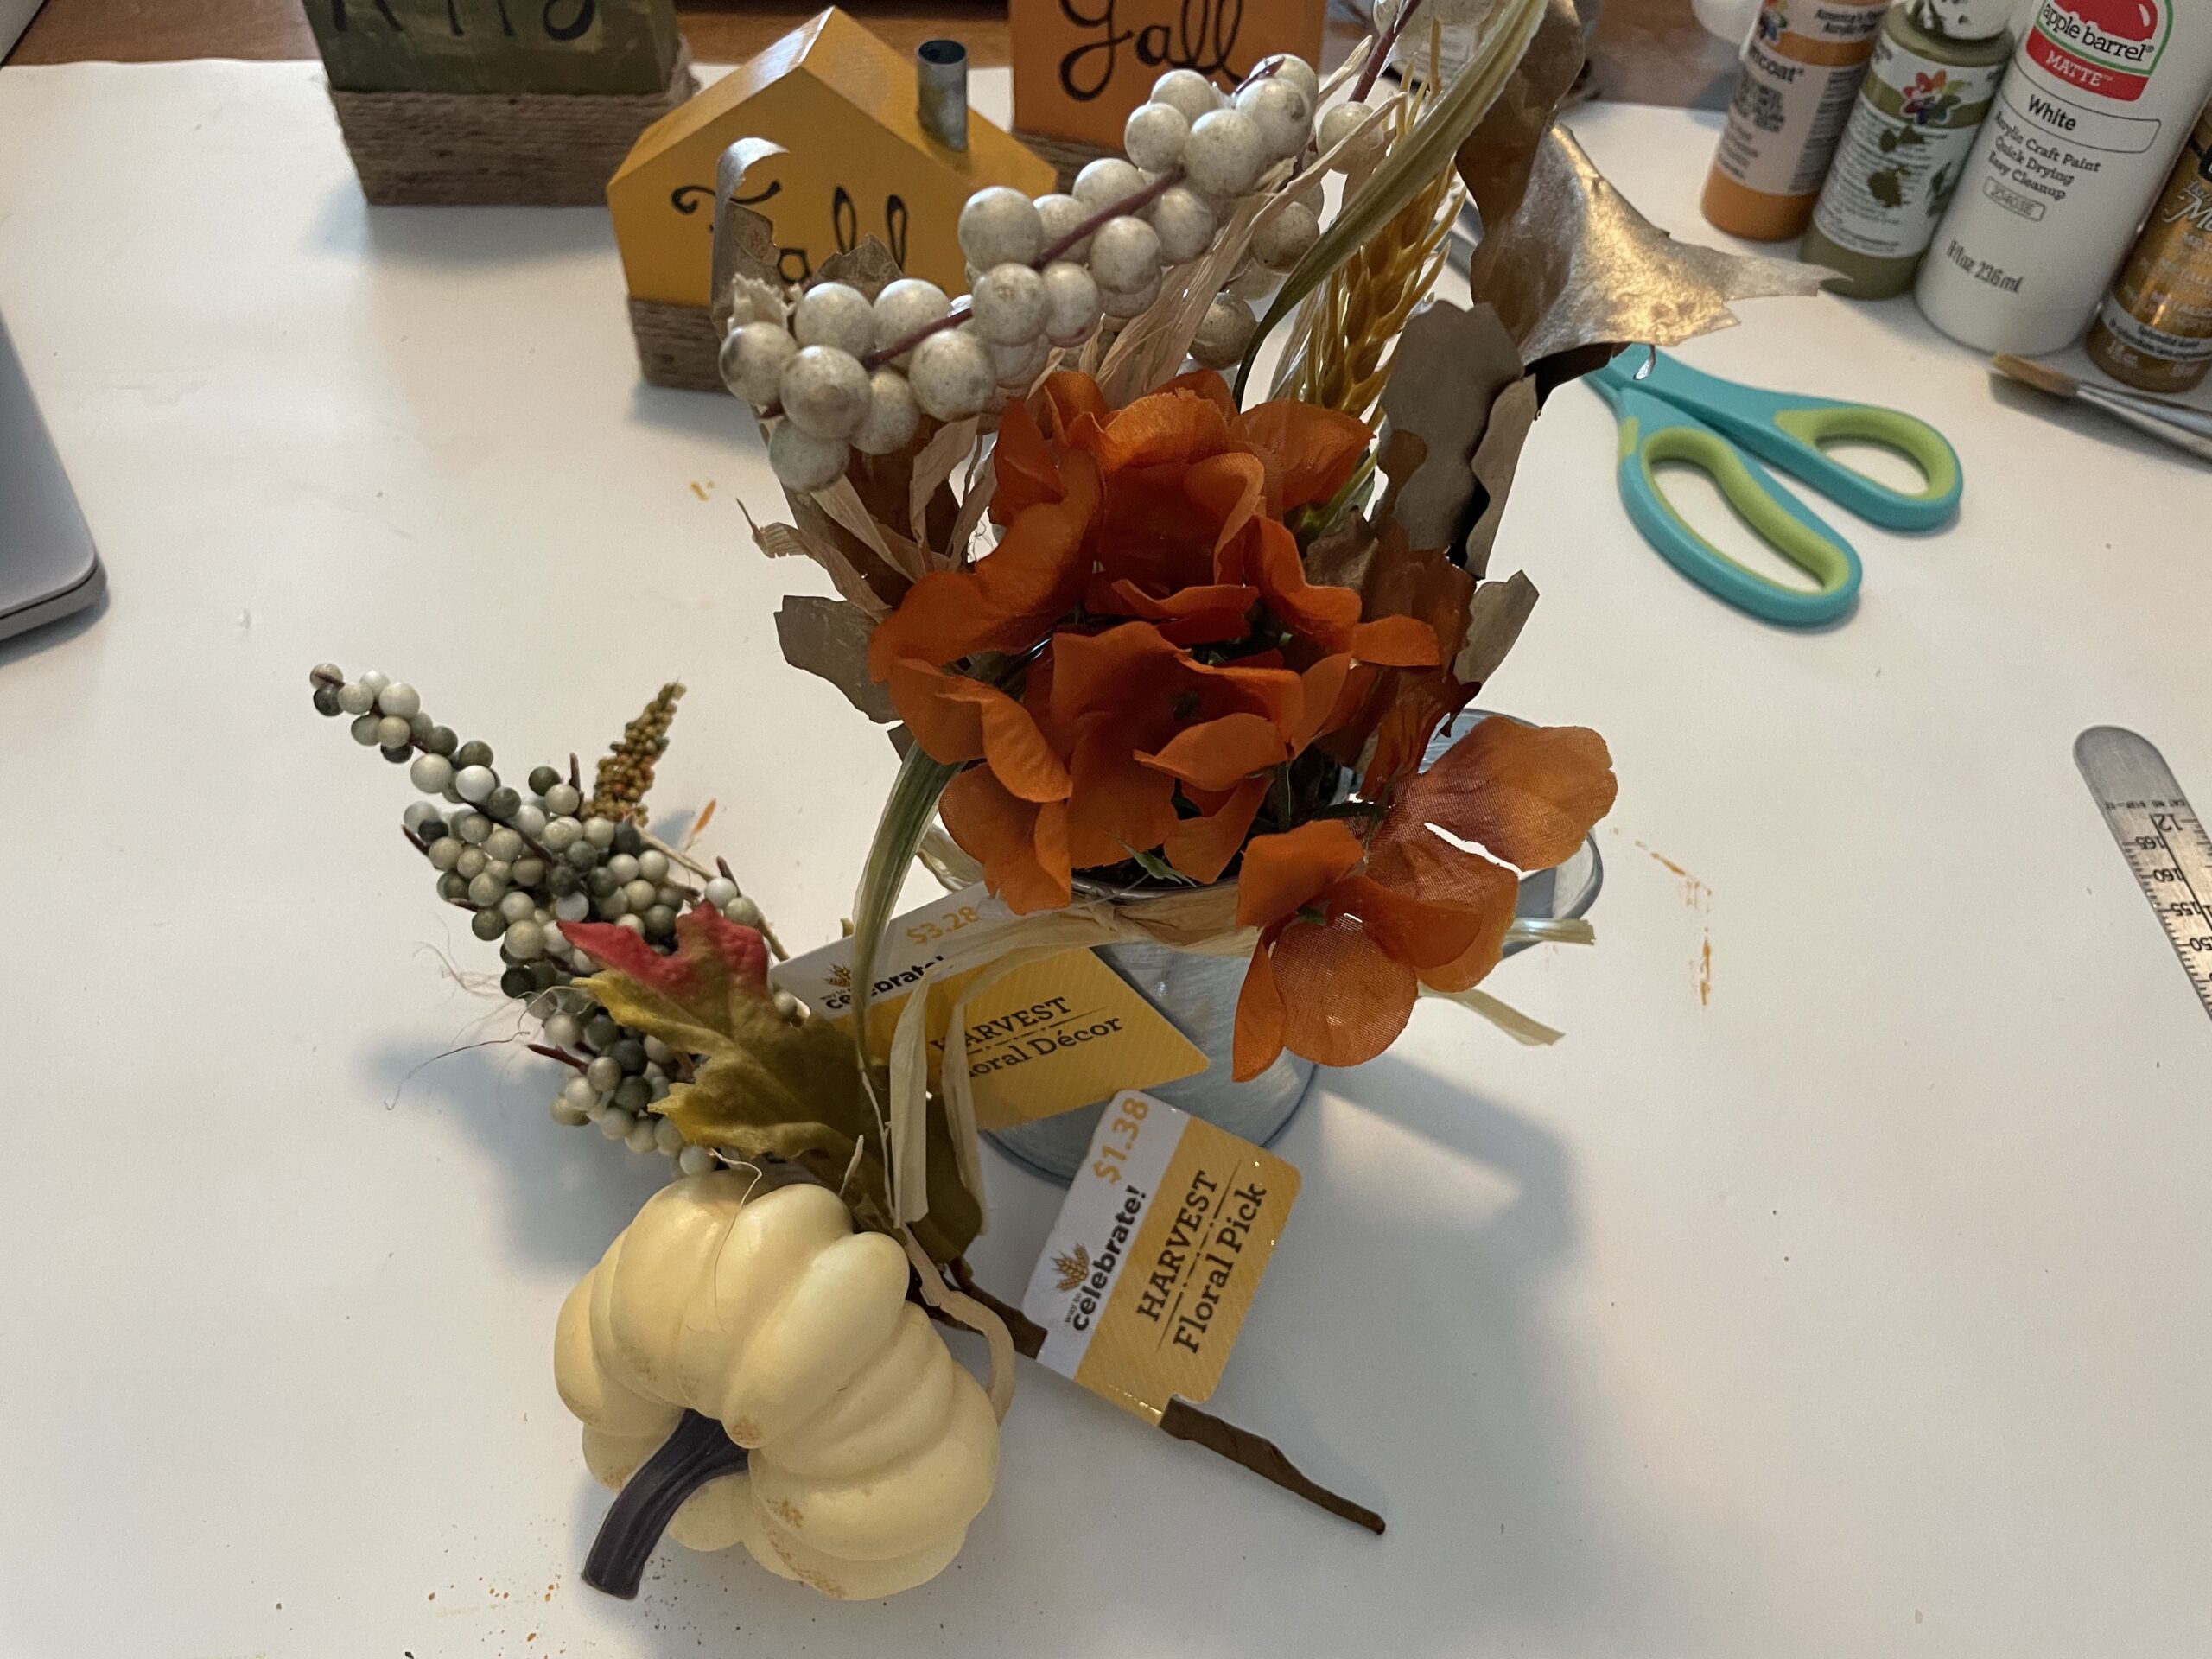
The plan is to paint the houses in fall colors and wrap the bottoms with twine or rope (or whatever I had on hand). Then with a sharpie, write the phrase, “Happy Fall Y’all,” on the front of them, one word on each. In the end, I didn’t like my writing and vowed to get a Cricut machine so I could cut out words instead and glue them on. I have tried painting words in the past, and let’s just say; I have not mastered that either. So I ran out to the store and found these simple/cheap Fall decorations that I could cut apart and piece together to make my own arrangement on the houses.
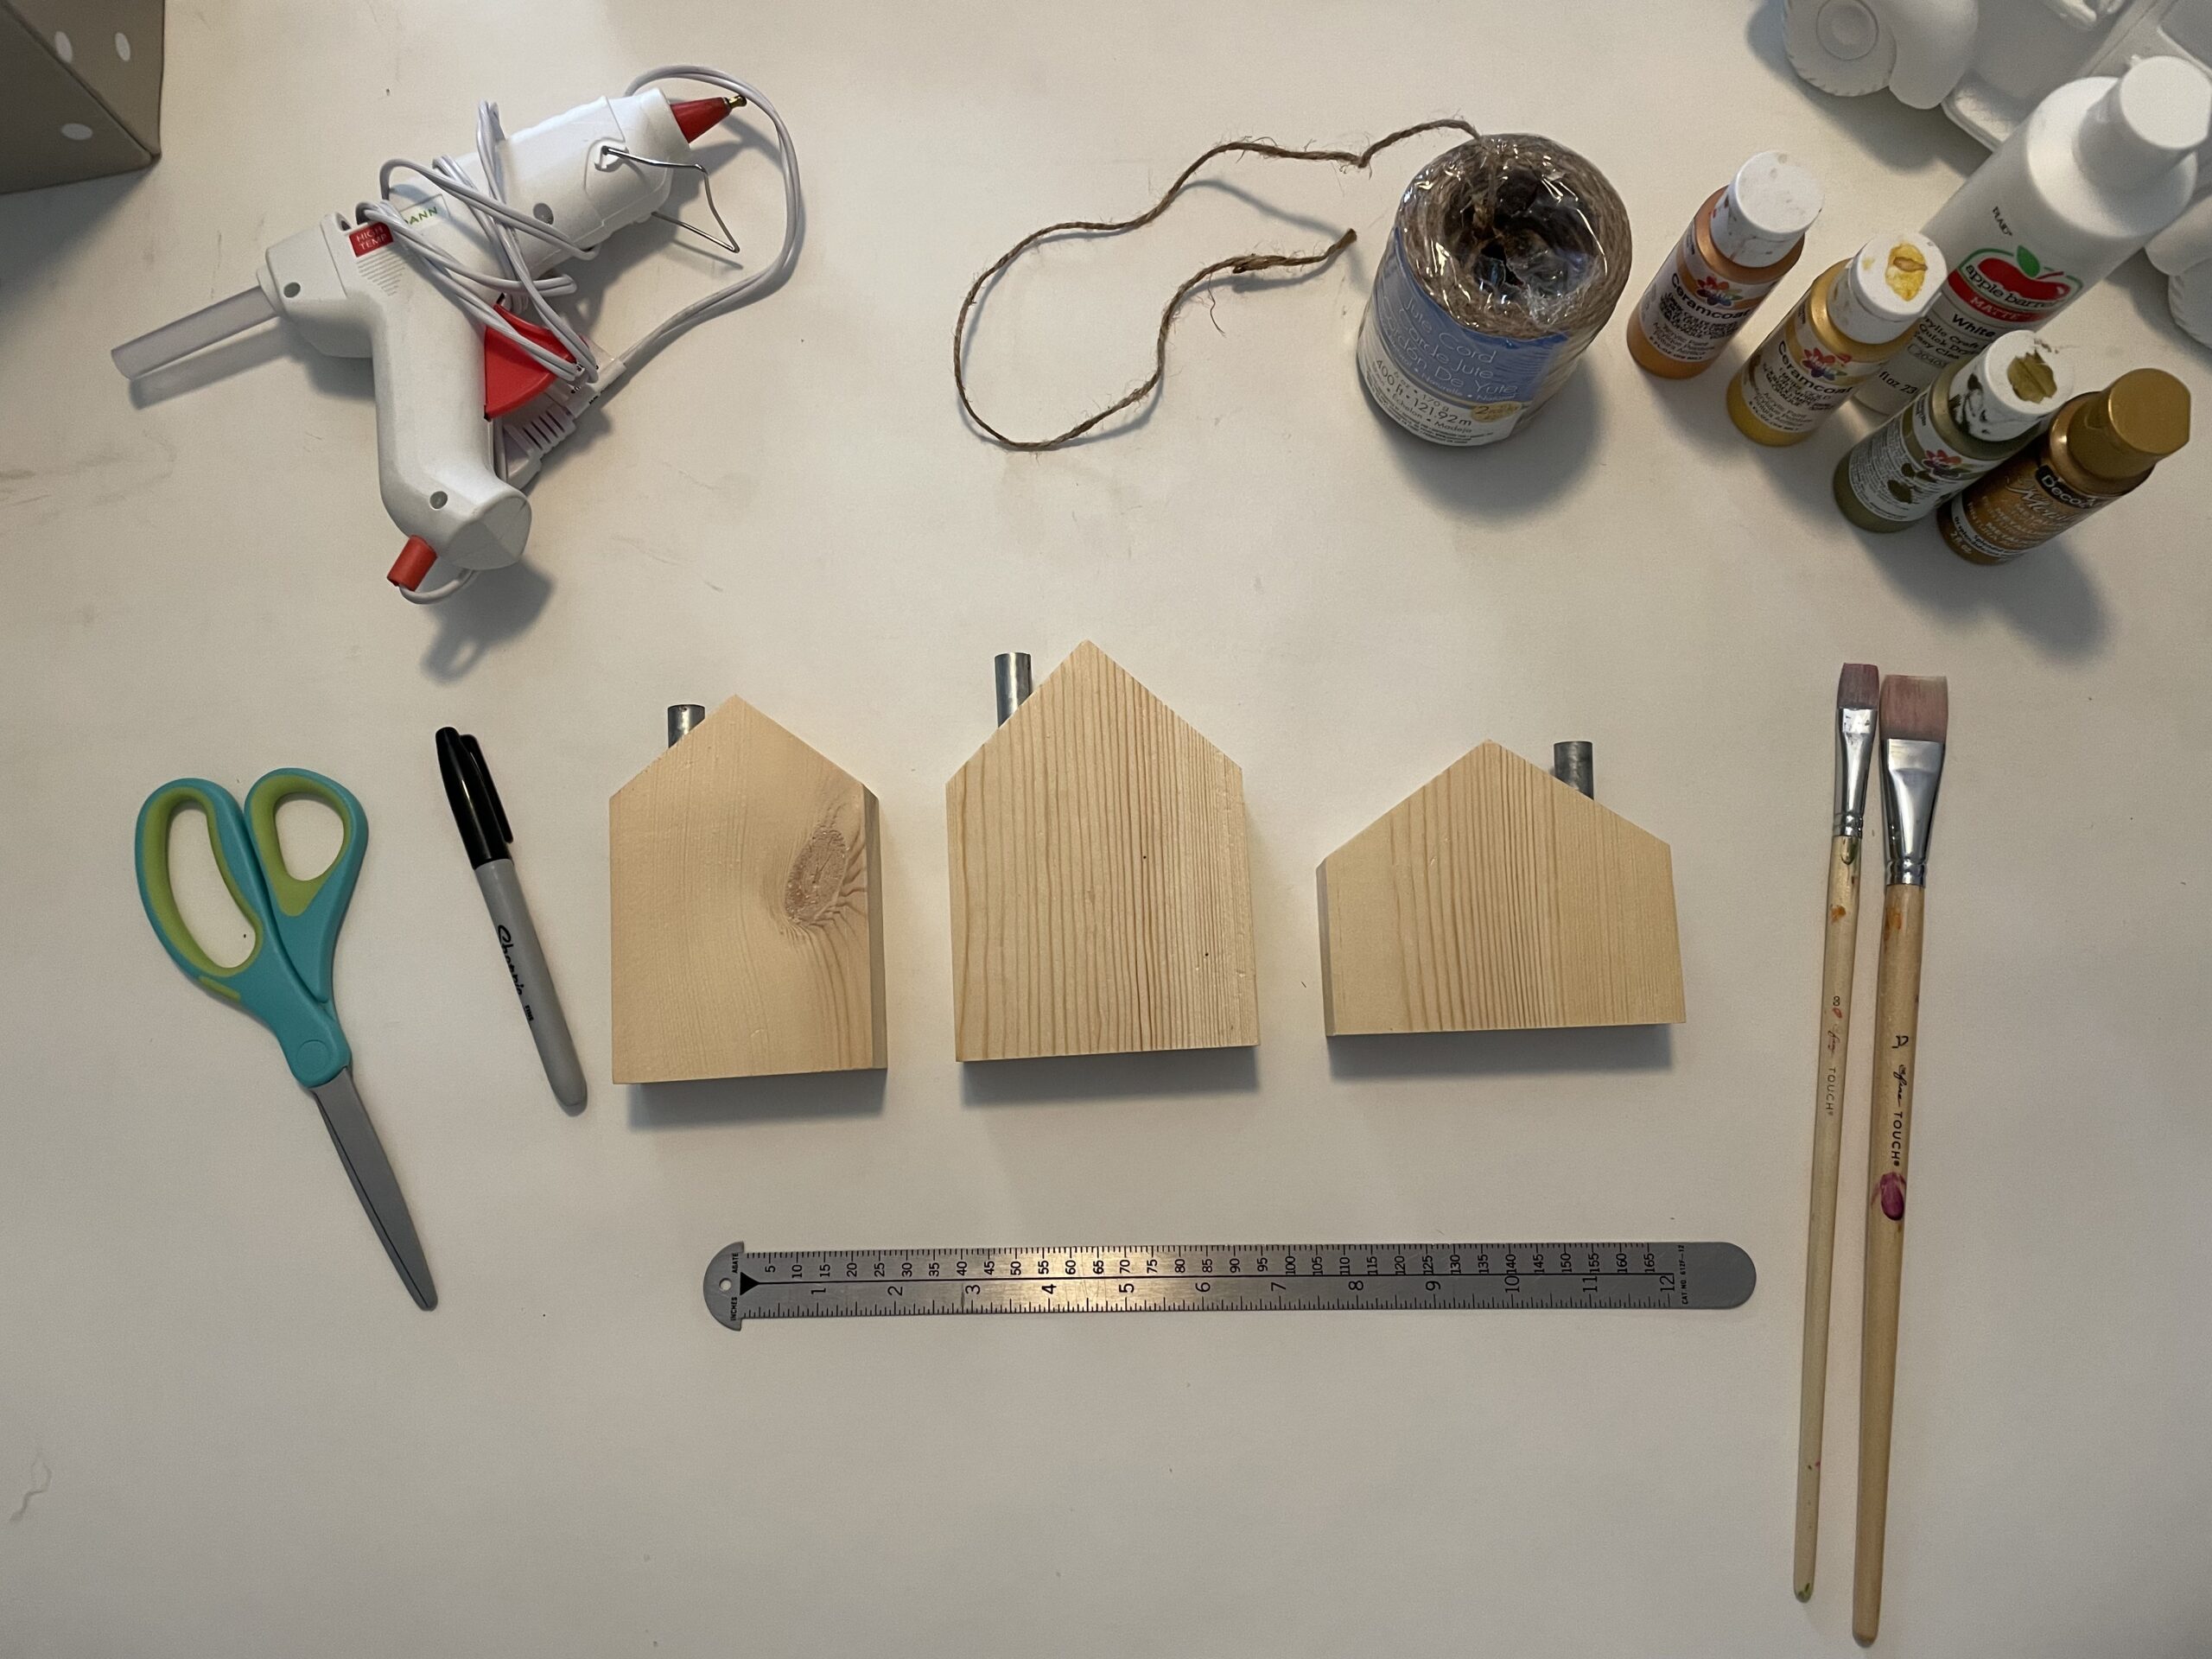
Step 1: Painting
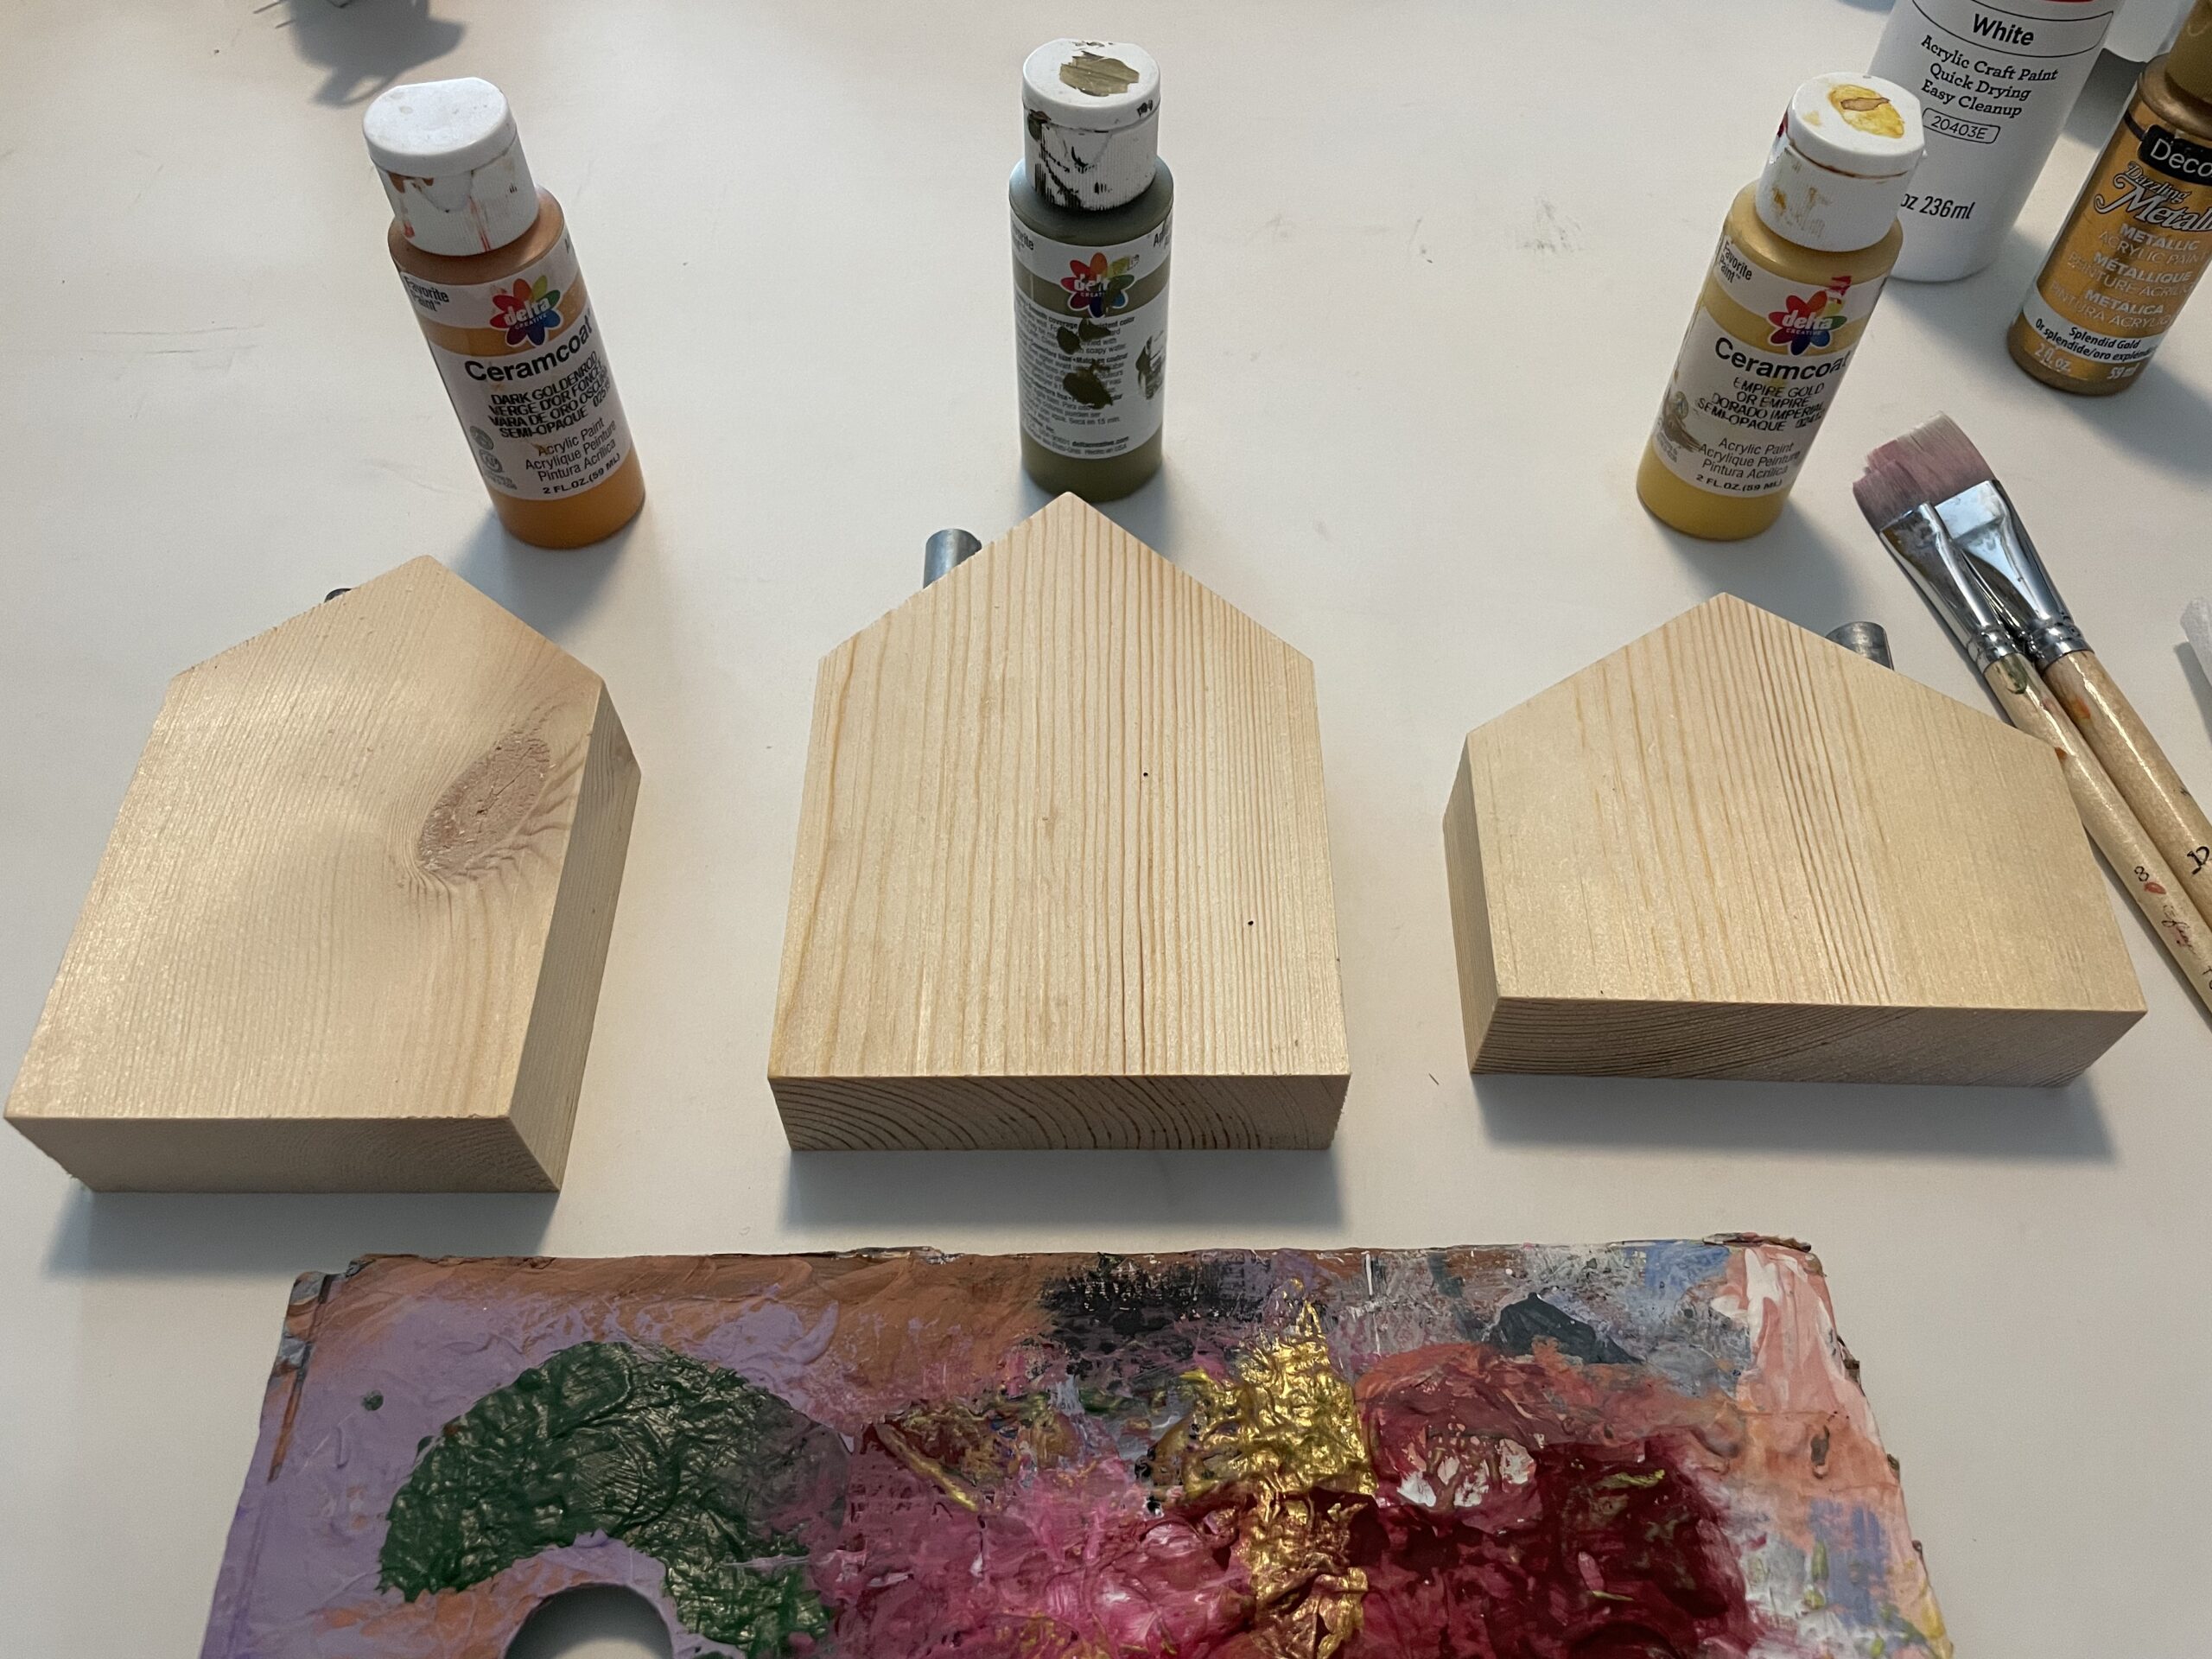
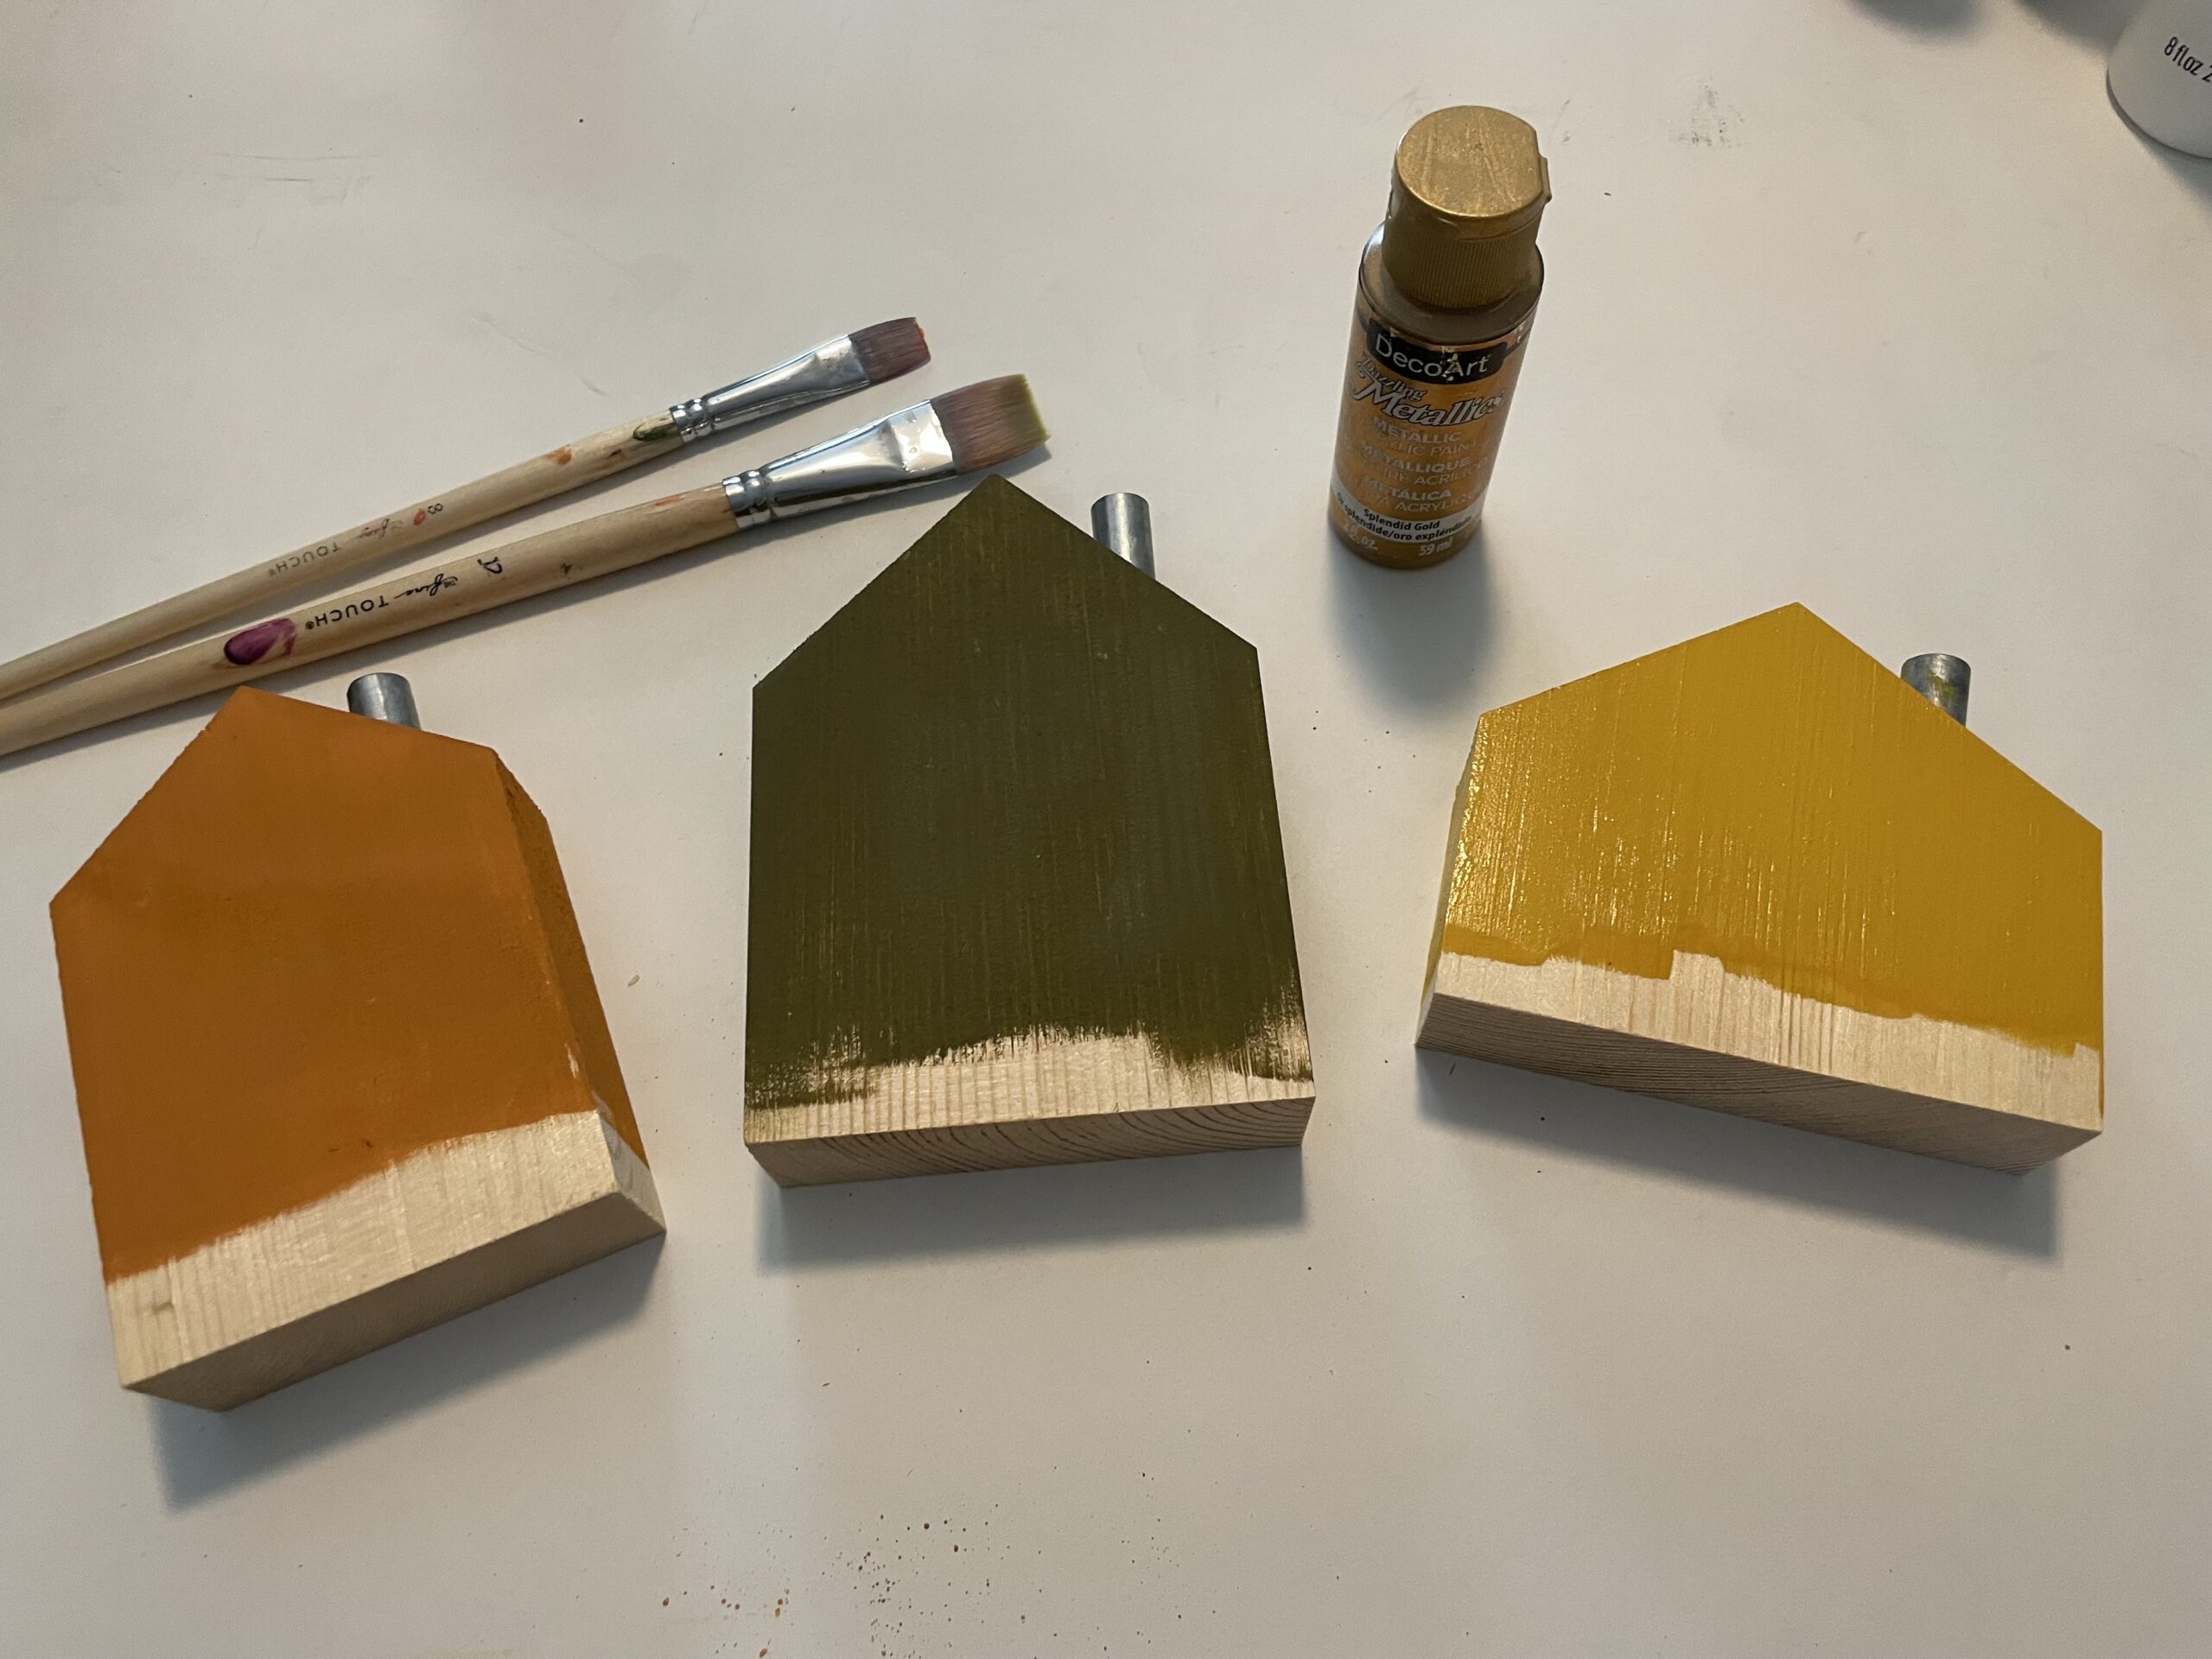
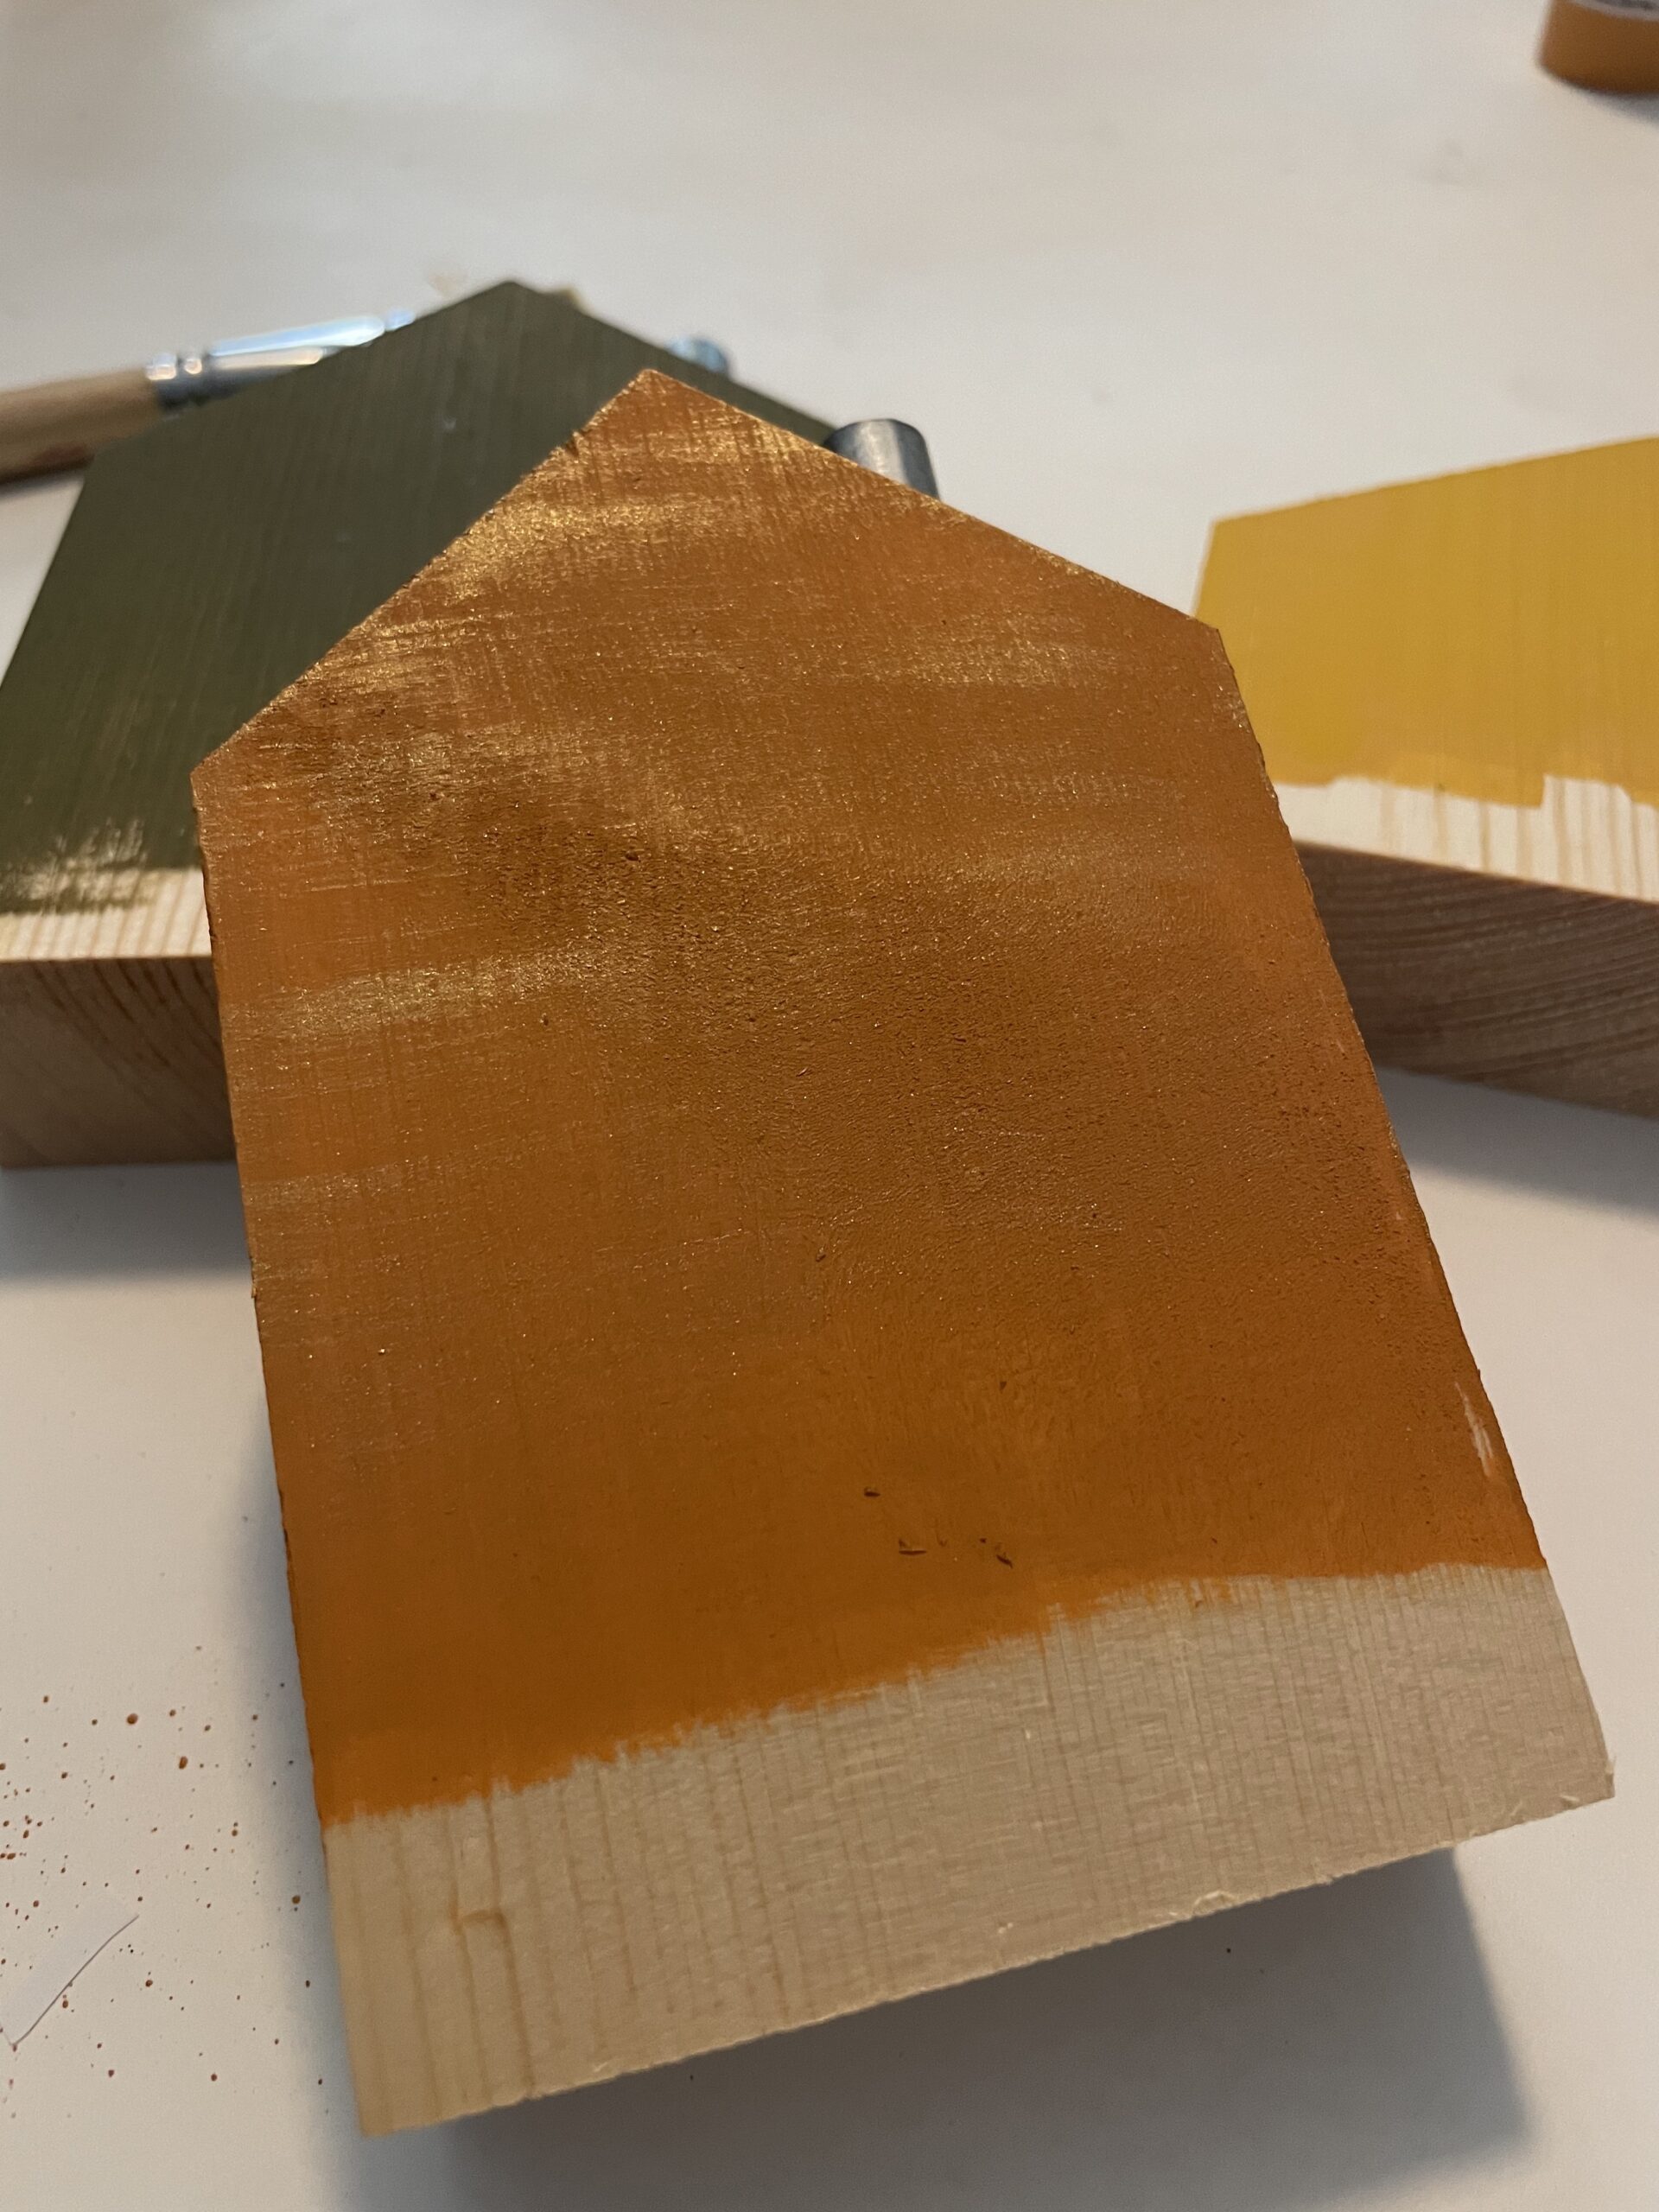
As you can see, I picked rusty orange, yellow, and deep green. I painted the top of the house down to about an inch. You can paint the whole thing if you want, but I planned to cover up the bottom, so I figured I would save the paint. Once each house was dry, I used some gold paint and did a light dusting over each one to give a rustic shimmer. While the gold drys, start warming up a hot glue gun.
Step 2: Twine
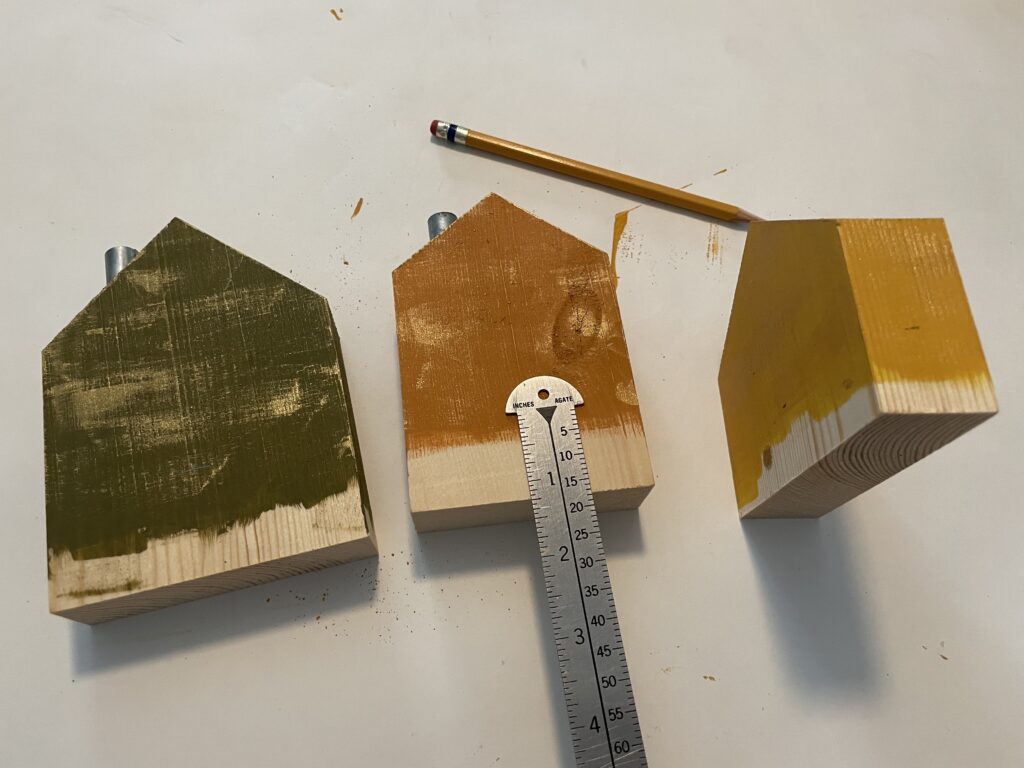
The next step is adding the twine. I measured up about an inch on the smallest house, increased it slightly for the bigger houses, and made a small mark with a pencil on all four sides. This mark will act as a guide when wrapping the twine.
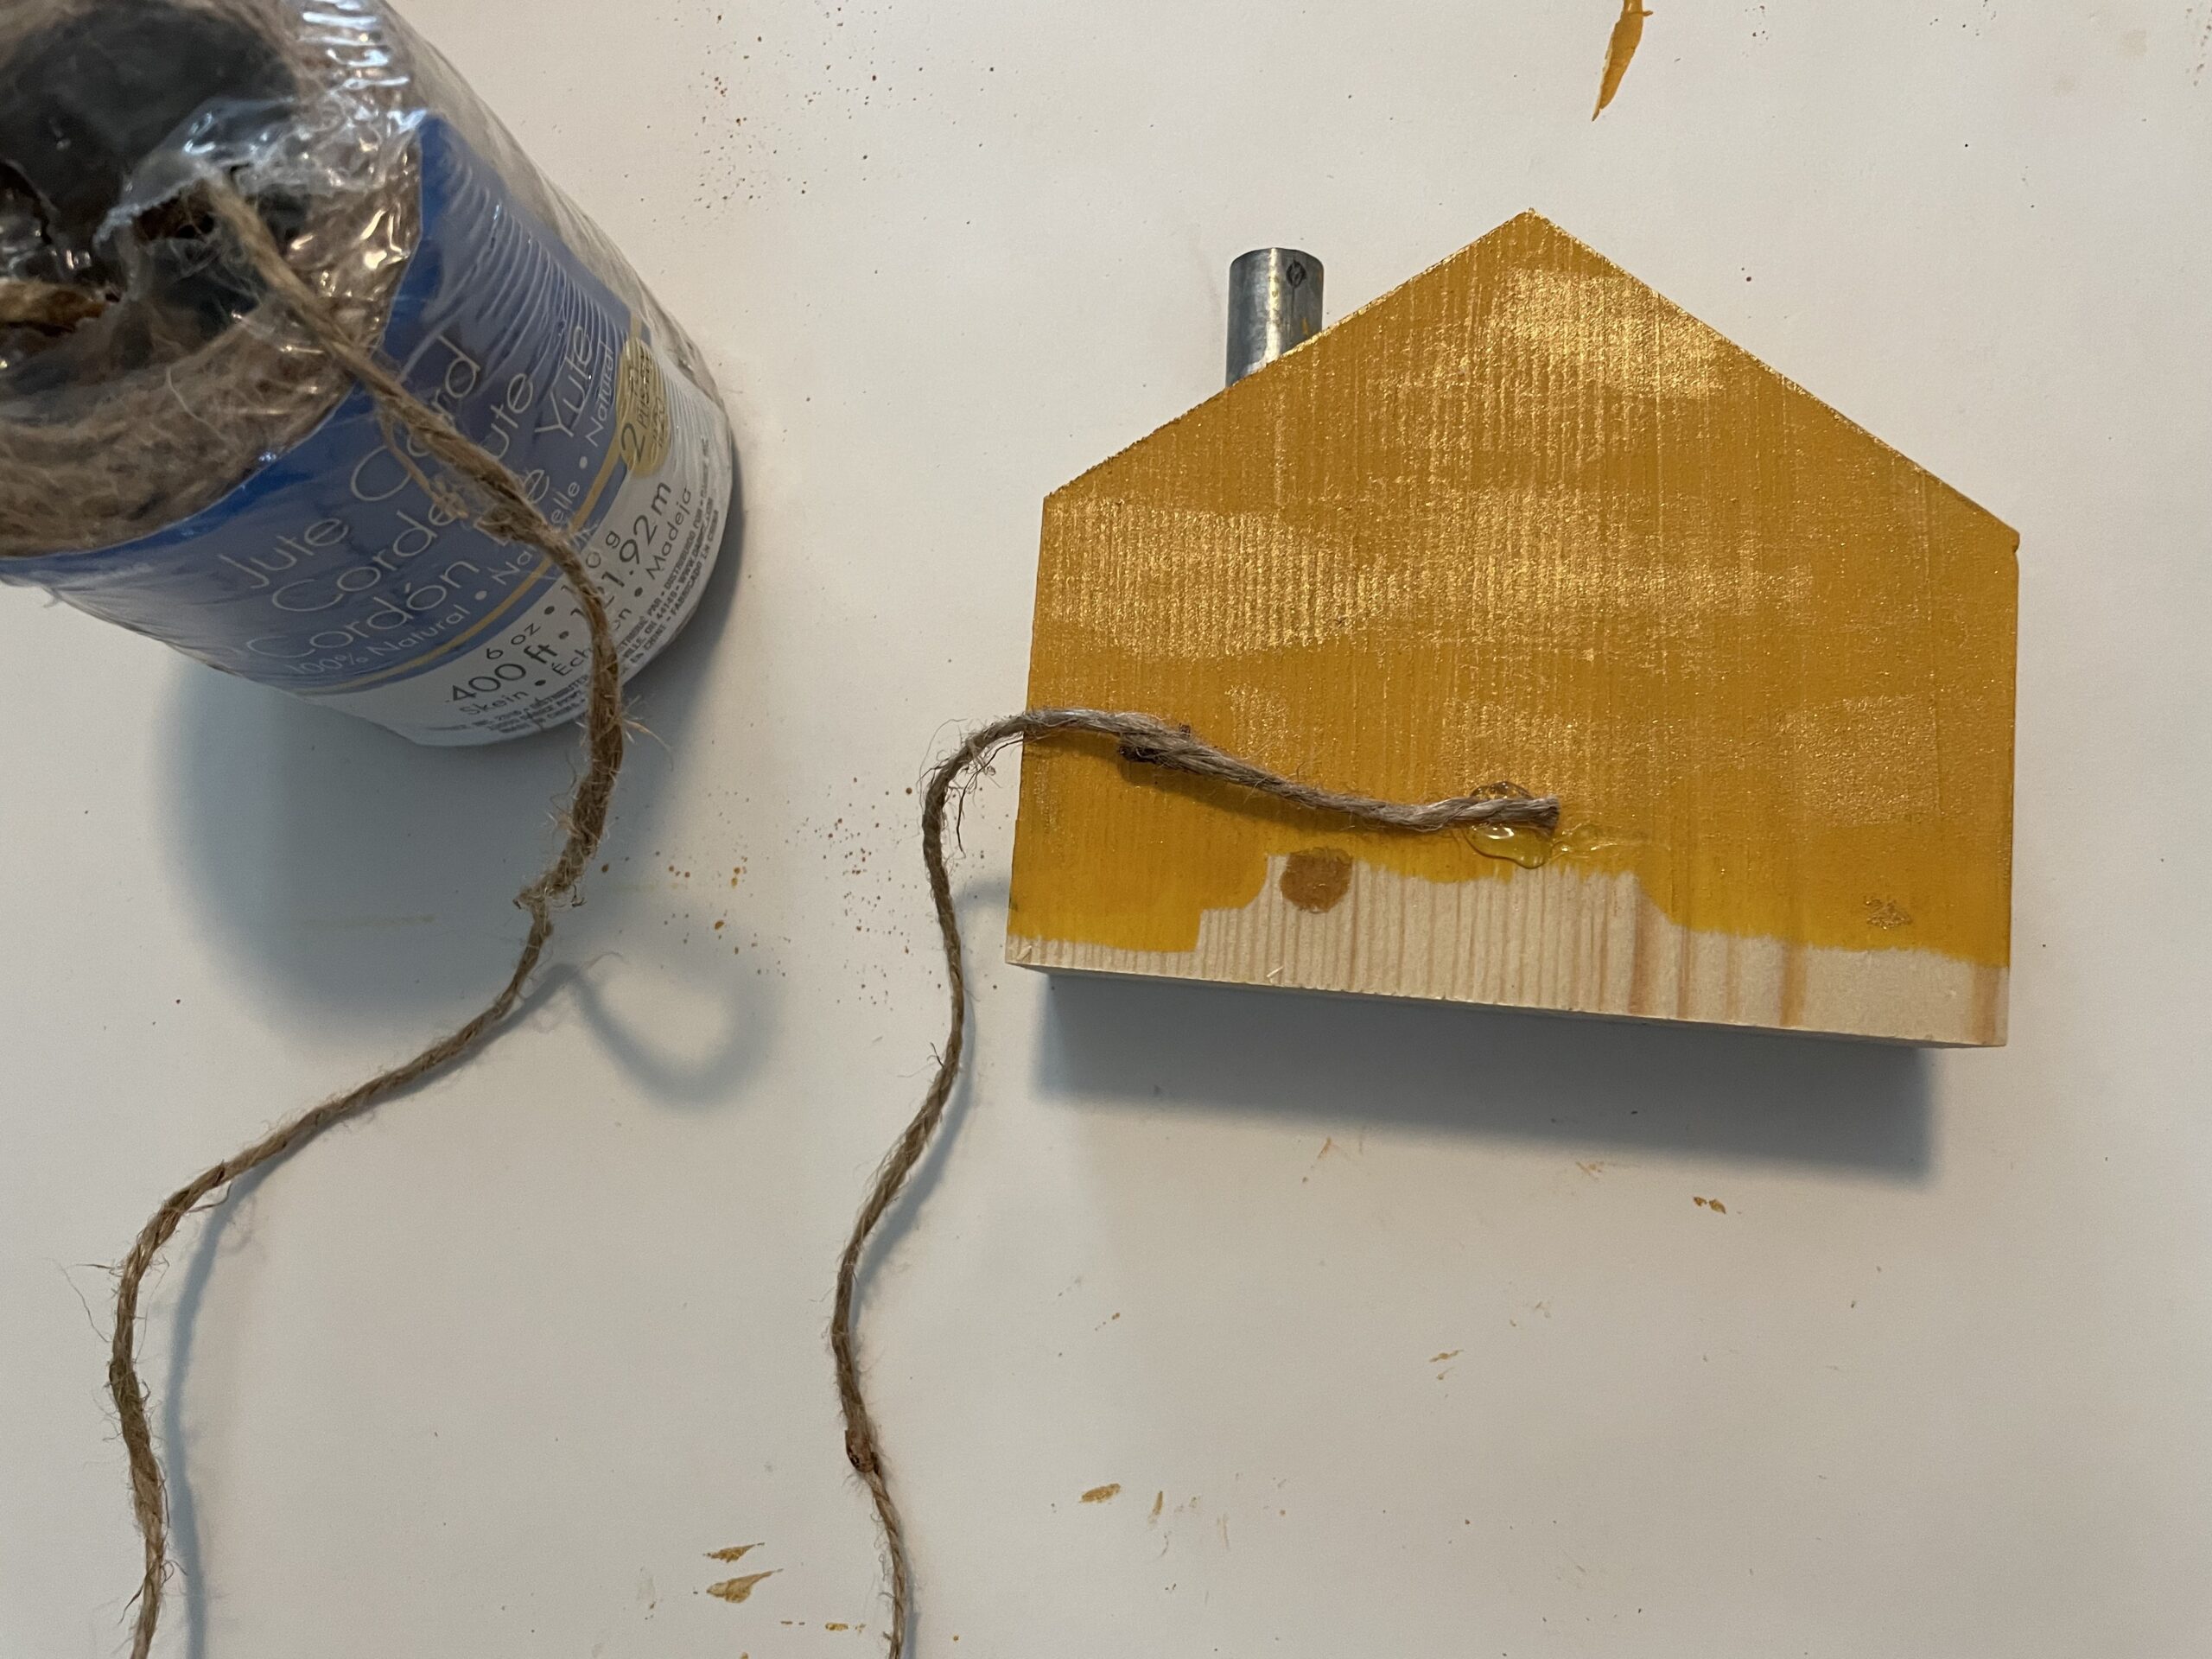
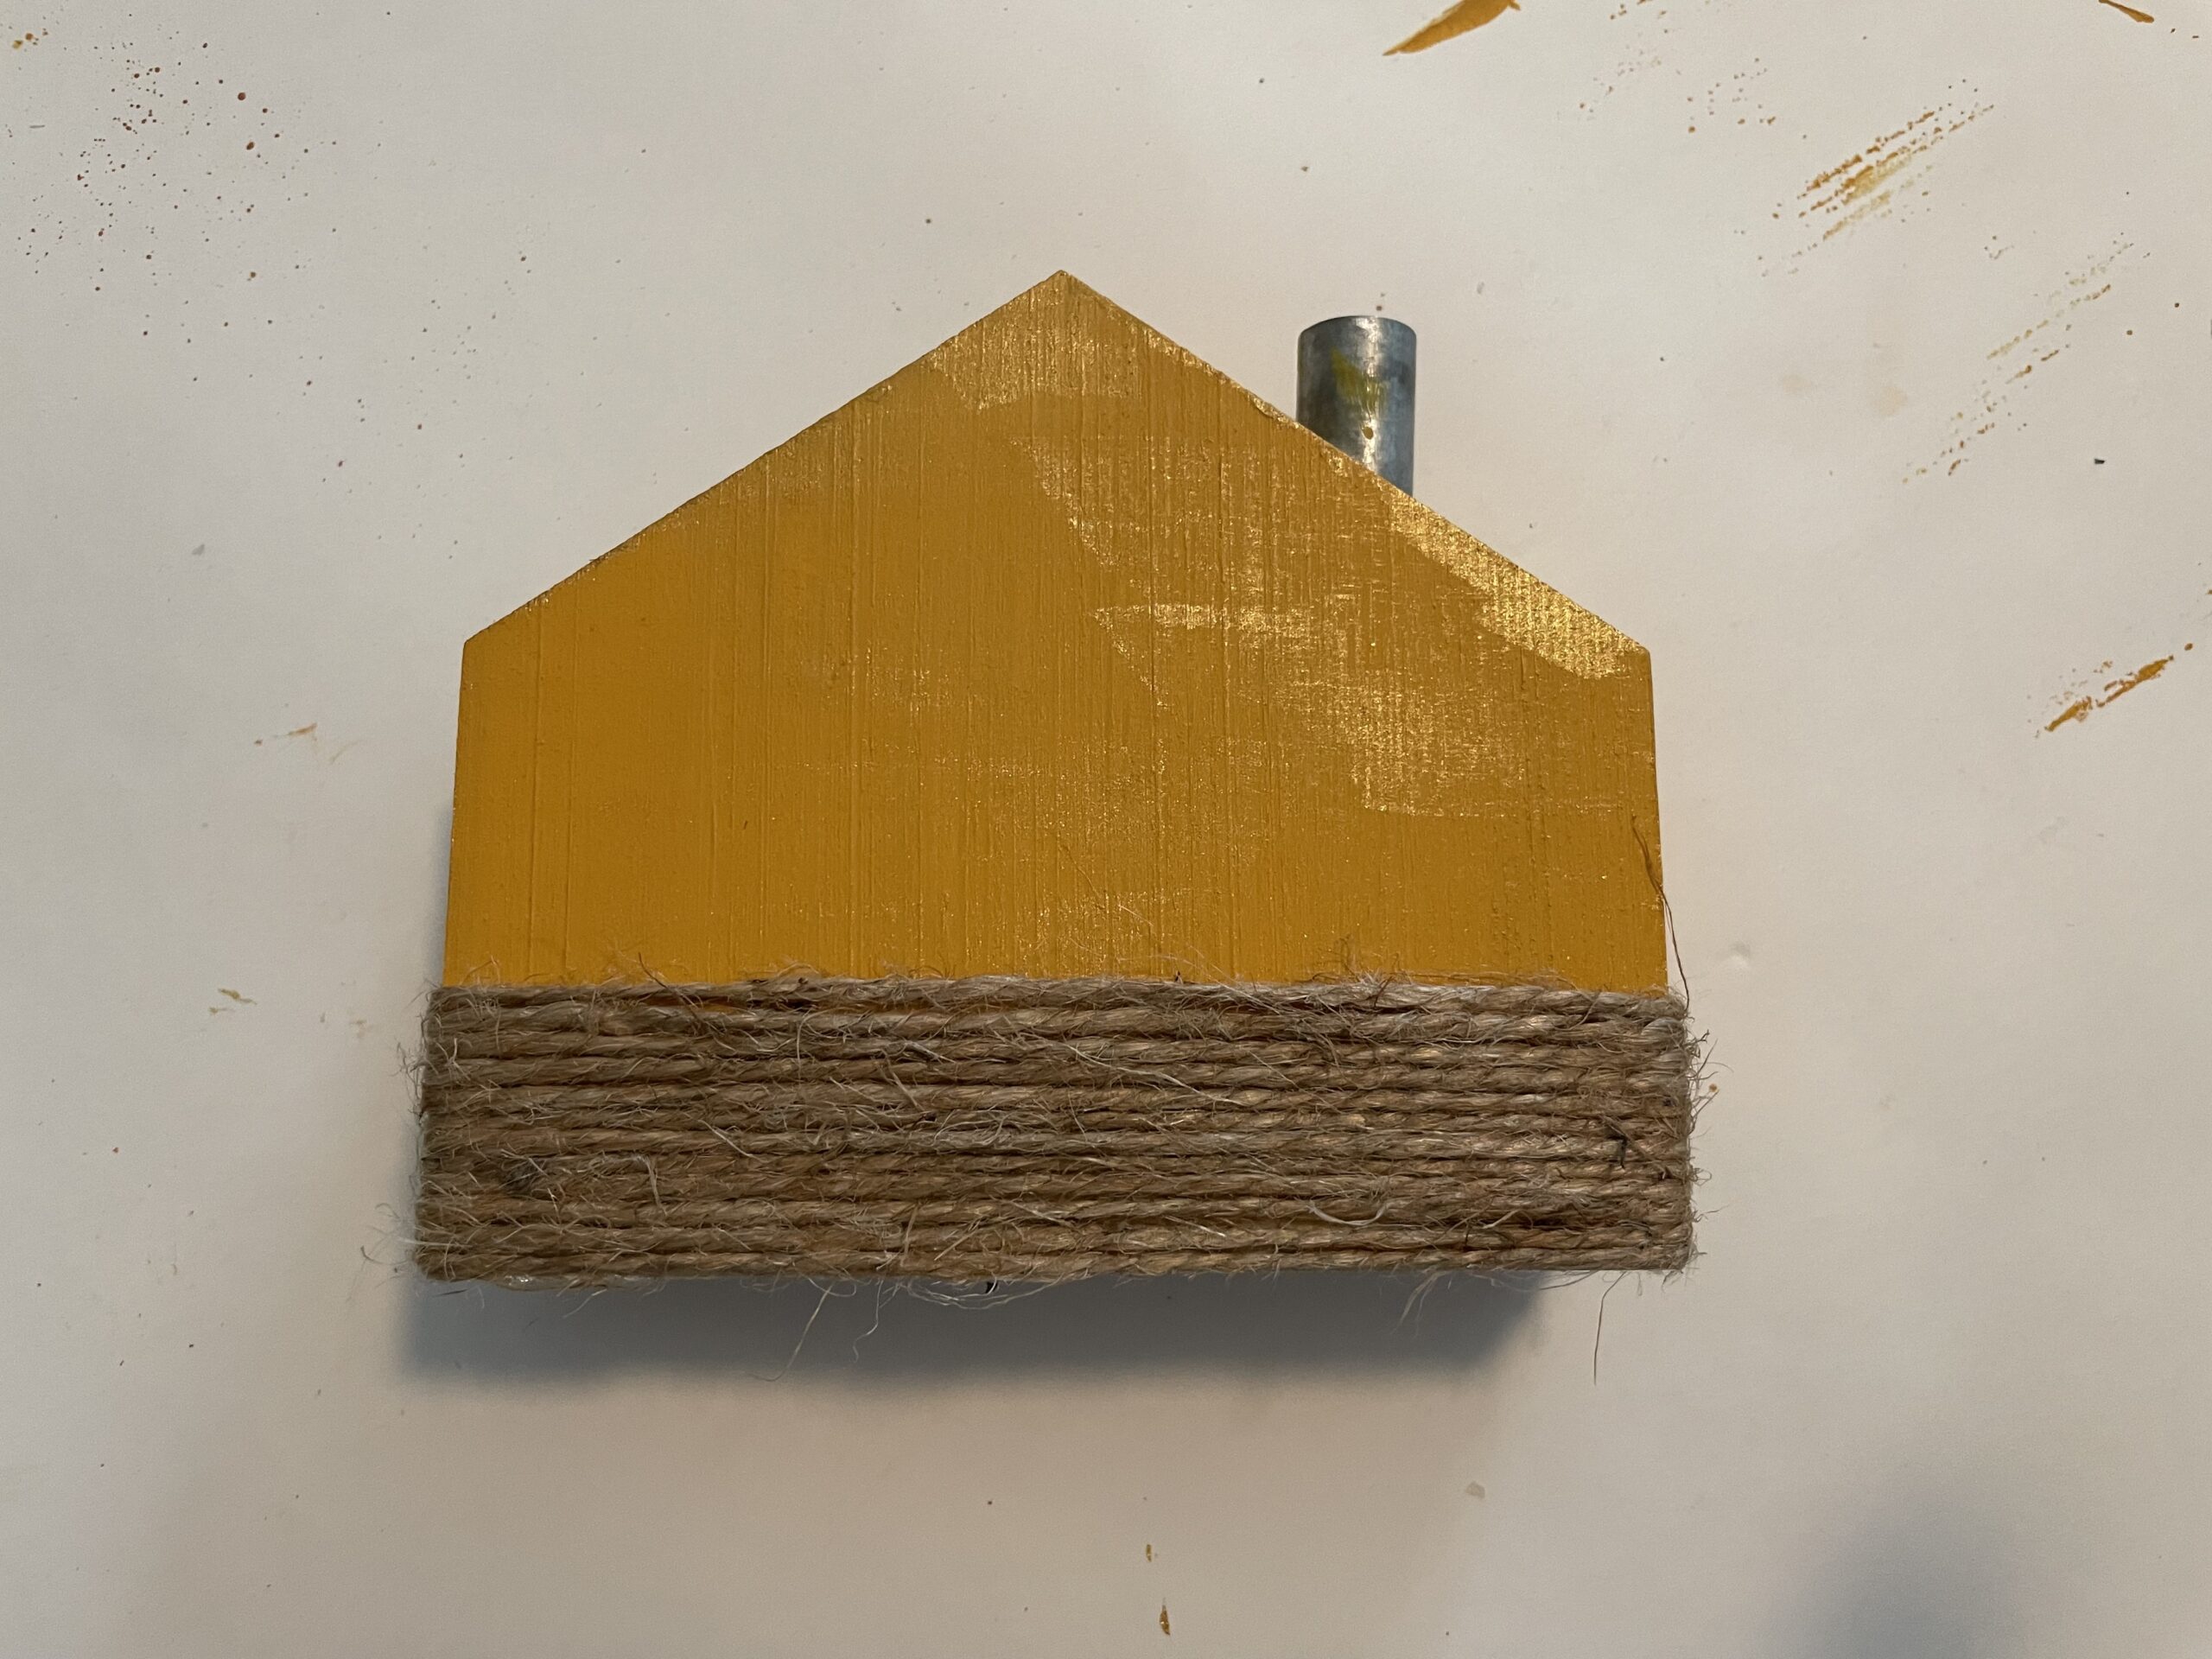
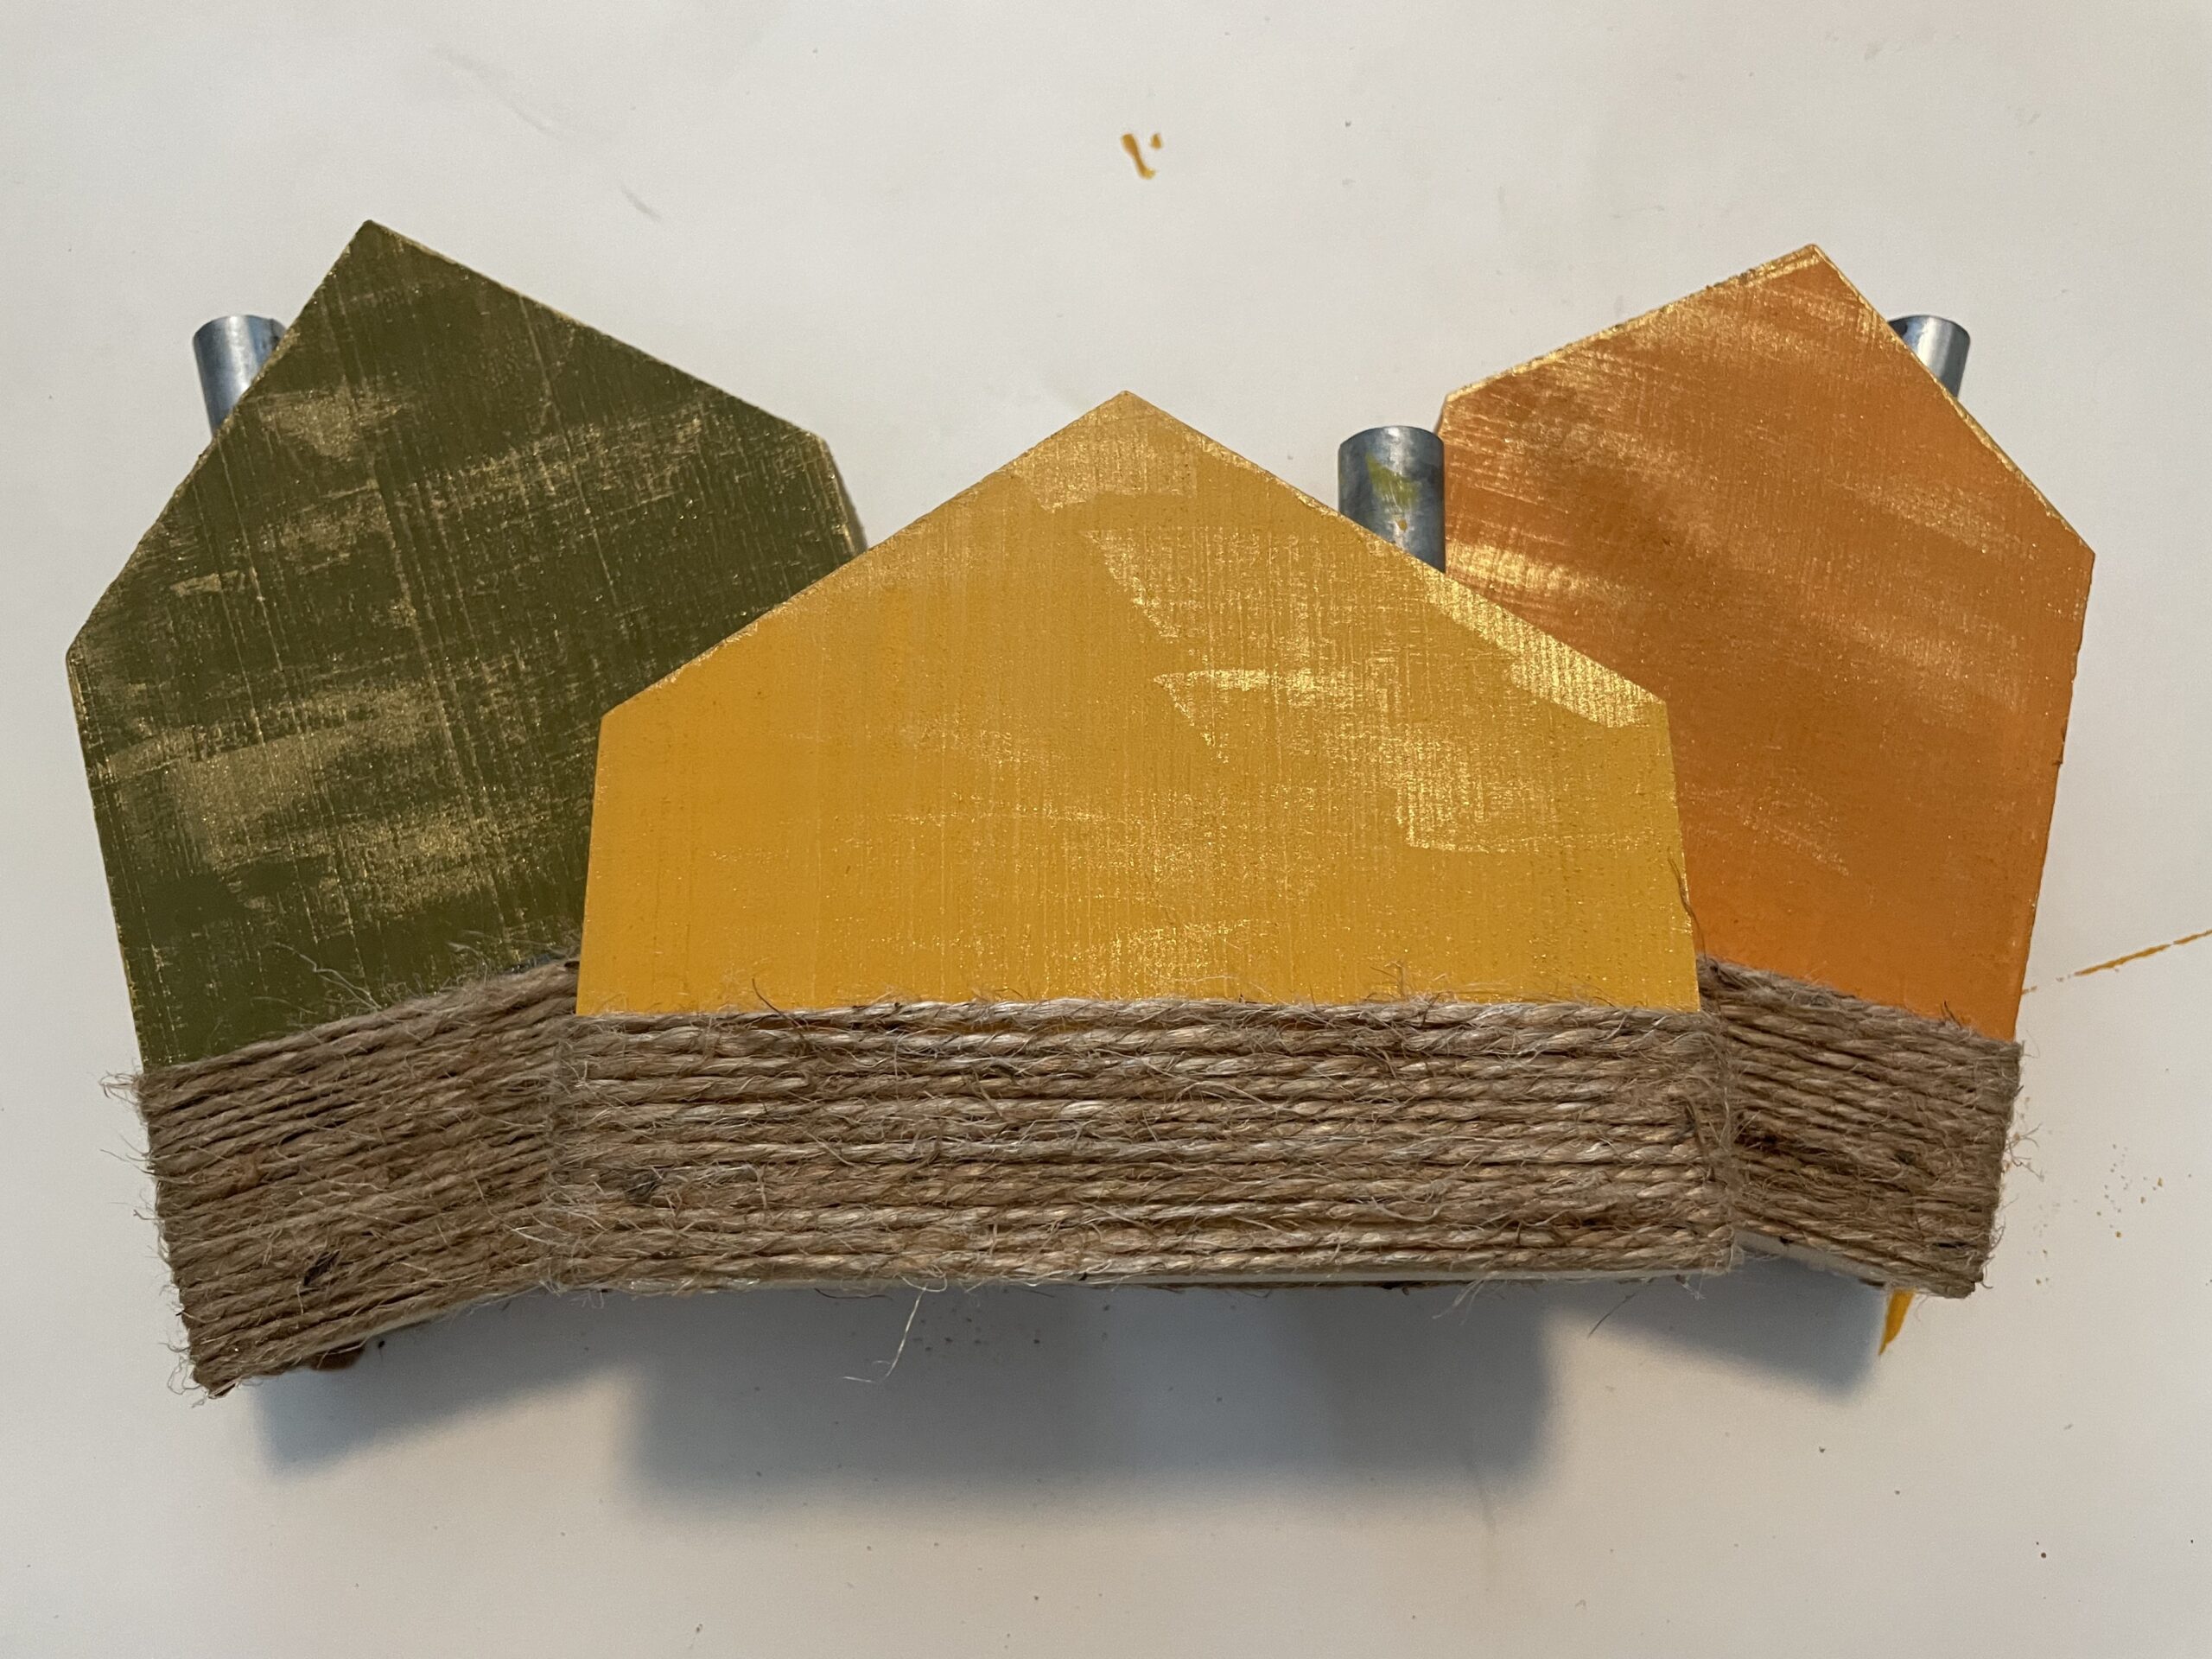
Start on the back side of the house, put a small amount of glue on the pencil mark, and attach the twine. Let it dry completely before pulling it around the side of the house. As I went around the first time, I added glue on each pencil mark, then wrapped the whole thing (snugly) and didn’t use glue until the very last go-around. Then snip the twine close to the house, so there is no tail.
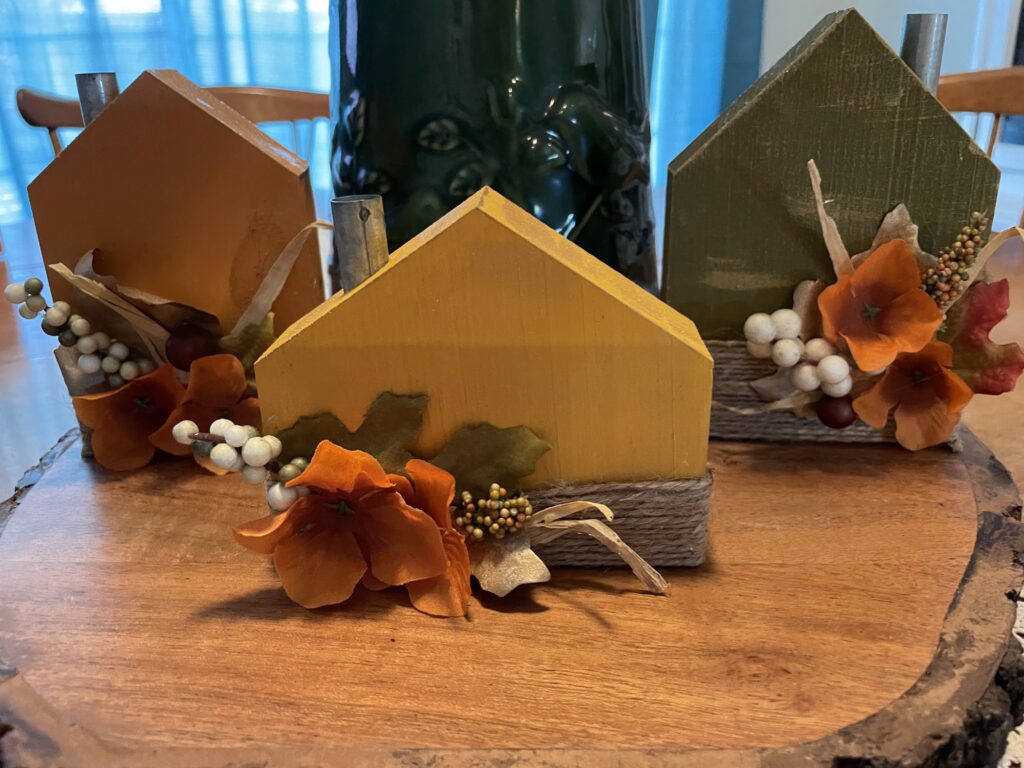
Step 3: Decorate the Mini Fall Houses

Here’s where we get to be creative. I started cutting bits of leaves and flowers off the decorations I bought and pieced together a little bouquet on my paper. Once I got an arrangement I liked, I glued it down to the mini Fall house piece by piece.
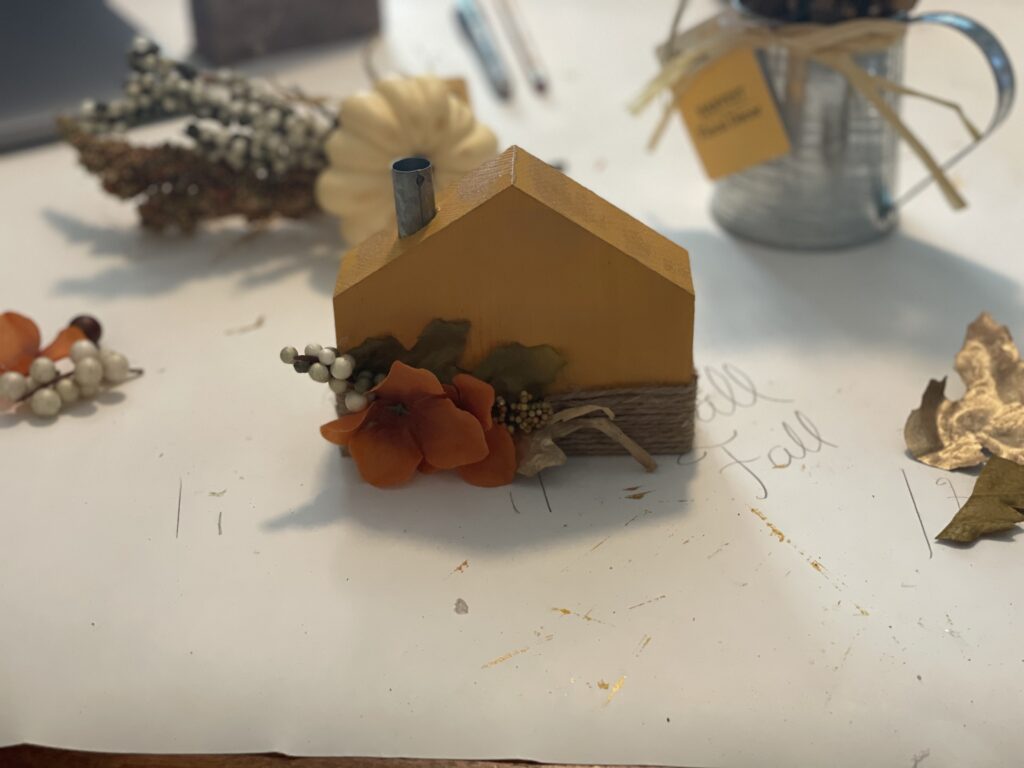
Here is the first mini Fall house all finished. The nice part about these is when I changed my mind about the writing, I simply flipped the house around and put the flowers on the other side. I’m pretty happy with the result. They would be a fun addition to a decorative tiered tray or mantle. I can’t wait to pull out all my fall decor and add these to the mix. Thanks for reading, and happy crafting!