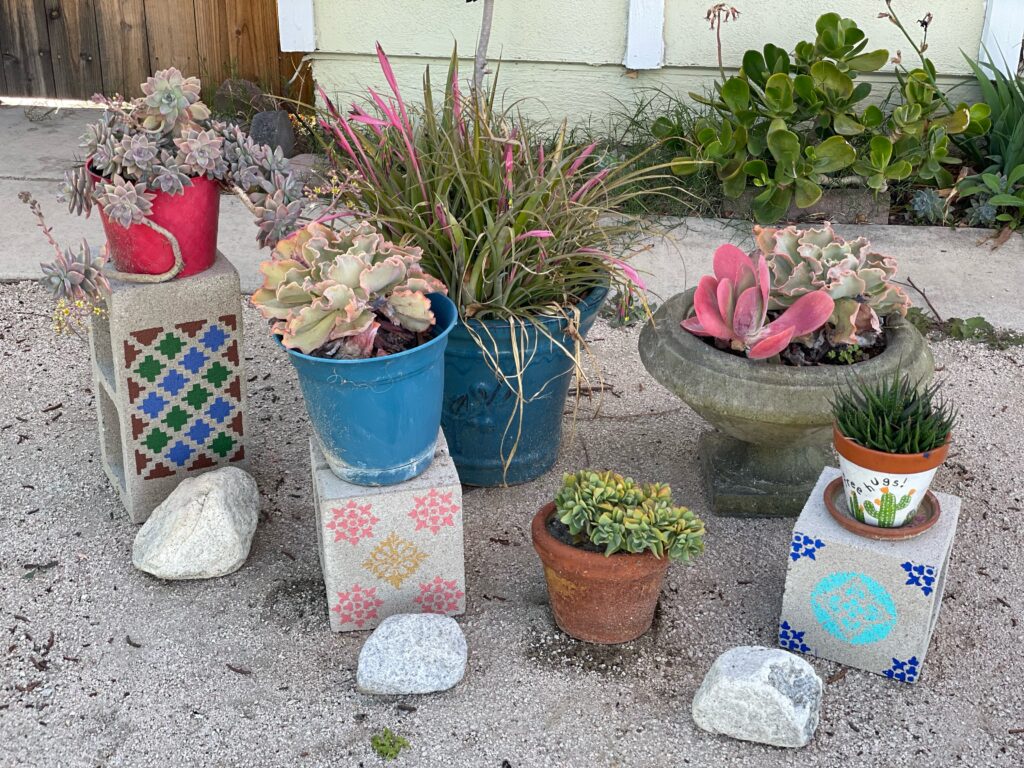
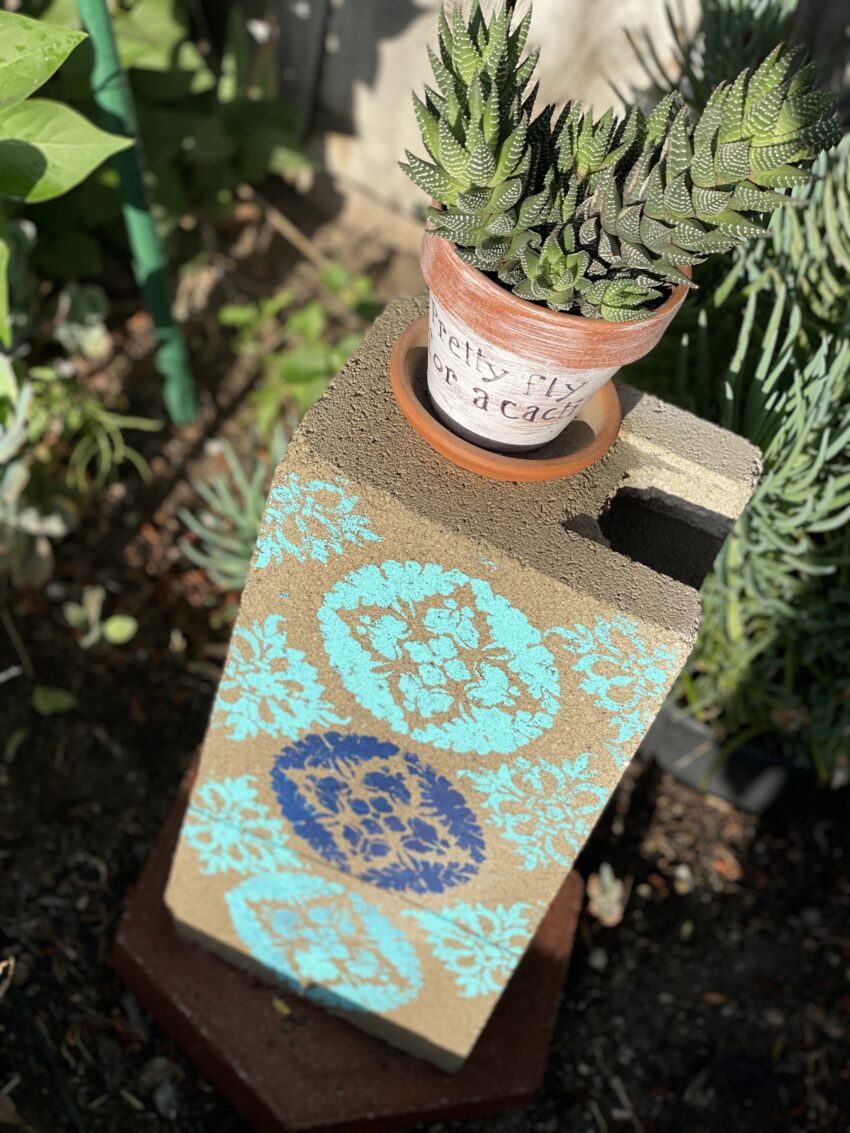
There are no painting skills needed to create these beautiful pops of color for your garden. These painted cinder blocks are a creative project anyone can do even kids. We did this project together as a family and we had a blast doing it.
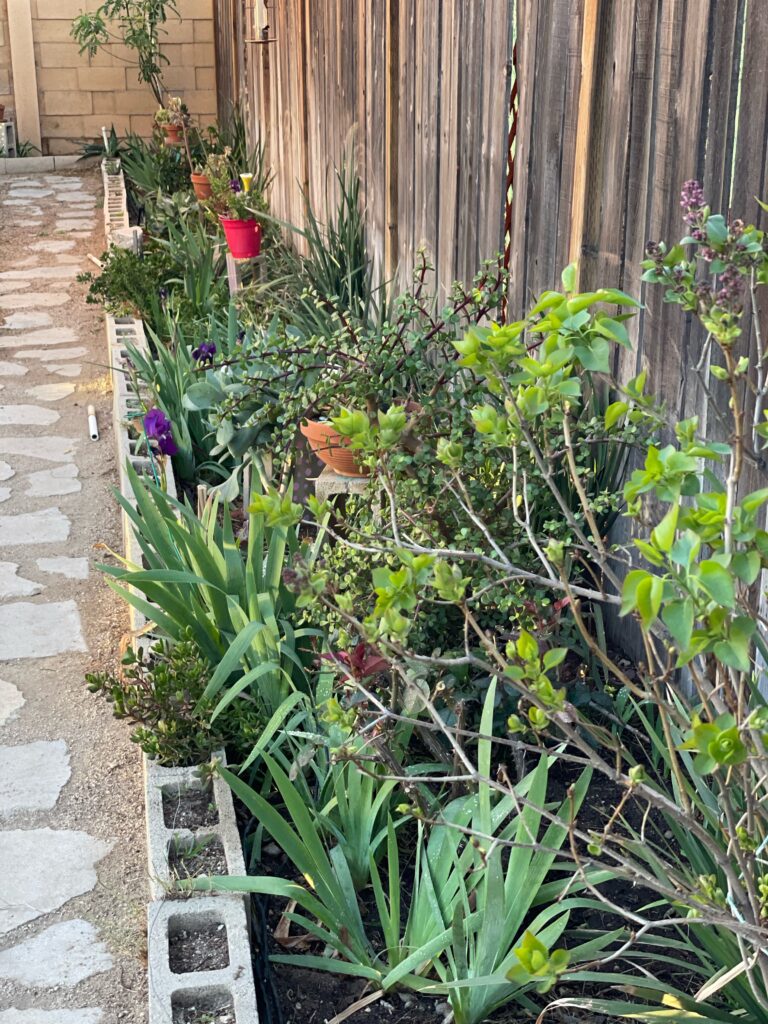
Here’s the back story. The planter in my backyard is lined with a cinderblock wall and I bought myself some bright red pots from Home Depot in hopes of adding color. I placed them around the planter and when I stood back and looked at it, I couldn’t see the pots at all because they were lower than the blocks. Not cool!
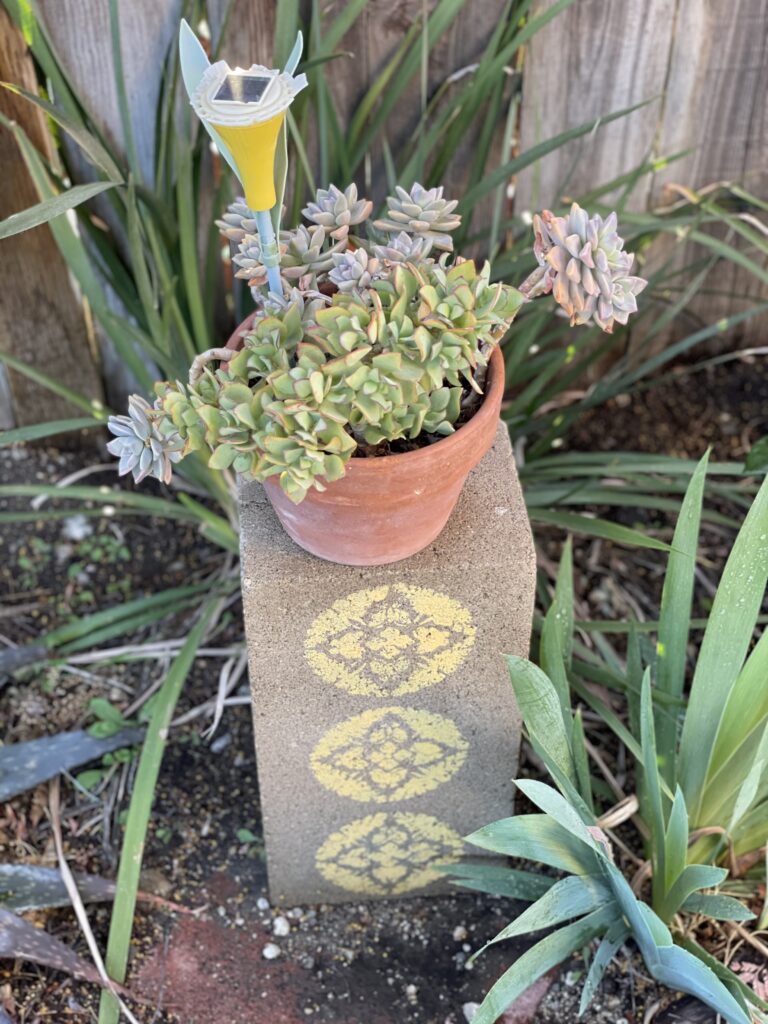
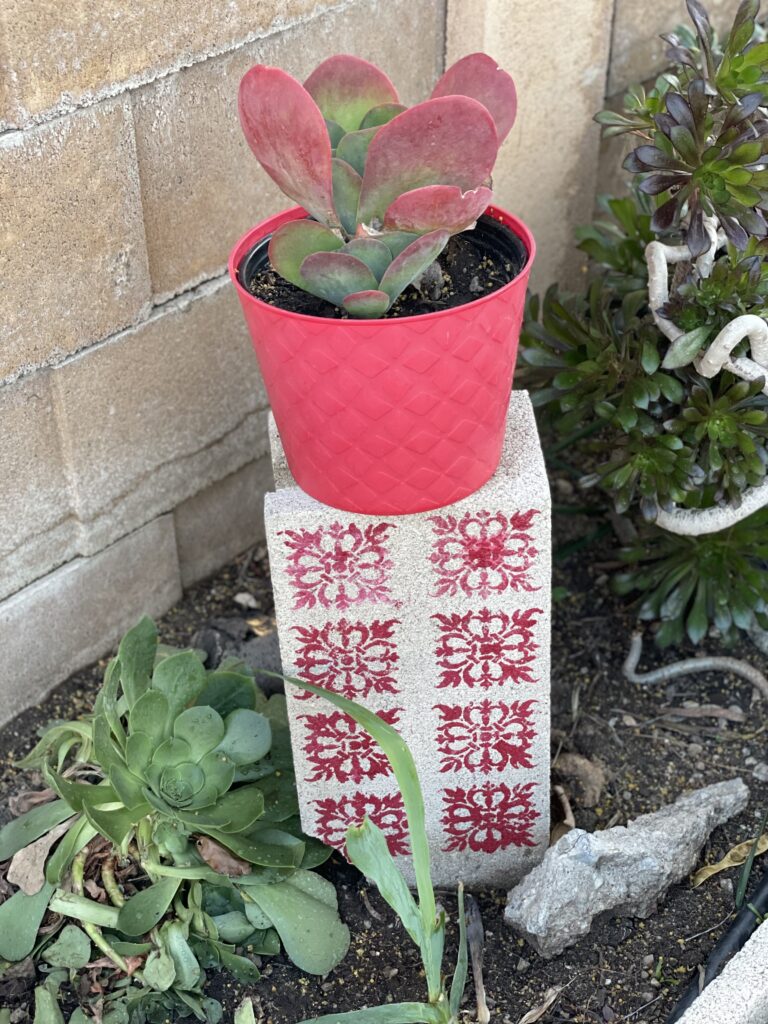
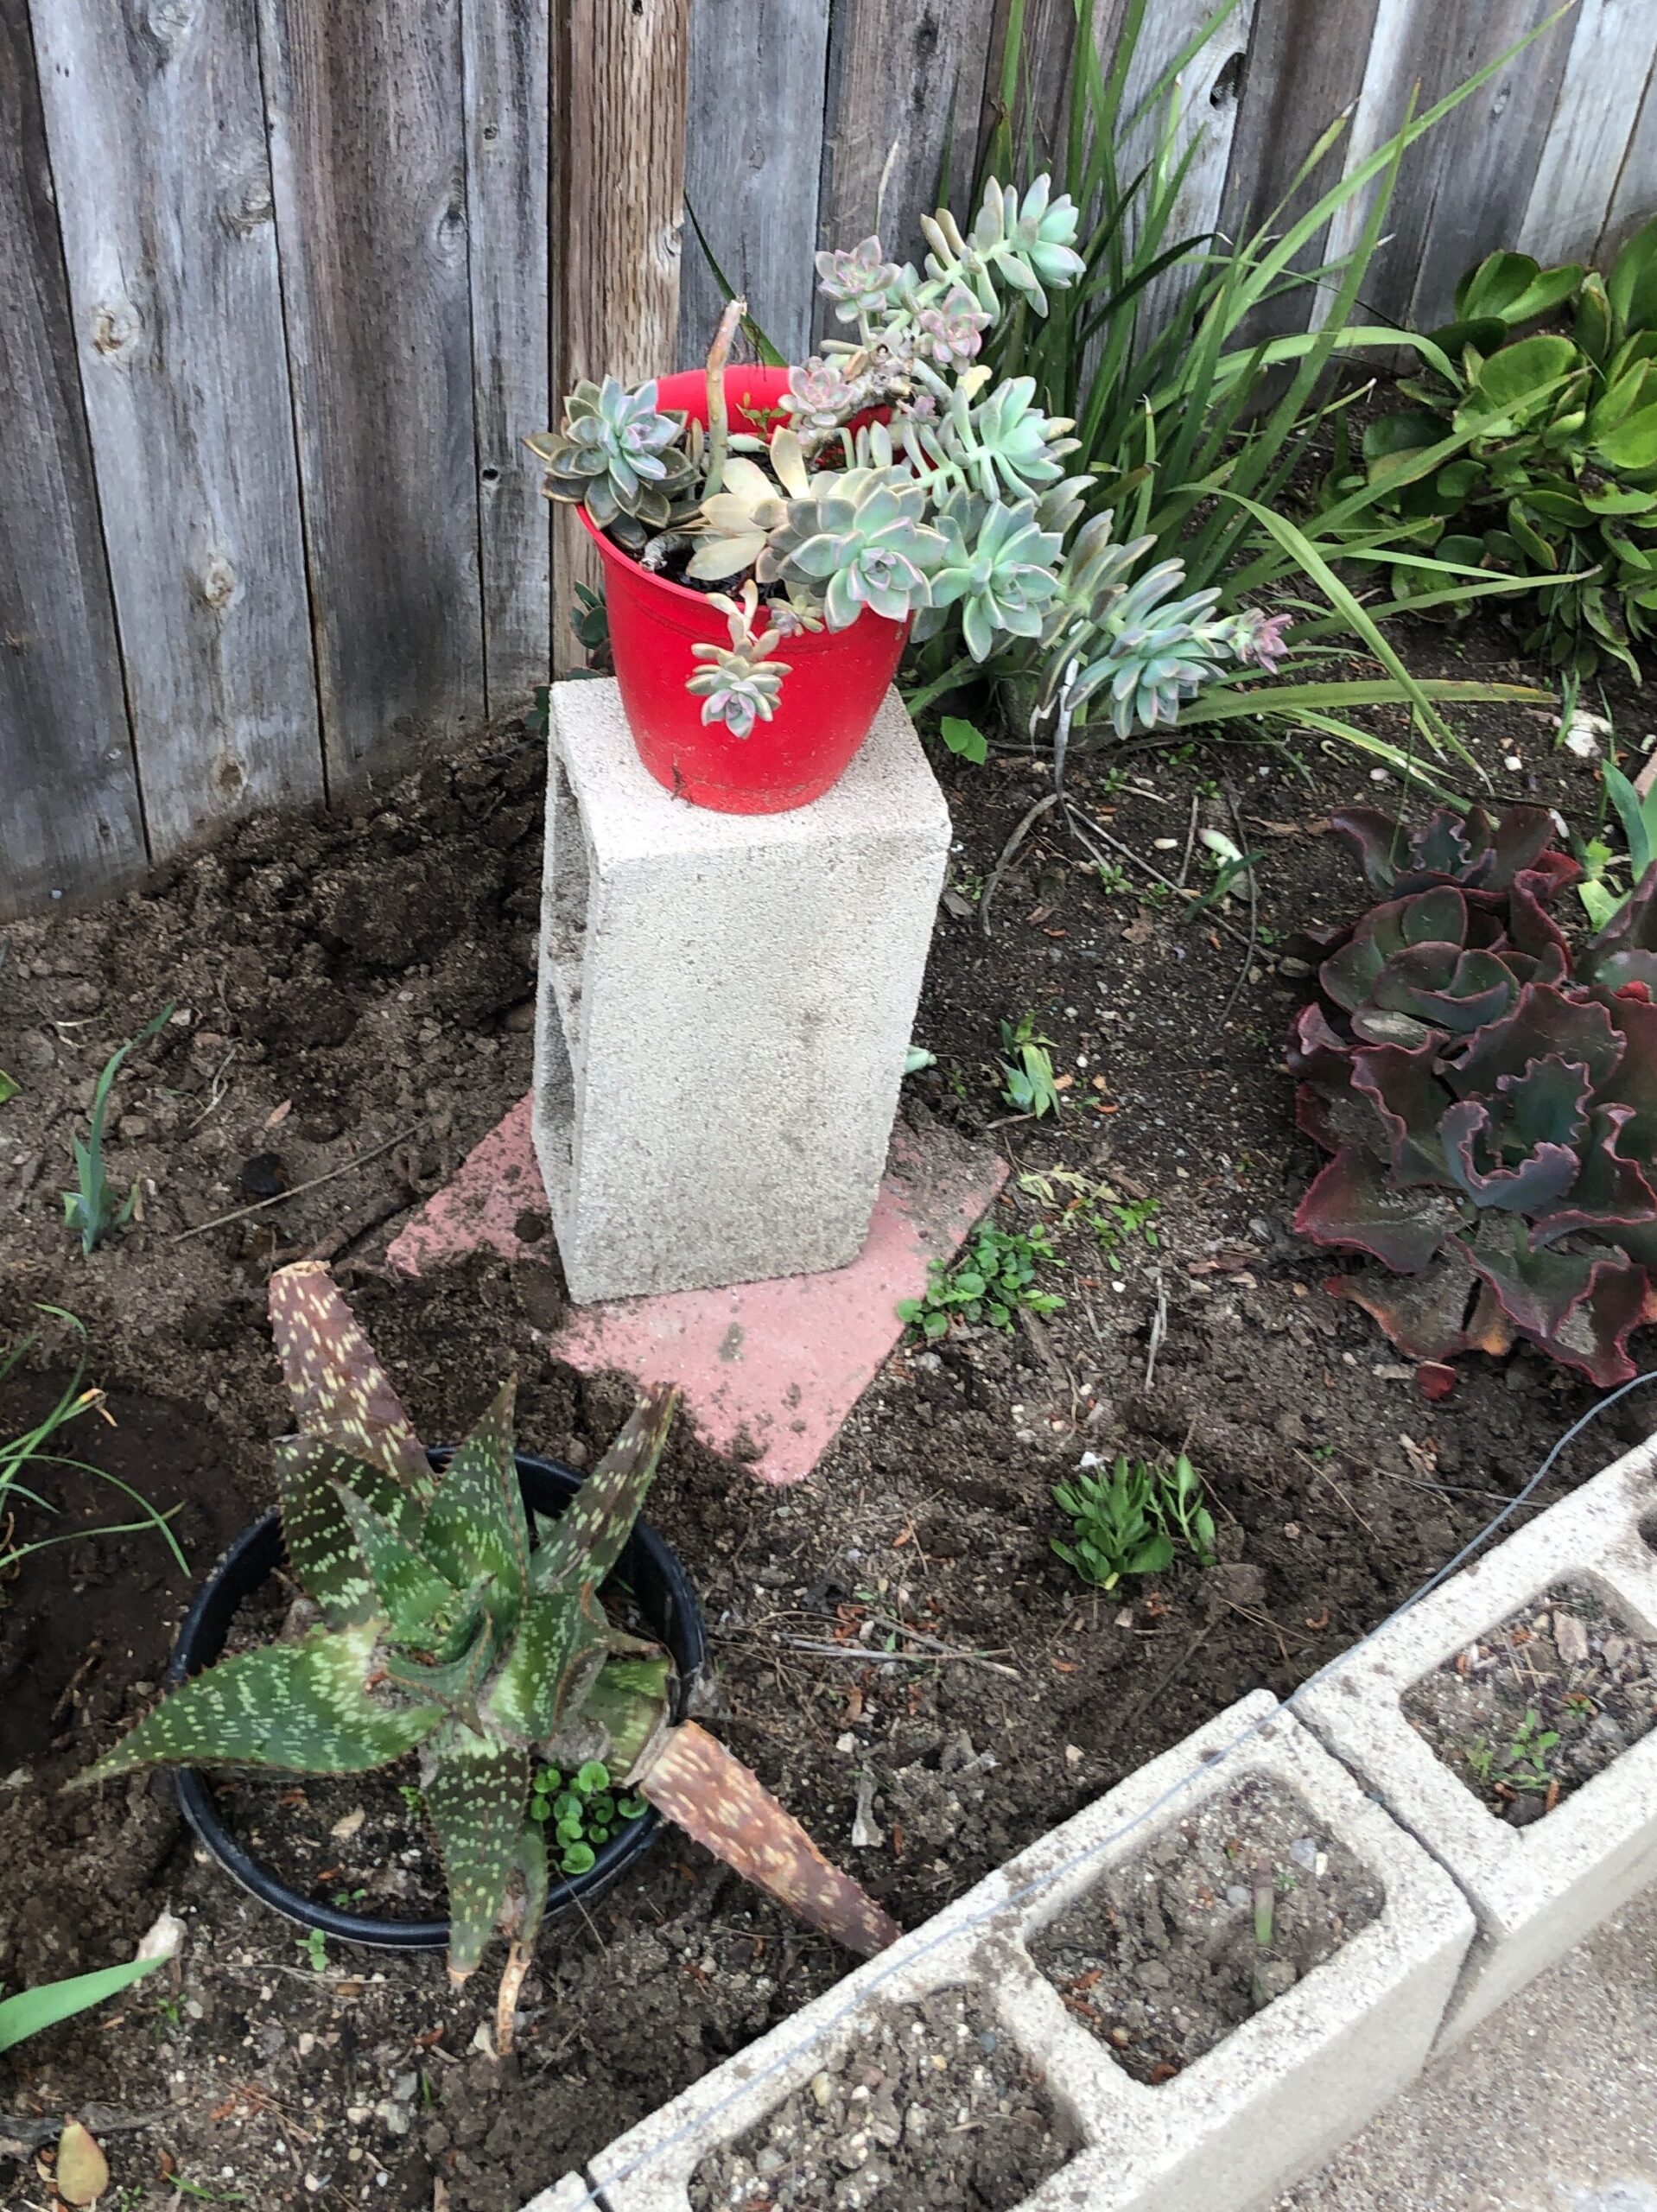
I had to think of a way to raise them up and that’s when I had the idea to place a stepping stone in the planter and stand one of my extra cinder blocks upright on the stone. Then put the red pot with a plant on top. Genius!
Then, one day I was scrolling through Pinterest and found a planter made out of painted cinder blocks. They almost looked like giant Legos. It was so fun and colorful, I had to have it. Taking the idea further I decided to find a stencil with a pretty pattern instead of painting the whole block. It’s much faster, uses less paint, and gives them more character. It’s like adding another fun texture to your garden.
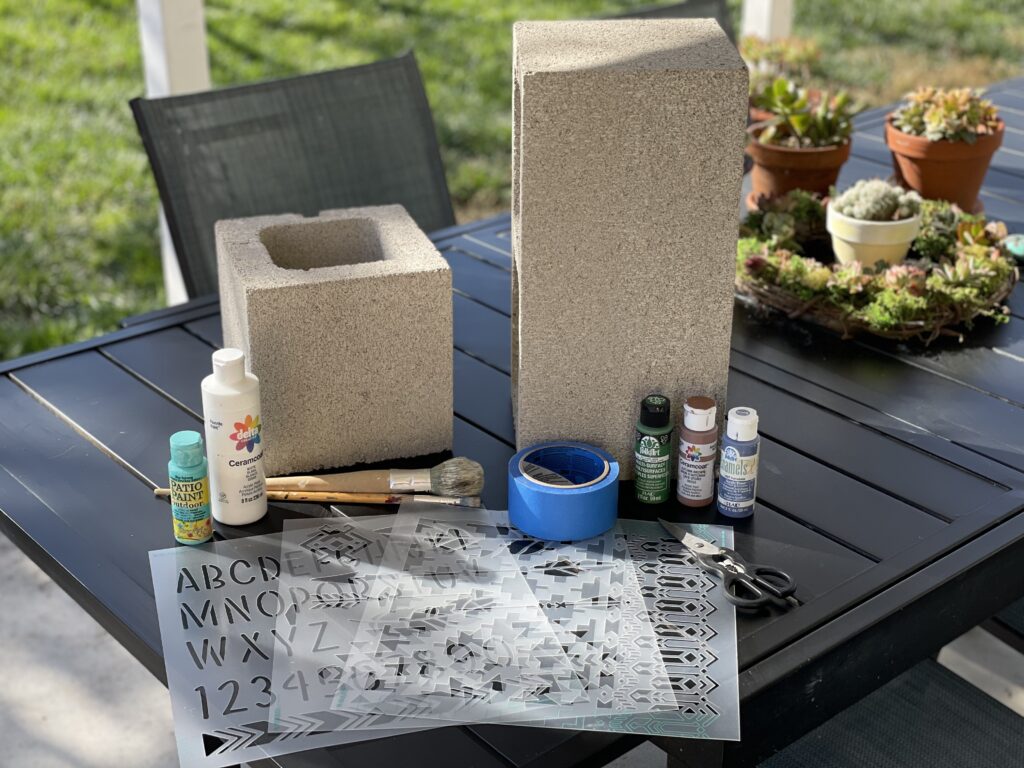
Painted Cinder block Supplies:
- Cinderblock, large or small
- Paint, in the colors of your choice
- Stencil pattern of your choice
- Paintbrushes
- Painters tape
- A seal spray (I used Flex Seal shone below)
- Protective covering for your table
Stencil Instructions:
Step 1:
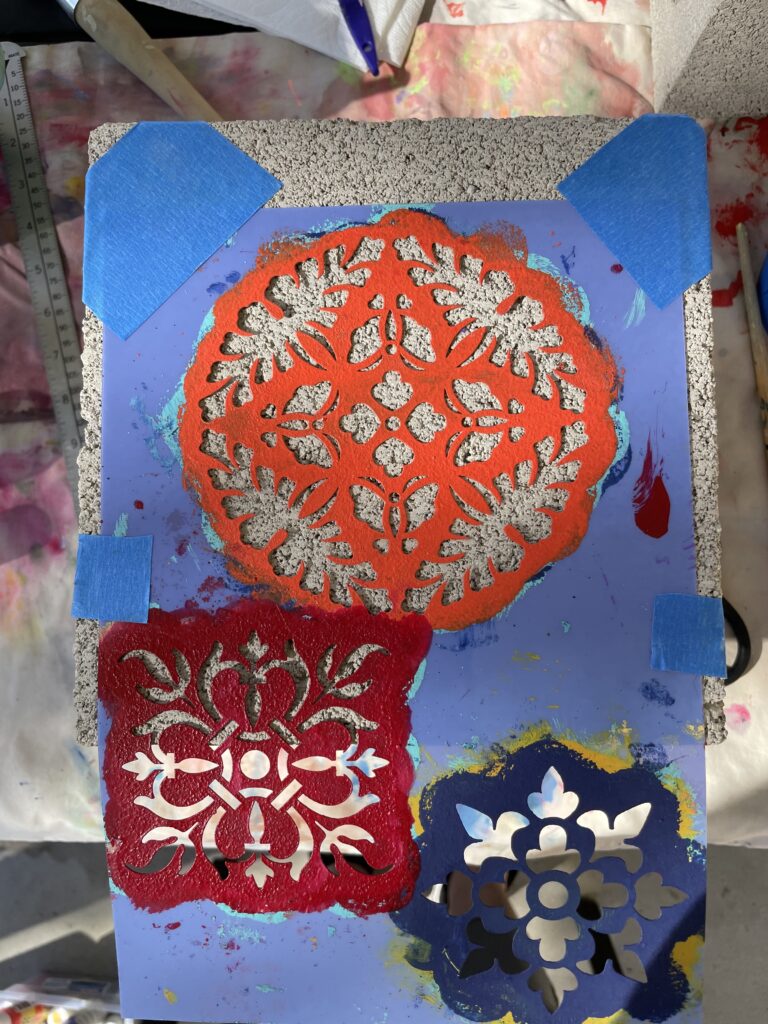
Make a design plan. Decide where you want to place your pattern or shape and then tape it down. If you are going to repeat the same pattern in a different spot make sure to wipe off the paint from the back of the stencil before taping it down again or you will get paint where you don’t want it. As you can see, this blue stencil is my favorite and is well used. I bought it a few years ago at Hobby Lobby. The stencil below is new and we found it at Walmart.
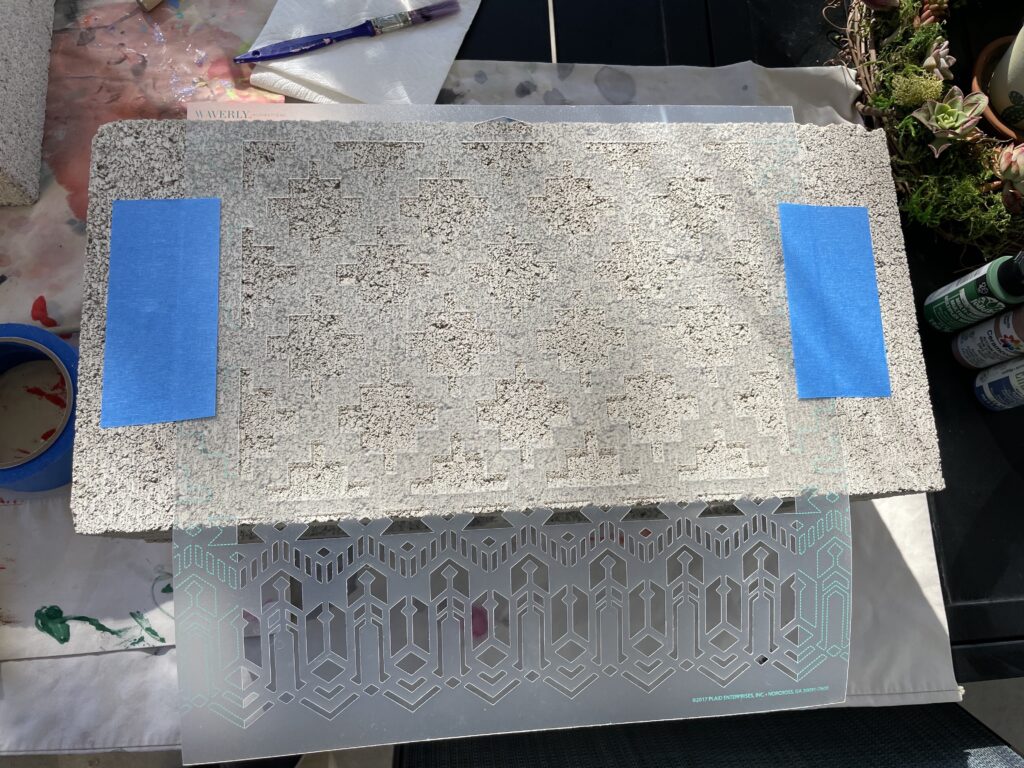
Step 2:
Let’s get painting!
I used an old paintbrush that’s been around the block, (pun intended) but you can use whatever you’re comfortable with. My dad used a softer brush on his and it worked just as well. What you want to avoid is brushing side-to-side that risks pushing your brush underneath the stencil. I like to use an up and down dabbing motion which helps push the paint into the pits of the cinderblock.
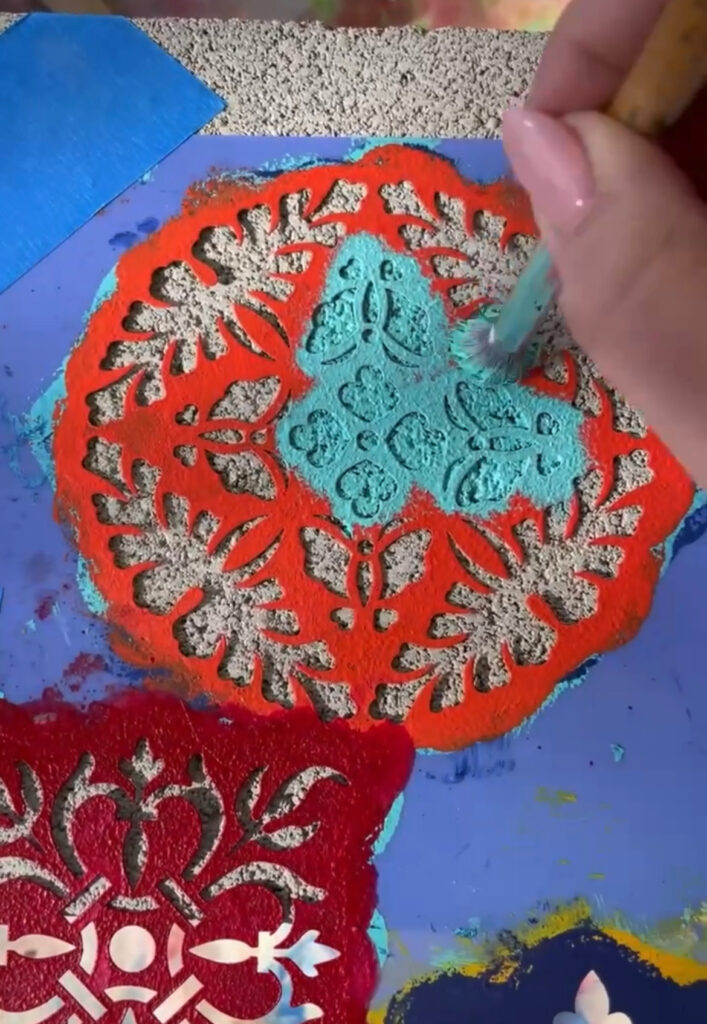
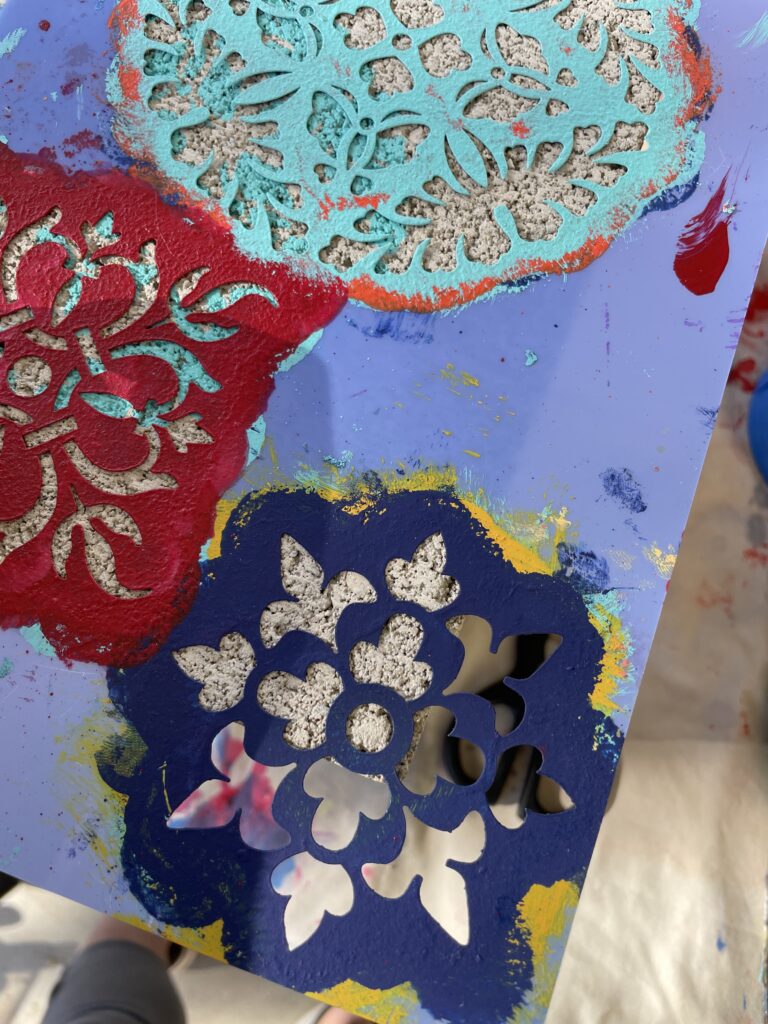
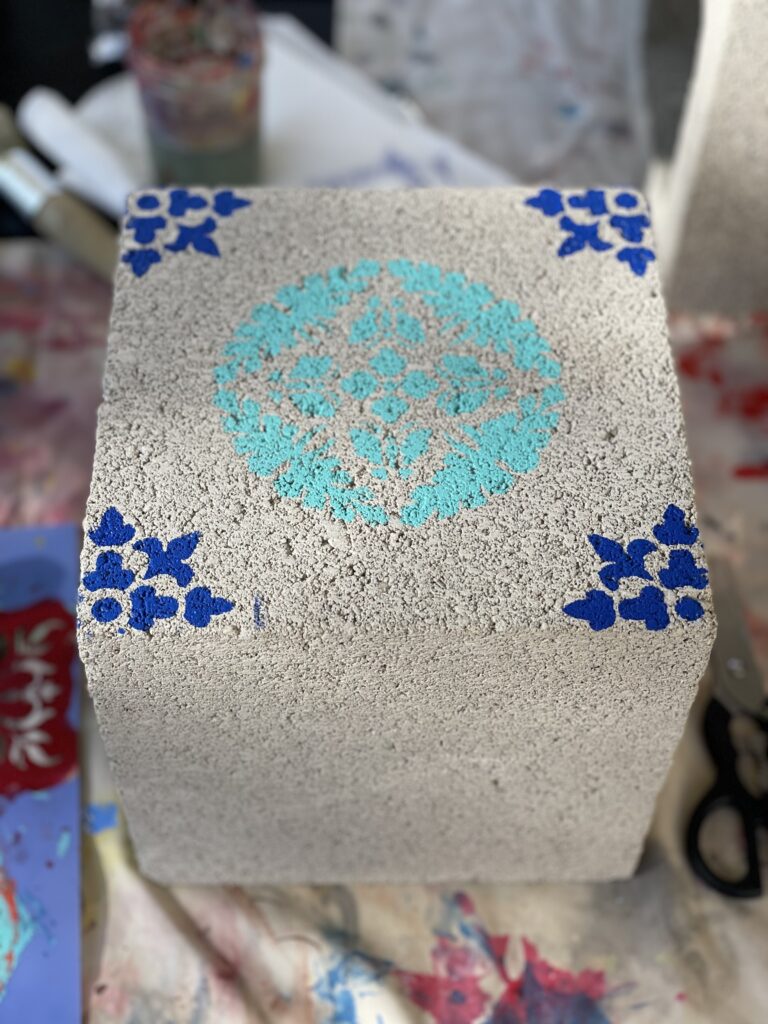
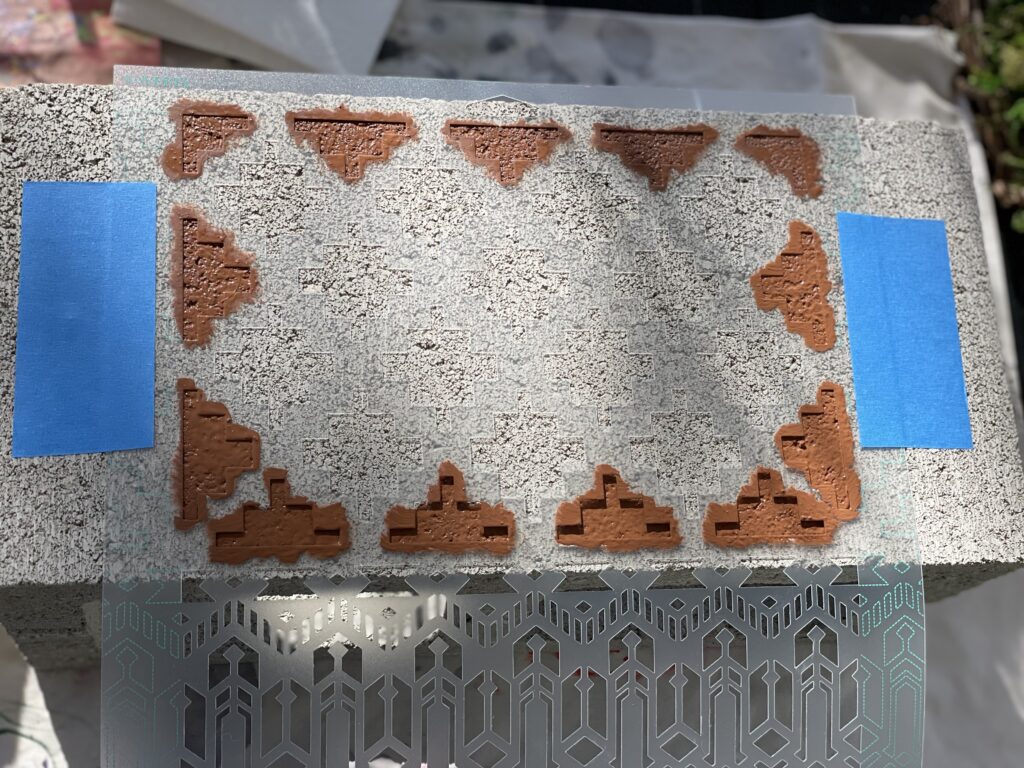
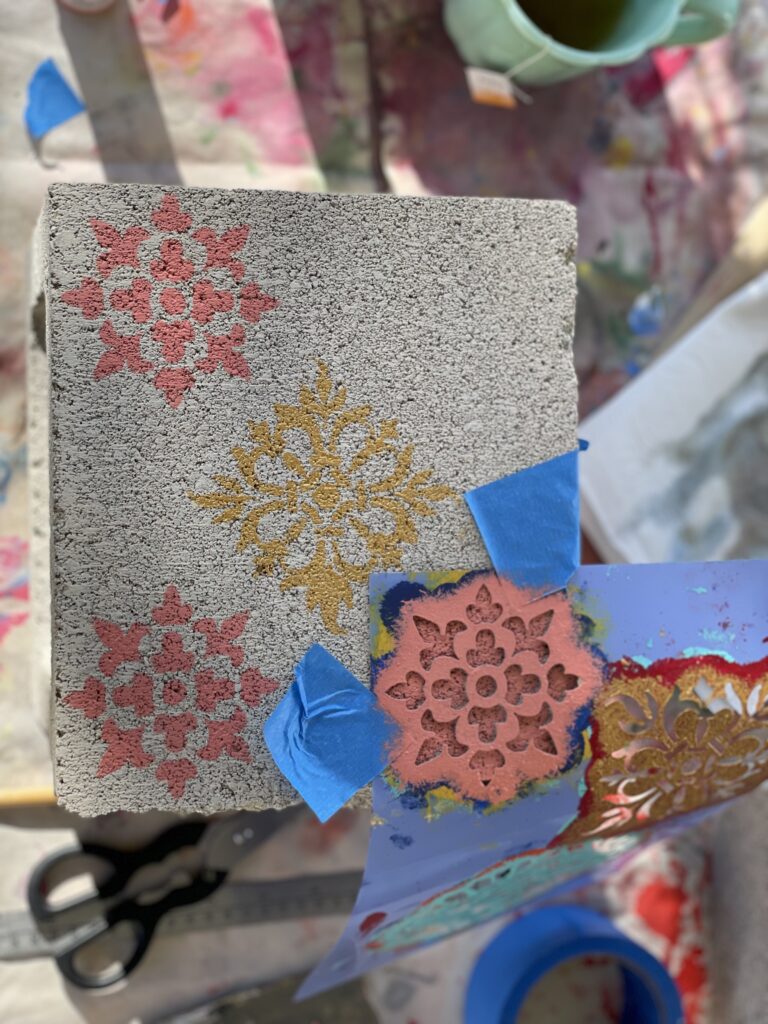
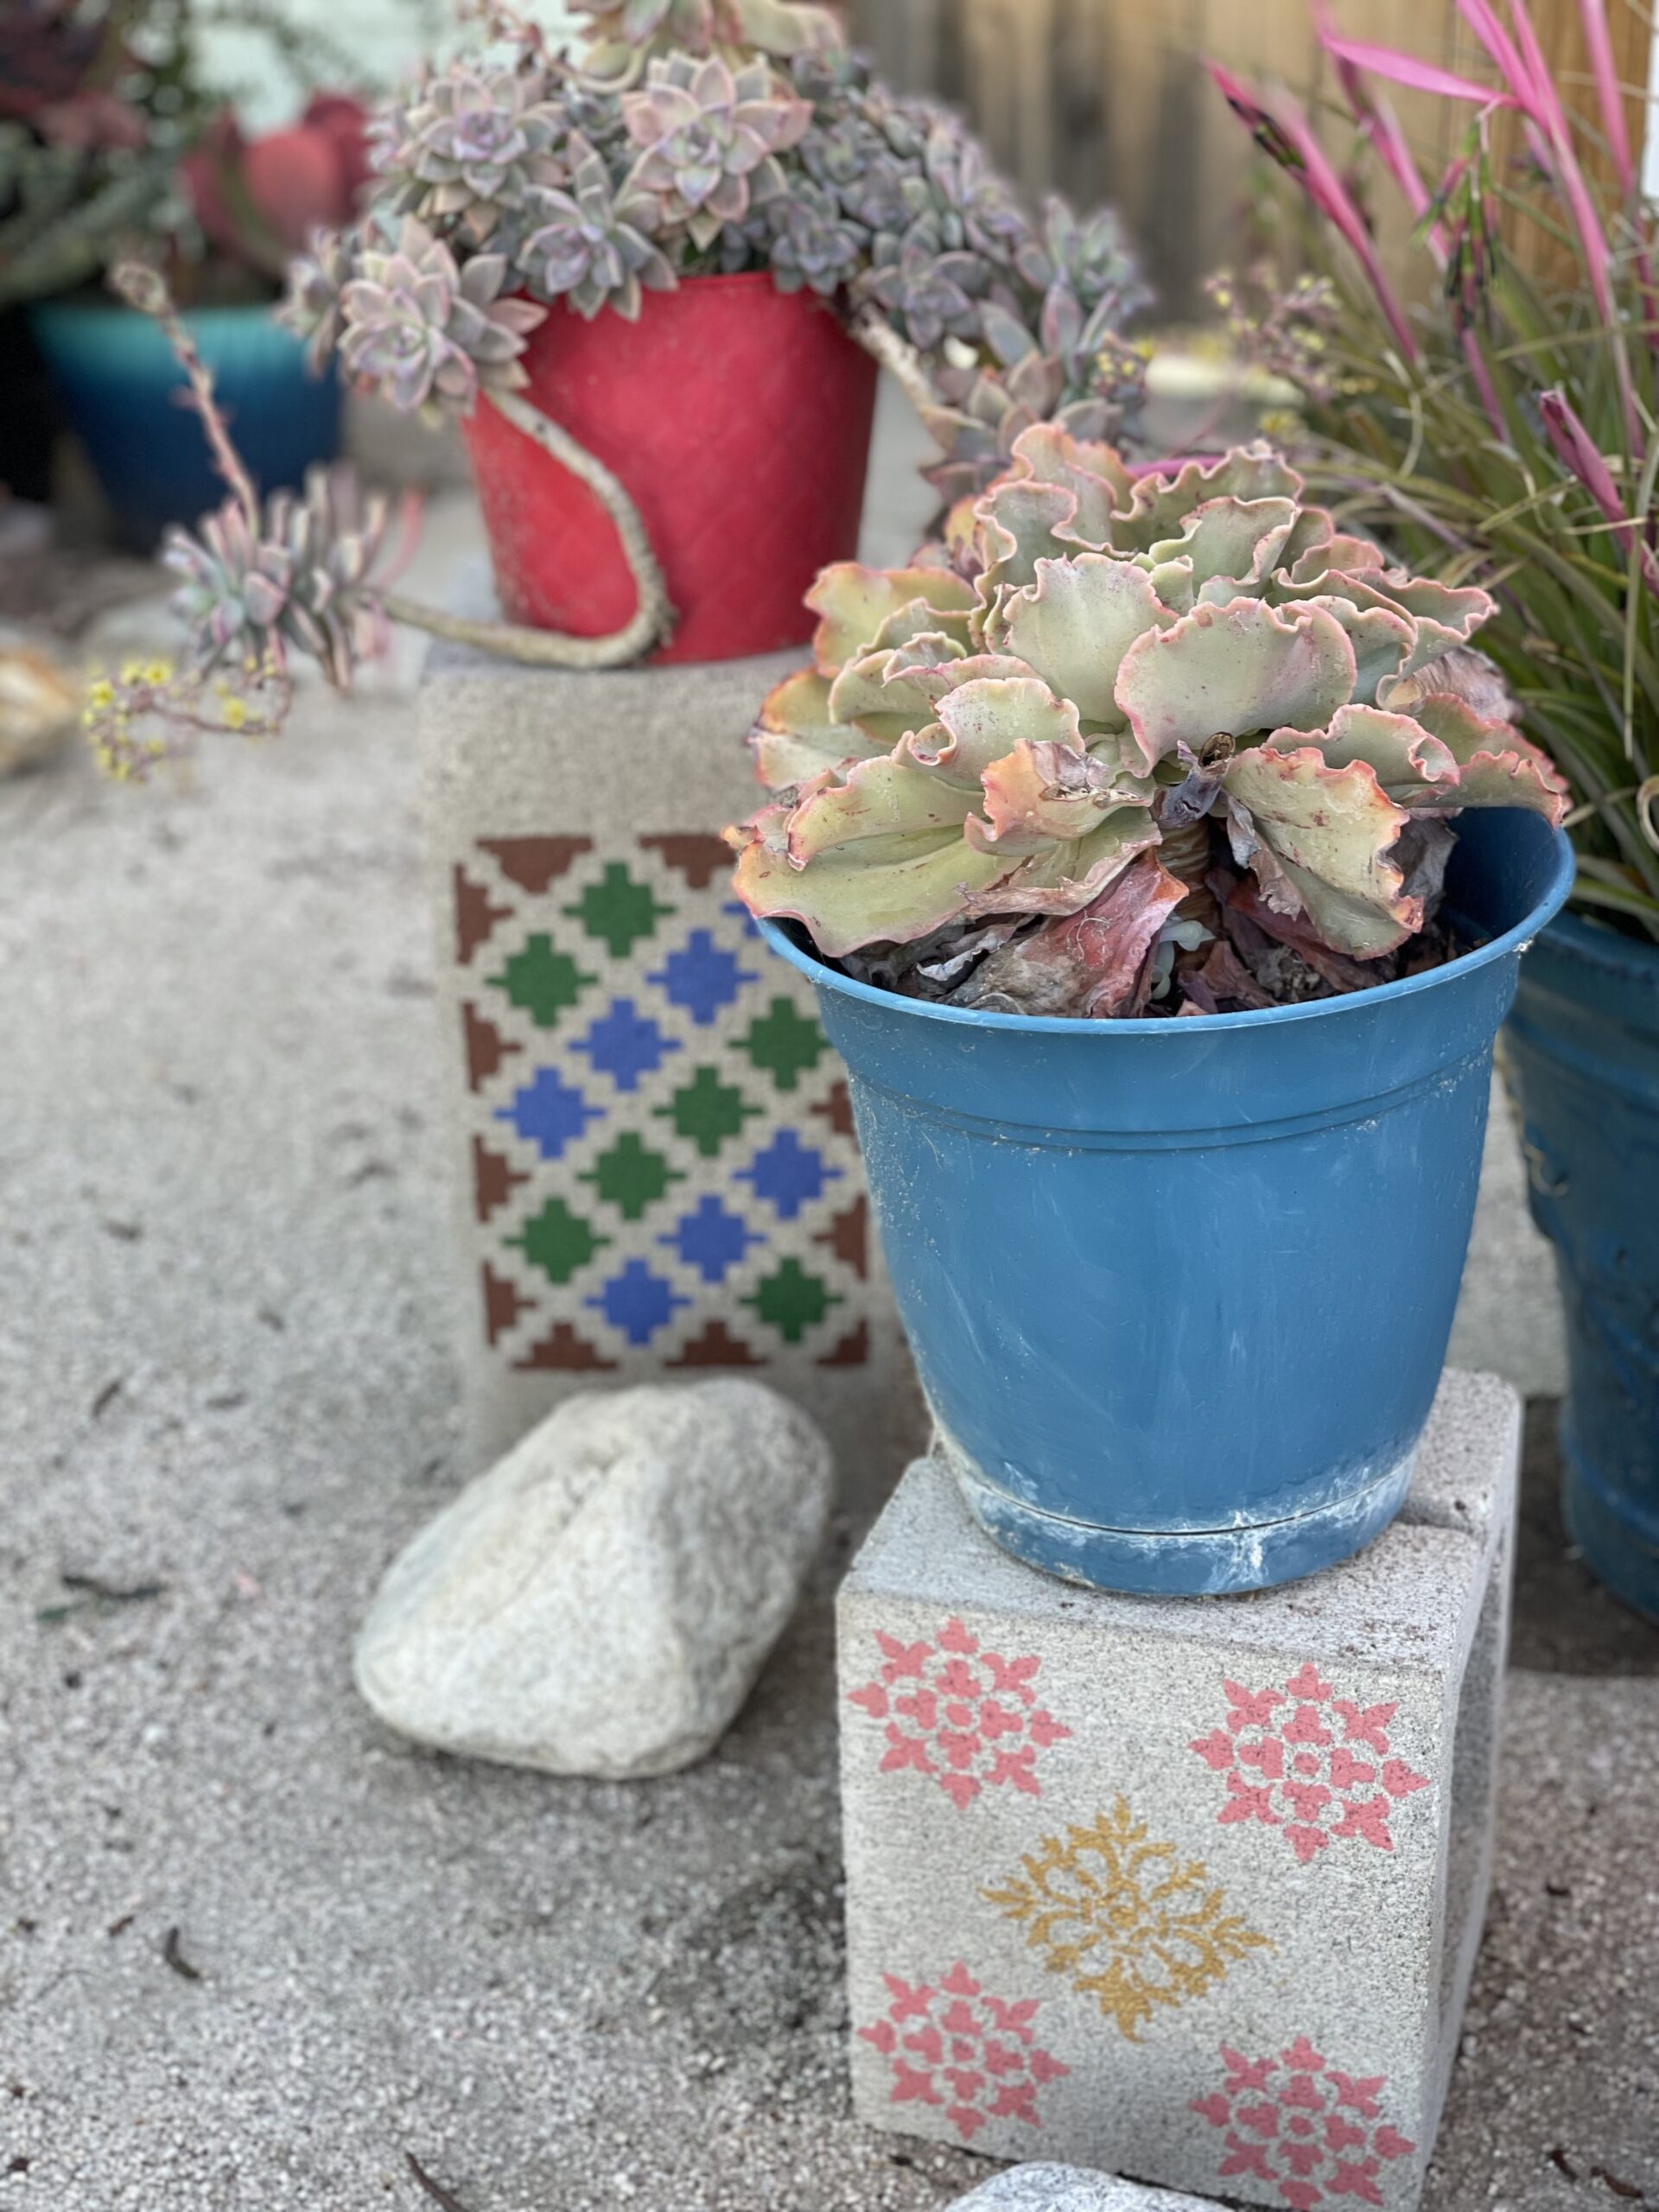
If you can’t tell, we had some fun with this. I played with my stencil a bit and used part of a pattern to fill in the corners of the block to round out the design and fill in the extra space, also I decided to switch up my colors and try pink and gold. You can always keep it simple and have one pattern in the center. It would be just as beautiful.
Something you want to look out for is that the colors you pick complement each other. For example, the muted shades of blue, green, and brown in the large block above are in the same tone family. If you throw a neon or kelly green in that mix it might not complement the grey/blue and soft brown. I would say a safe bet (if you don’t have painting experience) is to keep your primary shades and pastel shades separate. With that being said every artist’s eye is different and you should always pick colors that make you happy.
Step 3: Protect your painted cinder block from the weather.
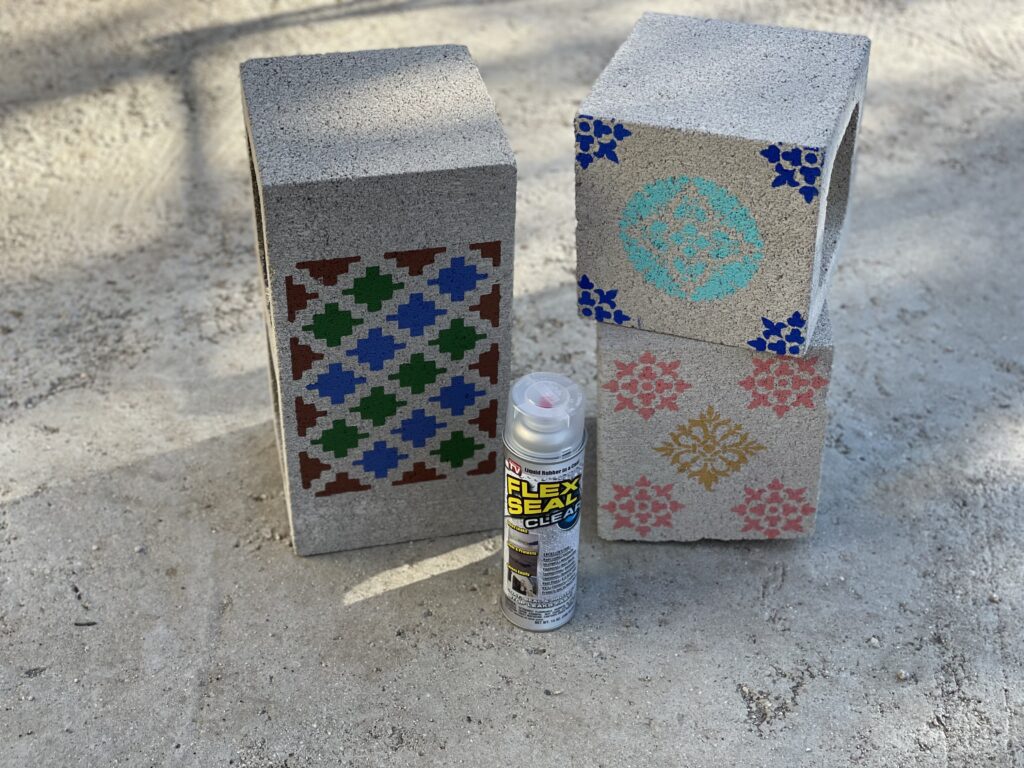
Spray on a sealer to protect the paint from fading over time from weather and sprinklers. I simply walked into Home Depot and asked the girl in the paint department for a spray sealer. I explained to her what I painting and she suggested this Flex Seal product. Make sure you buy the clear ones, not the colored ones, and read the directions first!
I put on some dish gloves, and a mask and made sure the wind was blowing away from me. Then, I gave the painted parts of the brick a light coating and let them dry.
After that, you’re done and you can display the painted cinder blocks in your garden. That’s the best part! I hope you have just as much fun as we did making these beautiful blocks.
