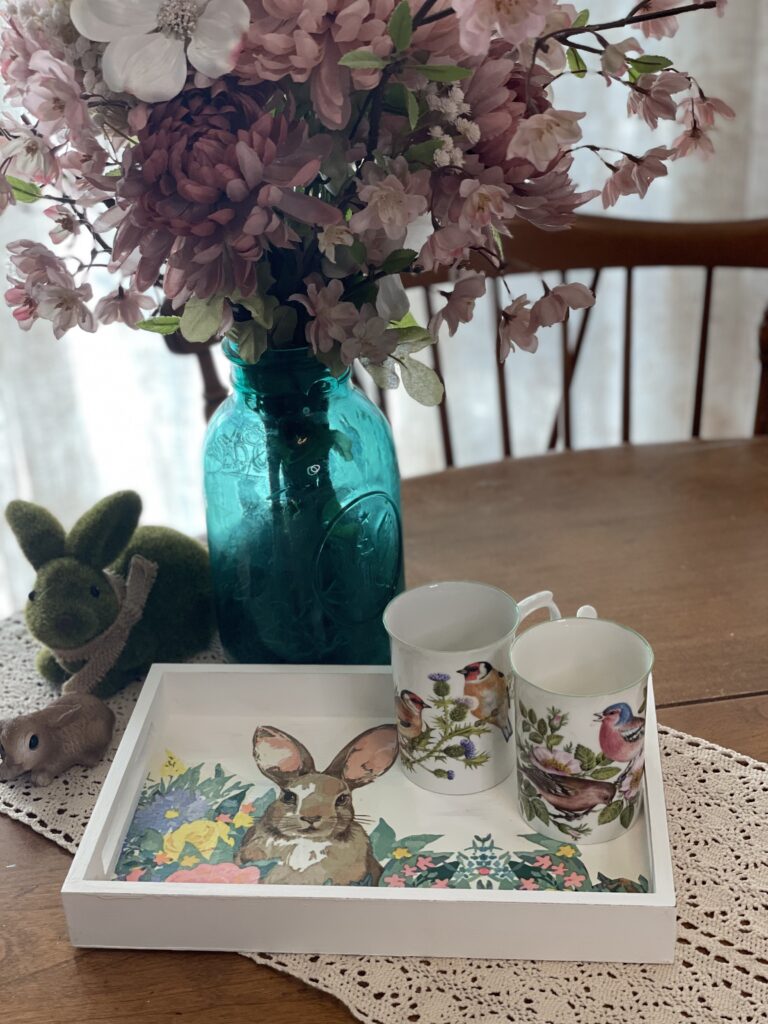
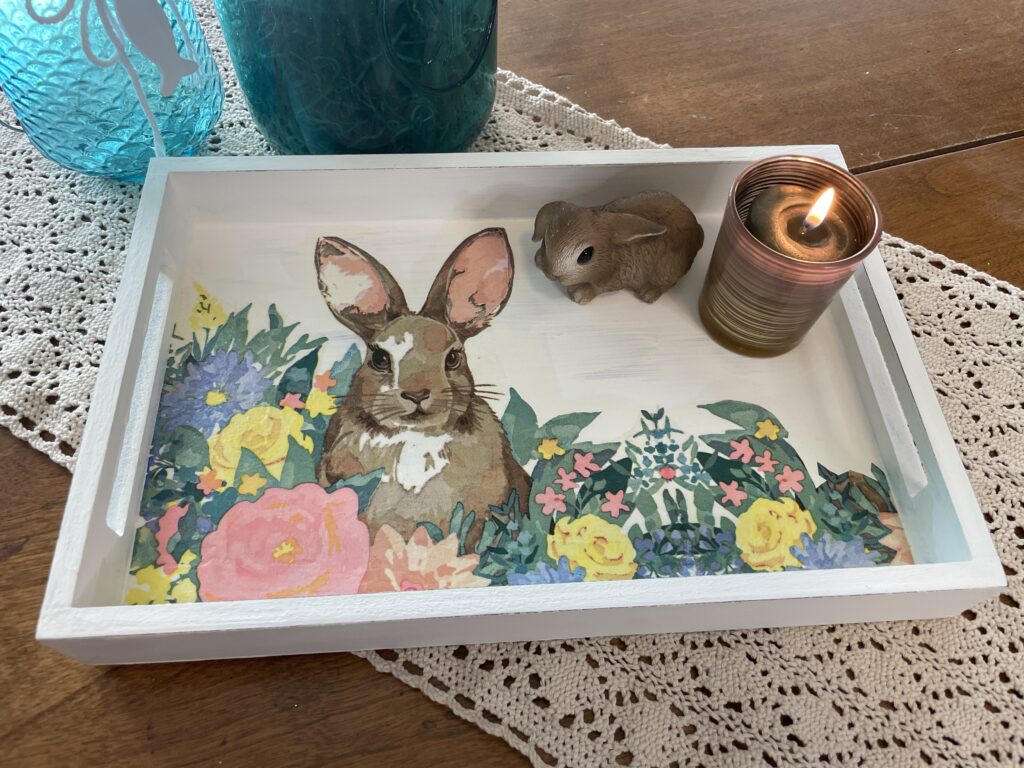
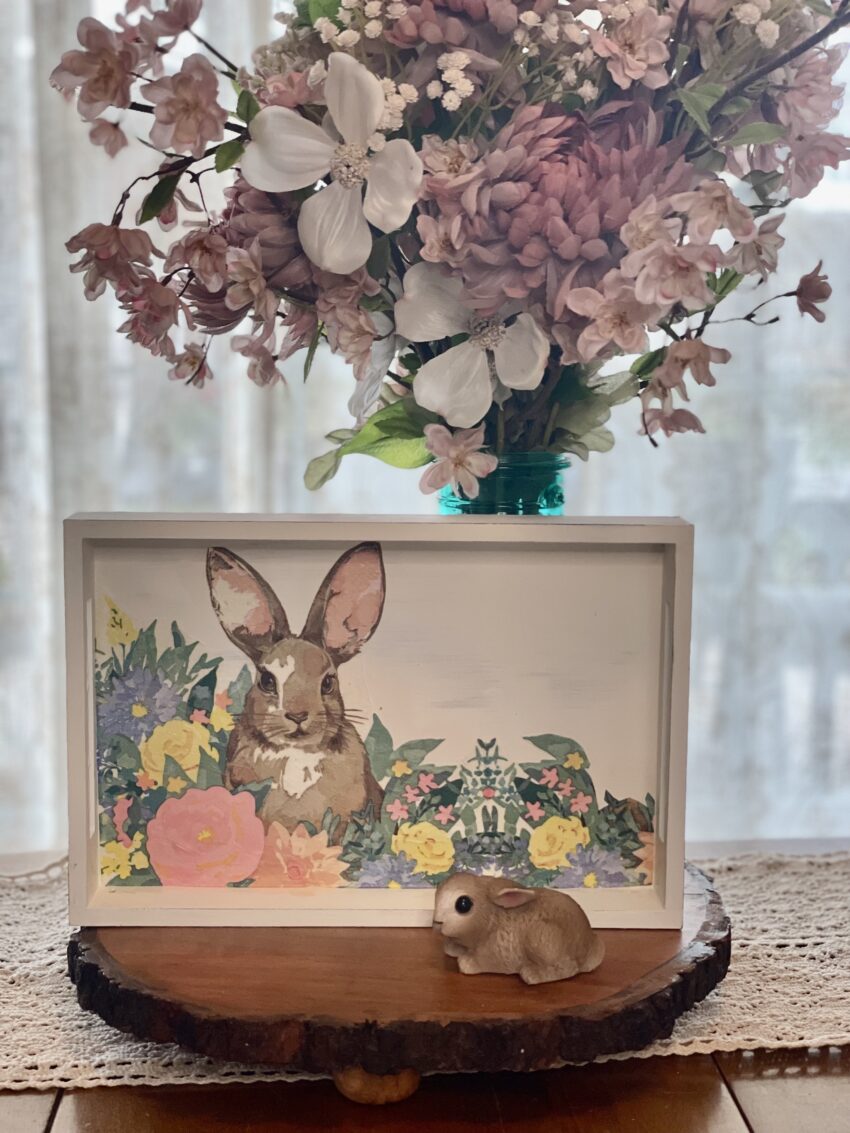
The art of decoupage has been around forever. It’s the easiest way to transform a plain object into something worth displaying. Today’s project is simple and kid-friendly—no skills needed besides your basic first-grade arts and crafts. Together we will transform a simple wooden tray into a beautiful Easter decoupage tray.
Recently, I was given some black trays and decided to make them a little prettier. With the help of white paint, an old Easter napkin, and the ever-handy Mod Podge, I had a plan. In the series of pictures below, you can see each step in the process.
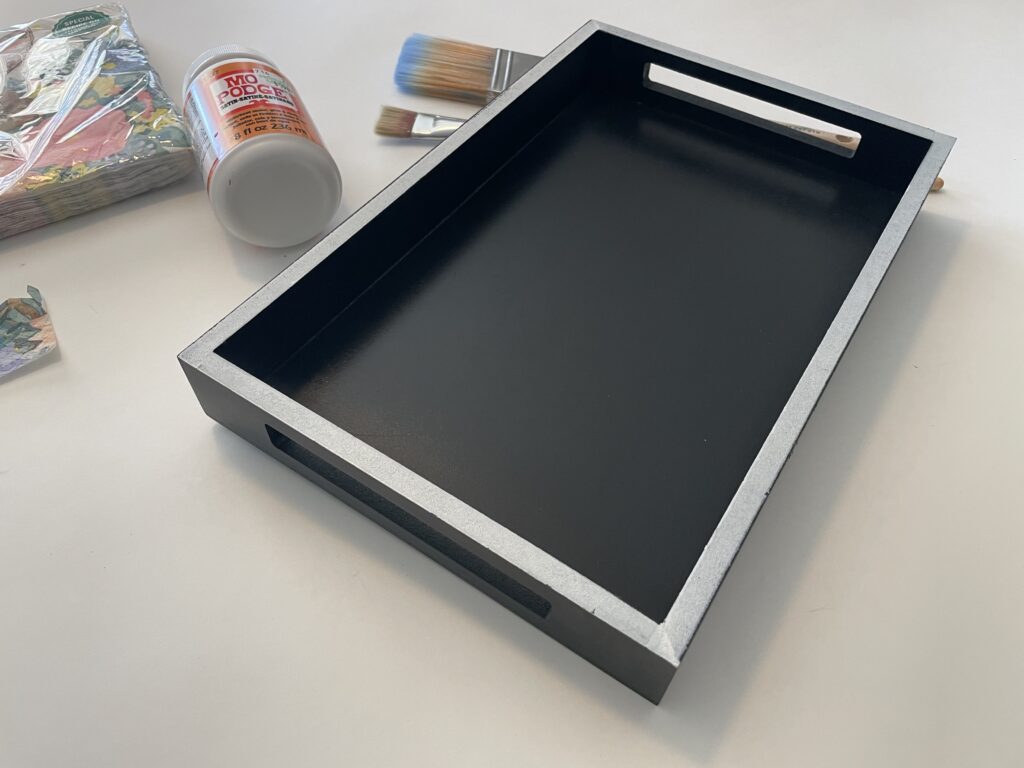
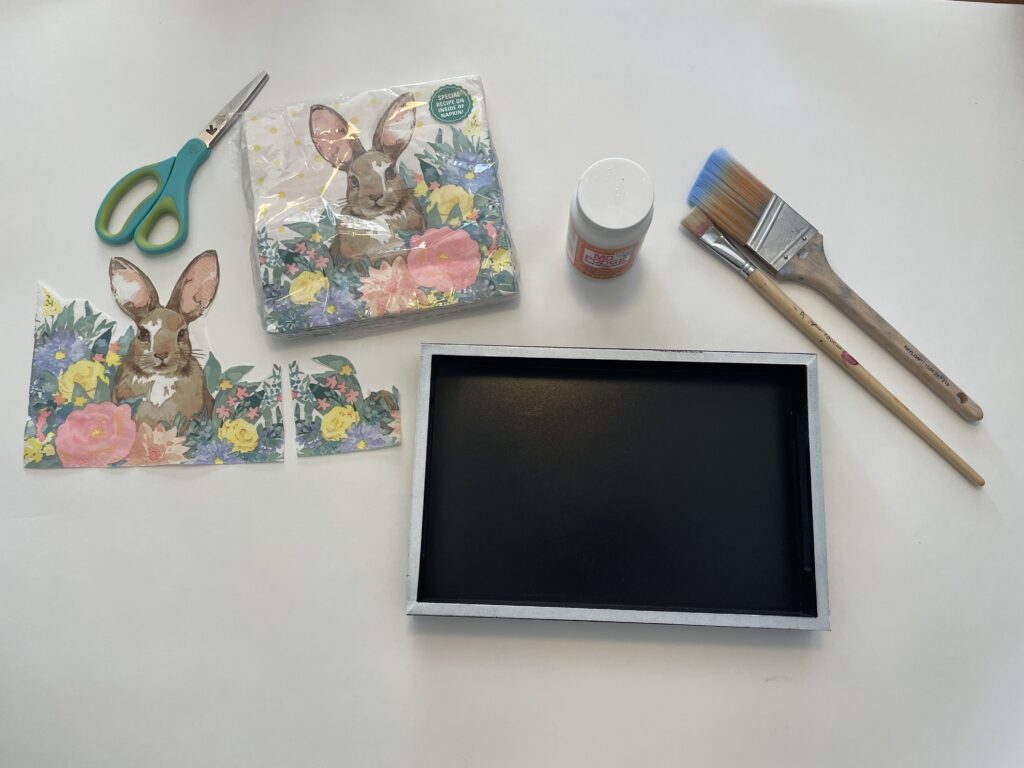
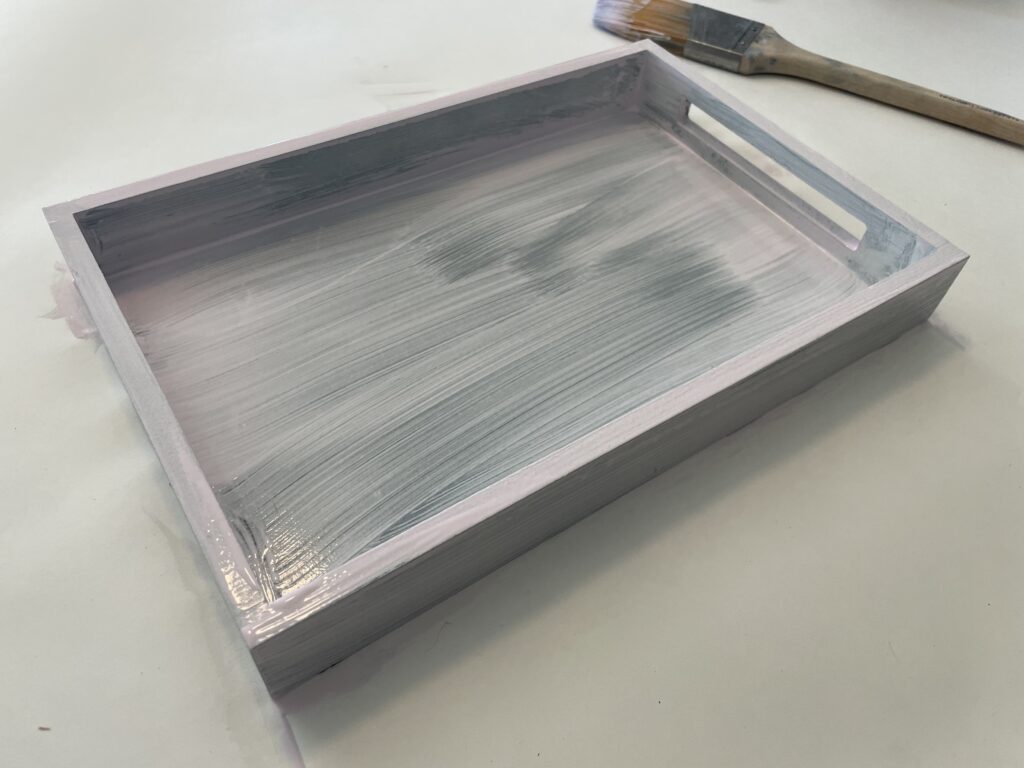
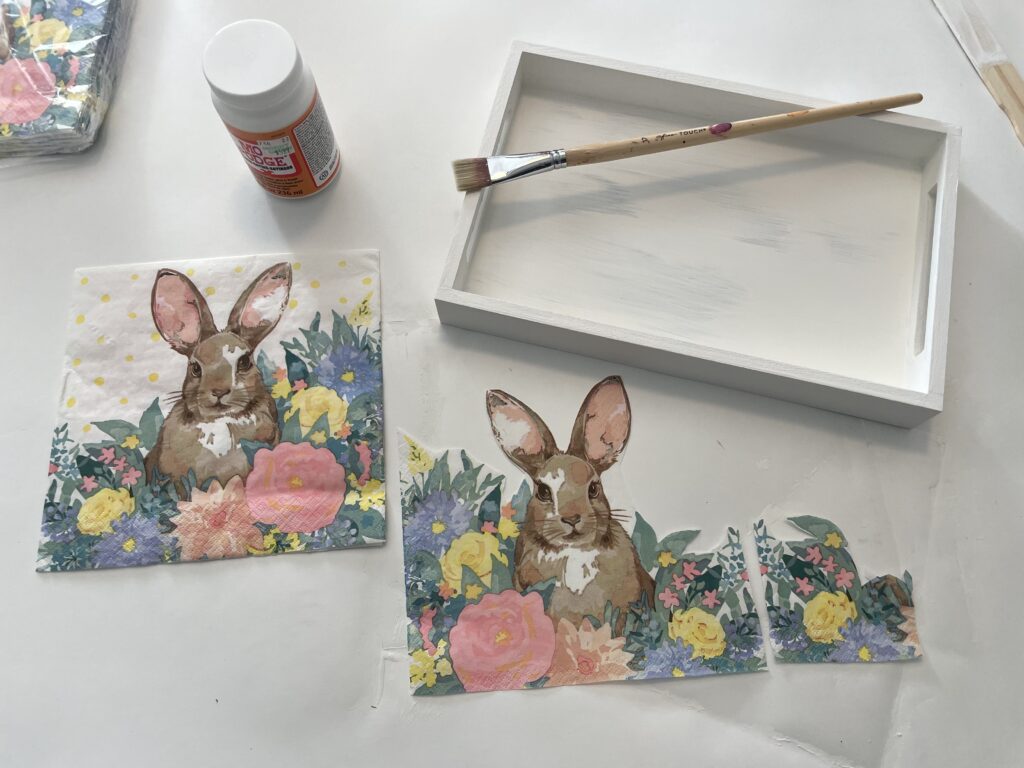
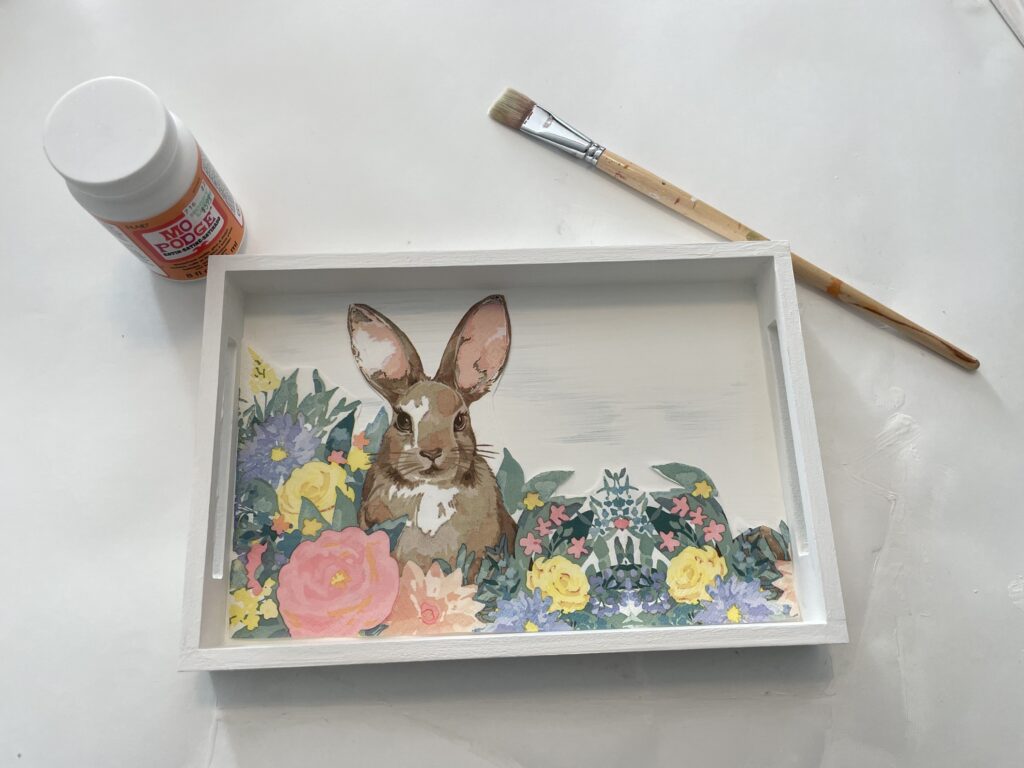
Easter Decoupage Supplies
- Wooden tray (painted white)
- 1″ paintbrush
- Napkin or print of choice cut to fit.
- Mod Podge
- Scissors
Step one: Once you’ve painted your tray the base color of your choice, cut the napkin to fit the open area. In this case, the print did not fit the opening of the tray, so I cut a little extra off another napkin and lined up the pattern.
Step two: Dip the paintbrush into the Mod Podge and painted a small area in the bottom left corner. Then, carefully lay the napkin in place. Gently lifting parts of the napkin, paint on a thin layer of glue until the whole thing is down. Finally, add a layer of Mod Podge to cover the top of the napkin to seal it in.
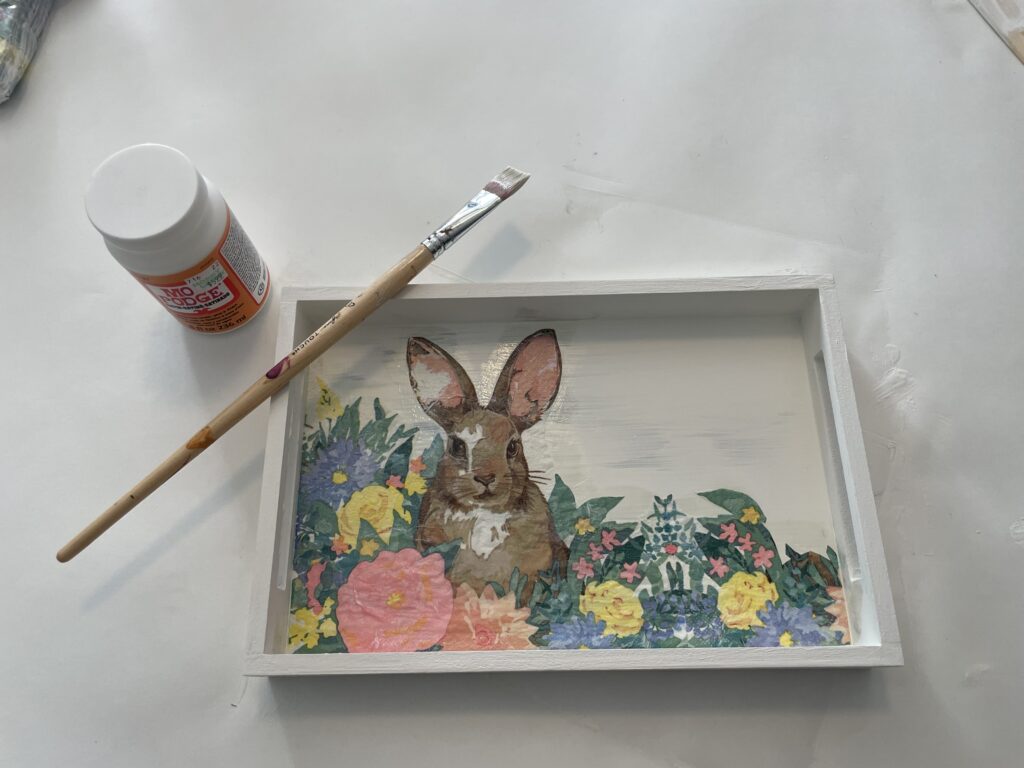
Once the whole thing was dry, I took some sandpaper to the corners to rough it up a bit and have the old black show through. It’s a subtle difference, but it adds some character. I guess we can call it shabby chic now. Our easy Easter decoupage tray is done.
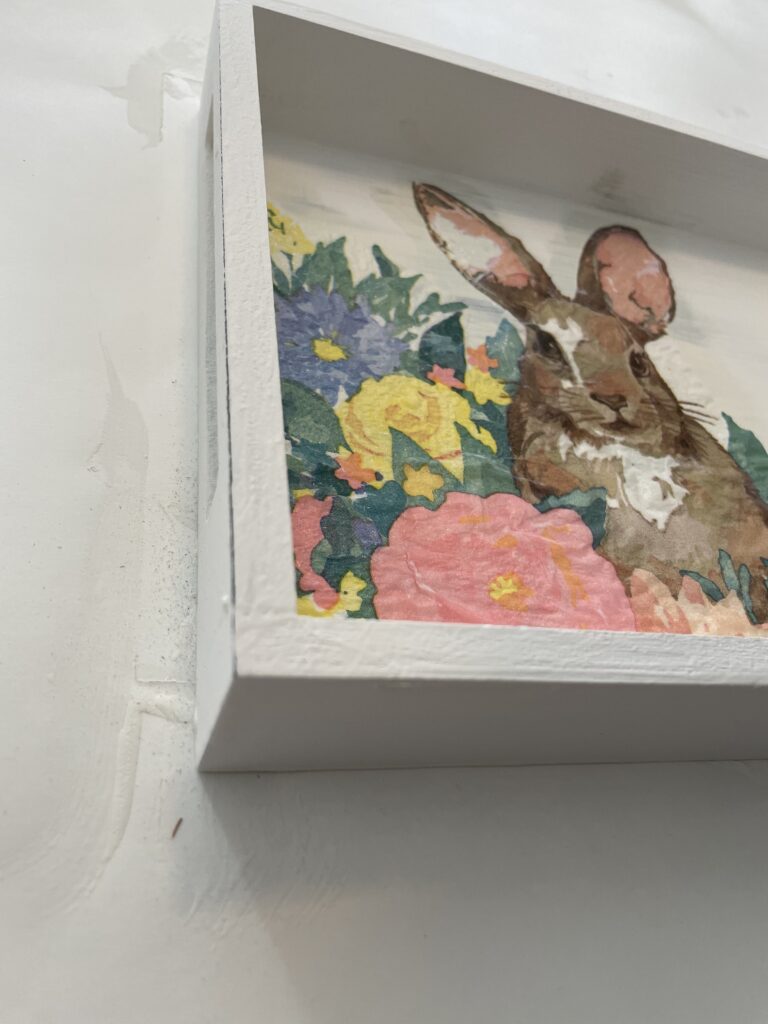
I can’t wait to display this come Easter. It will look great upright on the mantle or on the coffee table with a candle. It would even make a great hostess gift on Easter day. I hope you give this a try. And remember, it doesn’t have to be done on a tray. It could be a wooden sign or box or just about any home decor piece you find at a second-hand store. Thanks for reading, and happy crafting!
