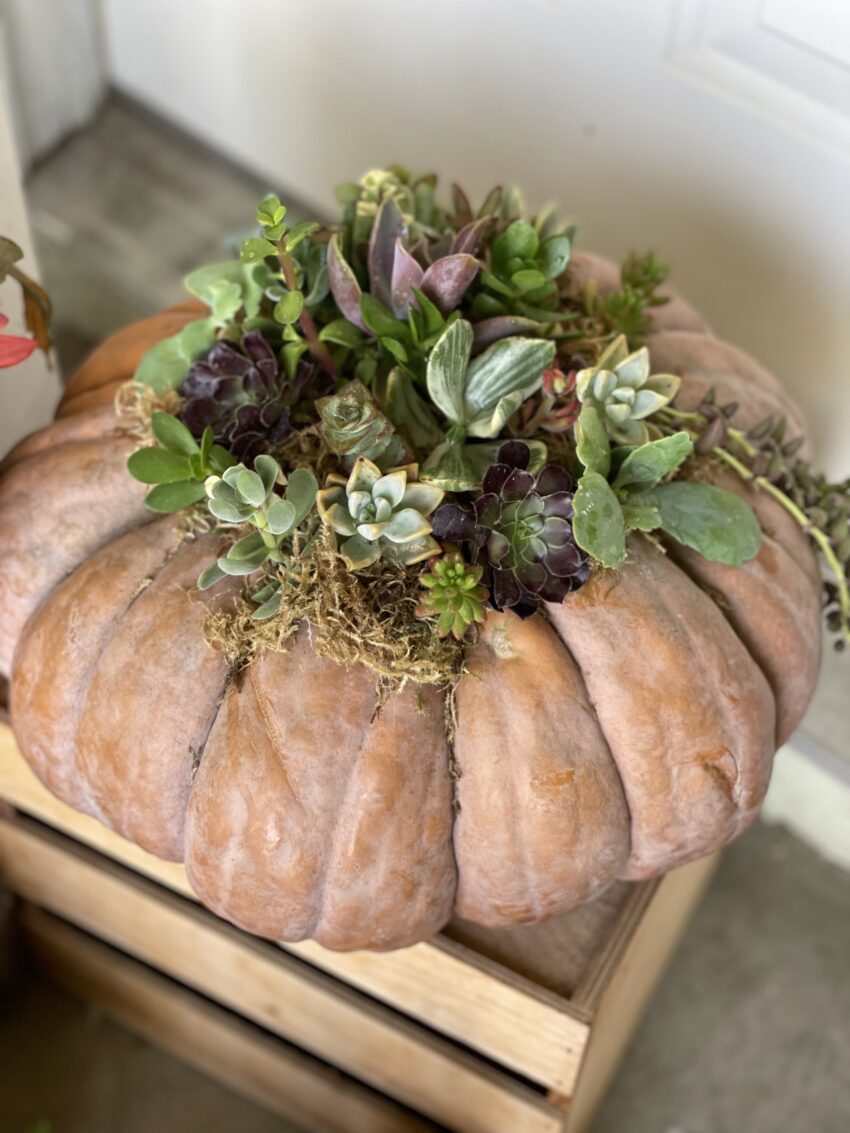
Let’s transform this simple Cinderella pumpkin into Fall-fabulous decor, no magic required! Let’s create this beautiful succulent pumpkin together.
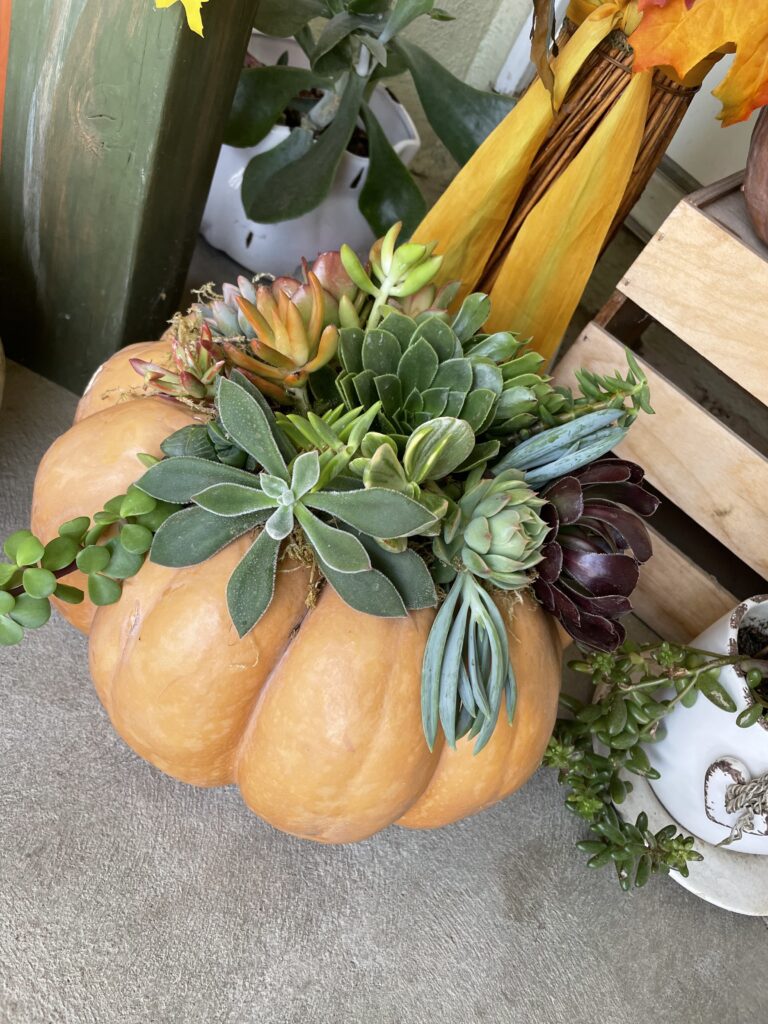
Pumpkins of all shapes and sizes are not only the foundation for the delicious, heart-warming pumpkin pies we look forward to all year but they are also the center of every Fall display. From Department stores to front porches, it doesn’t say Fall without this chunky gourd.
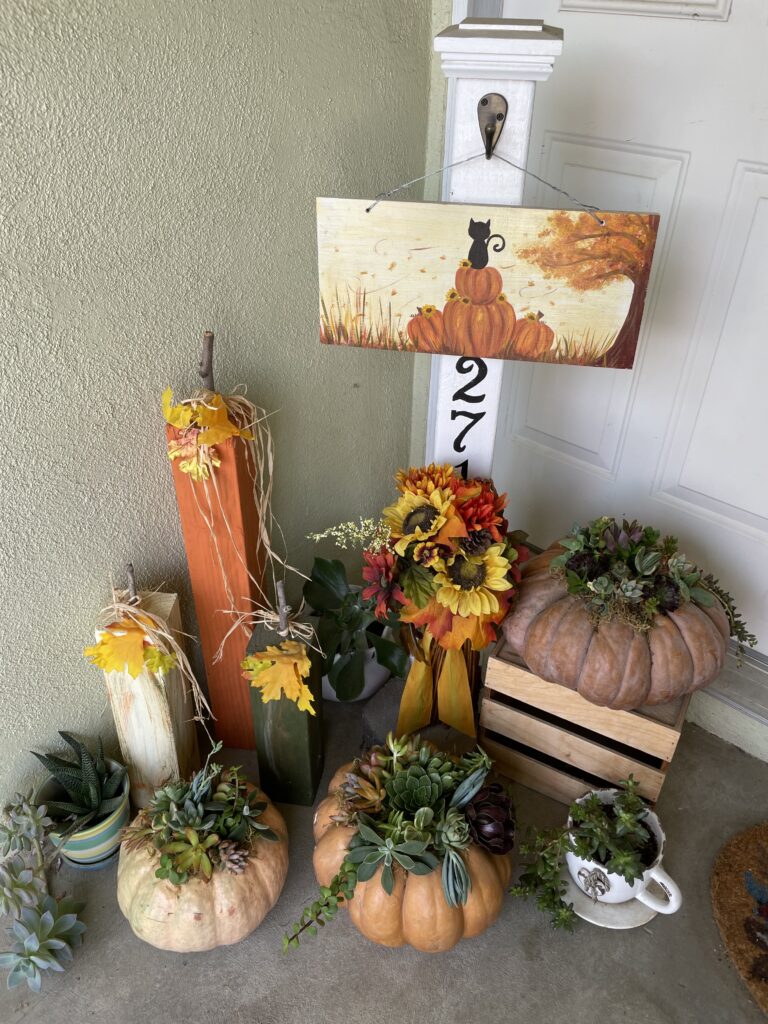
Speaking of Gourds, I’ve always referred to this style of pumpkin as a Cinderella pumpkin, but after a quick internet search, I found a few names like Autumn Buckskin Hybrid and Blue Prince, and I even found some long scientific names. I thought to myself, “Yawn” anyone can search for that so let’s get to the fun stuff!
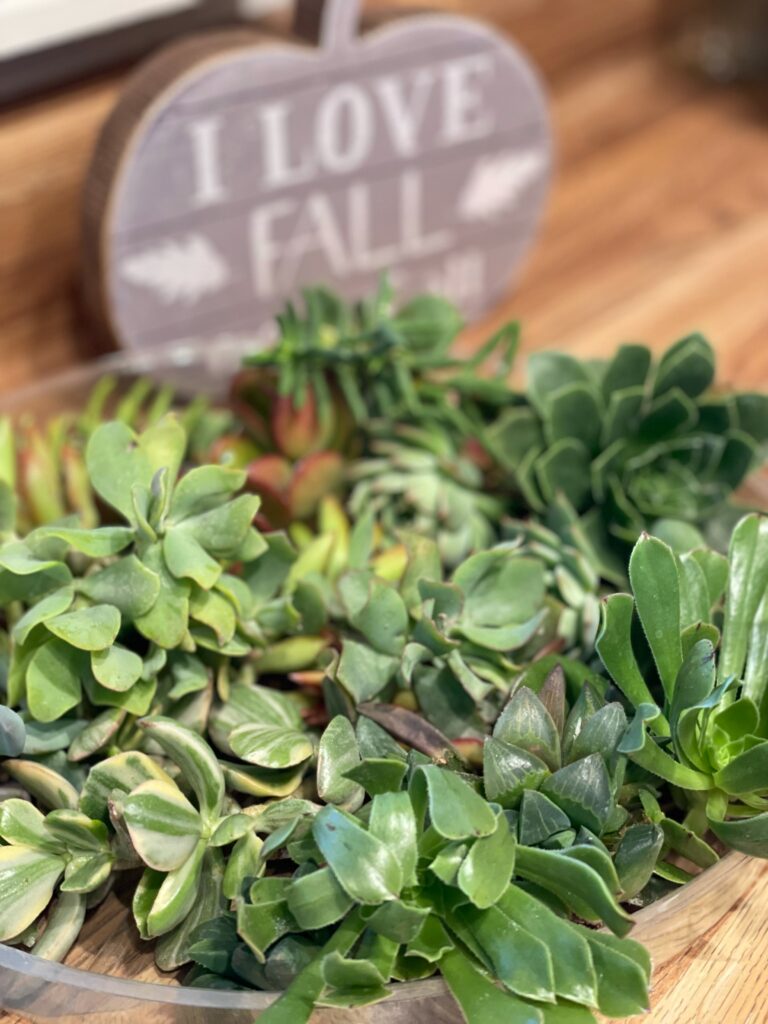
Any pumpkin that dips down on the top (in the center) will work for this design. For my example, I used what succulent clippings I had access to in my yard. Then, when the pumpkin starts to go bad in a few months I can plant them again. Succulents like a few hours of sun each day so if you find the succulents on your pumpkin are a little droopy from sitting on your table, then give them some water and sunshine.
One of the best parts about succulents is how easy they are to grow. I like to call them “green thumb proof.” They don’t need much water to survive which makes them perfect for the desert climate and drought situation here in Southern California. Needless to say, we have a garden full and are always looking for ways to decorate with them.
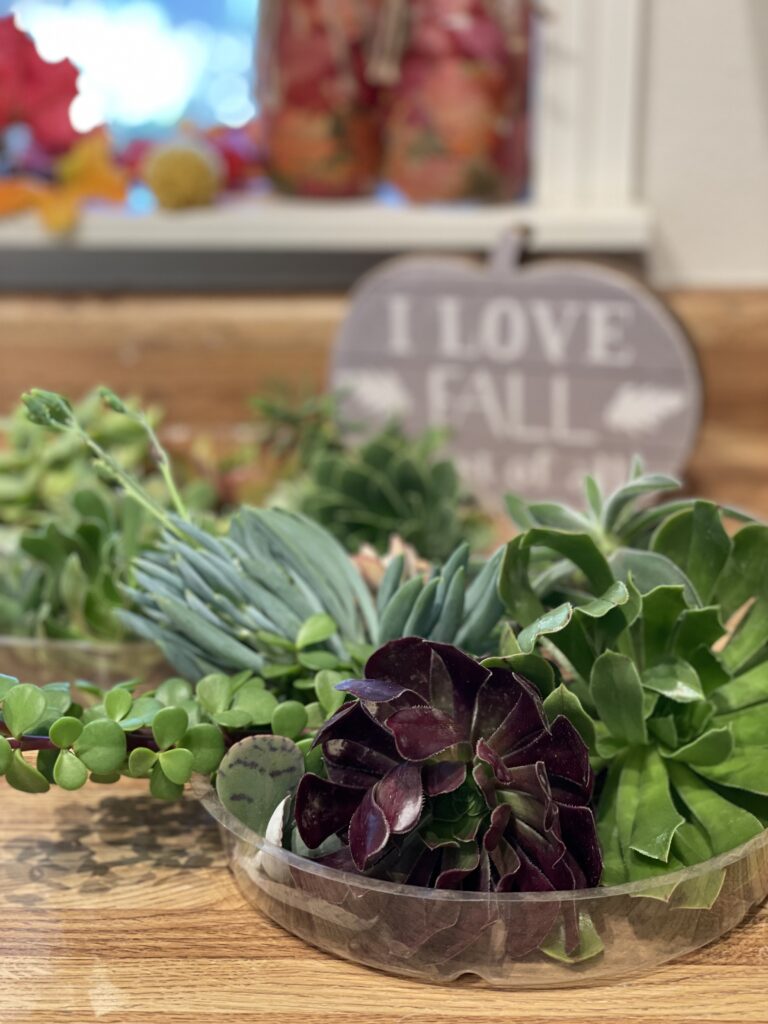
Supplies:
- Pumpkin
- Succulent clippings
- Craft store moss
- Hot Glue gun (and glue)
- Scissors
- Small squirt bottle (for watering)
Instructions:
Give your pumpkin a little rinse and pat dry before you start. Then, pull out a hand full of moss and arrange it on the top of the pumpkin. You can add or remove moss as you go until you have created a little pillow to stick your succulents into. (It makes a mess!)
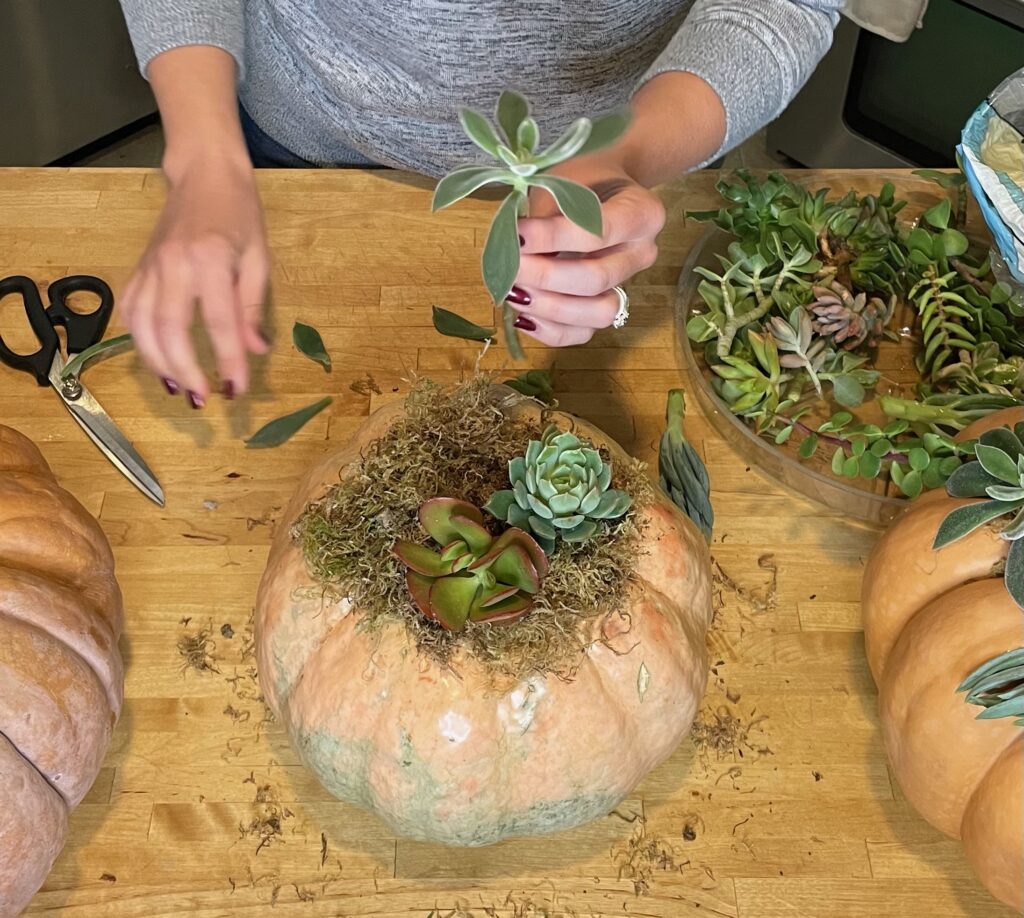
Next, glue the moss down here and there around the top of the pumpkin. I put a little glue on the tops of each ridge and carefully (don’t burn yourself) pushed the moss down. You do not need a ton of glue to get the moss to stay in place. Then, take your succulent clippings and nestle the stem down into the moss. I picked succulents that were roughly 1″-3″ wide/tall and left at least an inch of stem. If you cut them too big they will be too heavy and take up a lot of room on the pumpkin. I also plucked a few petals off the bottom of the stem so it would poke nicely down into the moss.
Arrange the succulents around the top, tucking them into place until you get a nice bouquet. The last step is to fill a small bottle with water and give it a light squirting. If you drench it the water could run down the side and onto your table. No one wants that!
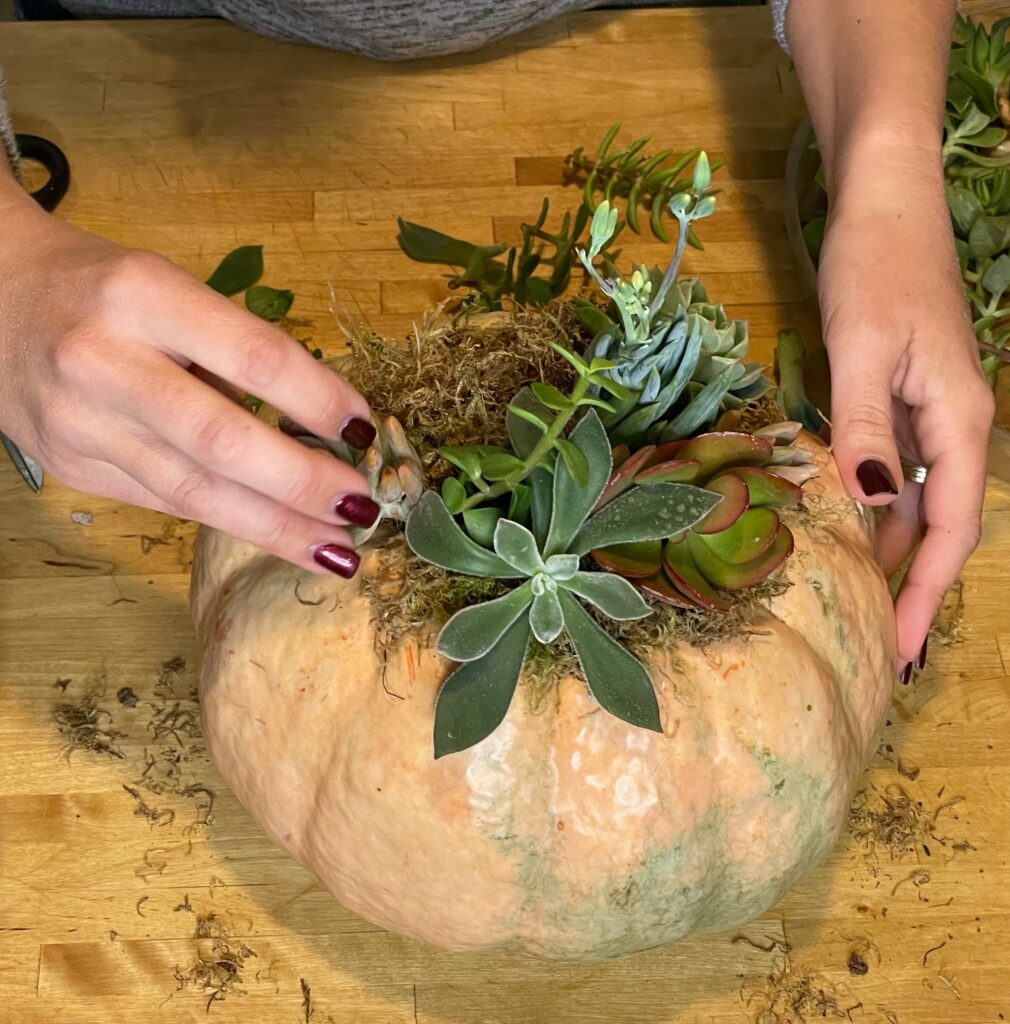
If your pumpkin is in good shape and free from bruises then this decoration will last a couple of months. Don’t forget to water it! Check out the video below showing a quick how-to for this project.
